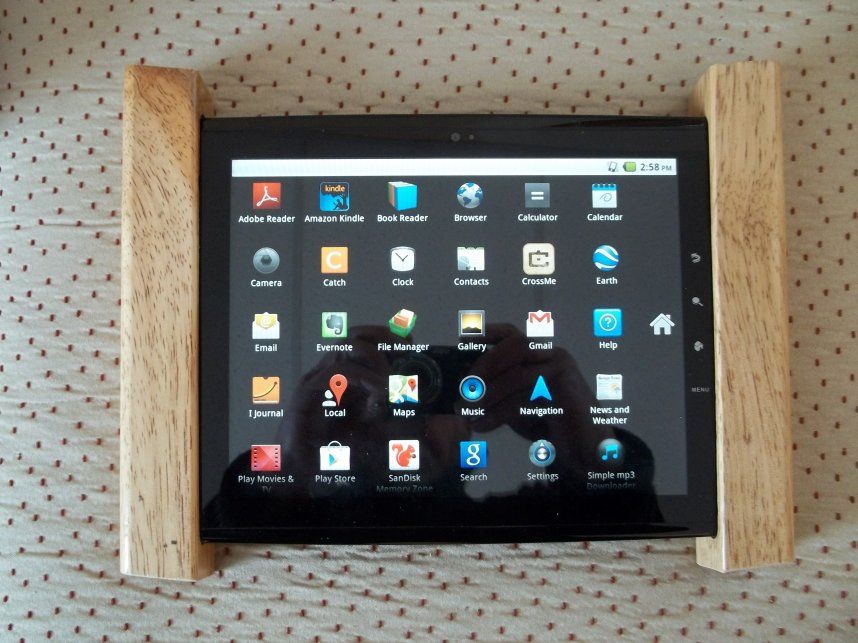
I like to have my computer Tablet on my lap while watching TV from my easy chair by the fireplace on a cold winter’s day. I find news programs, etc., more interesting if simultaneously researched on the Internet. But I have a problem with my Tablet ... the dang thing is so thin and slippery that it’s awkward to hang on to. So ... I made a set of Old Man’s Handles for it. Problem solved!
Step 1: Fabricate the Handles
[IMAGE: https://cdn.steemitimages.com/DQmd5at6fgLr51NrwRfUqeTRDBk4xB4ZmdxQB8Go3Z3dWVN/FEYT0UKHA4MMB9C.LARGE.jpg]
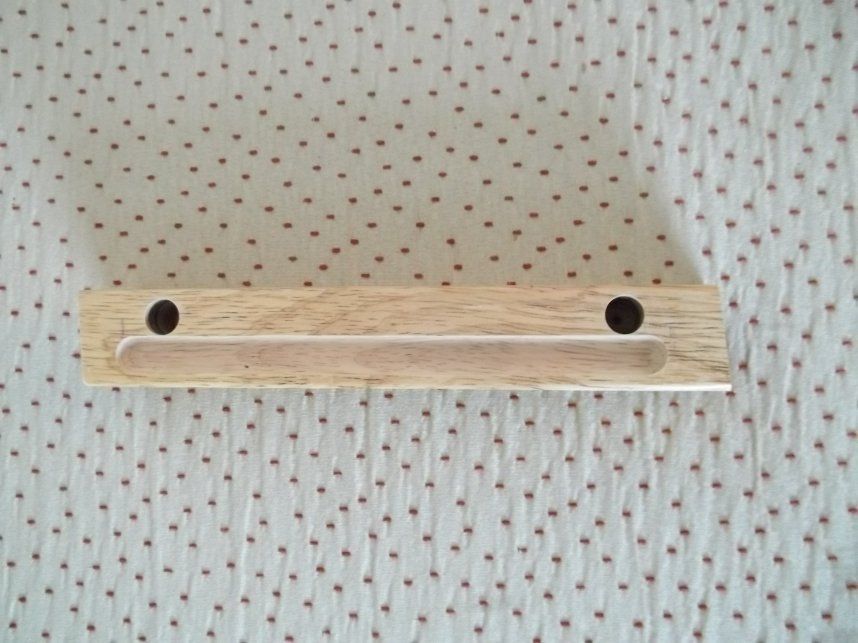
The handles are made from 1½’ square hardwood scraps that I happened to have, but just about any wood approximately that size would do. First I milled a groove the same length as the width of my Tablet along one side of each handle blank with a ½” diameter round nose router bit. The groove is approximately ¼” deep, just enough to secure the Table in place.
Next I drilled two ½” diameter holes approximately 1” deep on the same side of each handle blank near each end. I used a forstner bit to make neat clean holes with flat bottoms.
Step 2: Dowel Assembly
[IMAGE: https://cdn.steemitimages.com/DQmYecvbeP1KLo6VWaKooBpQYYcMVJpK5PN4LdeKVV7sjjq/FQ5HZ44HA4MMB9G.LARGE.jpg] [IMAGE: https://cdn.steemitimages.com/DQmUj3TjPzxdxpDU8ZcyHKGF8xSDx2r9E2Vmv6qE1d4pgmV/F2UA9DCHA4MMB9E.LARGE.jpg]
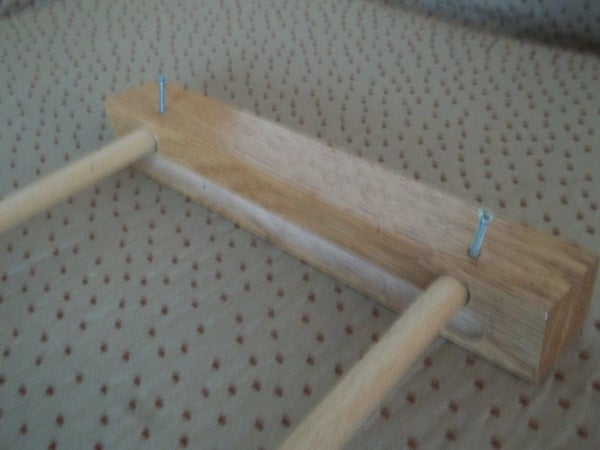
I next placed a handle at each end of the Tablet in order to estimate the length of doweling needed and cut two pieces of ½” diameter wood doweling slightly longer than required. On trial-assembling the handles and dowels and laying the Tablet in place I determined the amount that the dowels had to be shortened to fit the Tablet snuggly.
After trimming the dowels to their proper length I fit one in each hole of one of the handles and secured them in place with #6 x ¾” flat head wood screws.
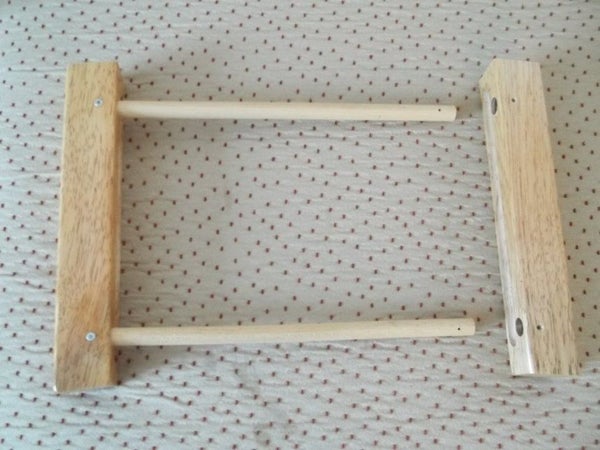
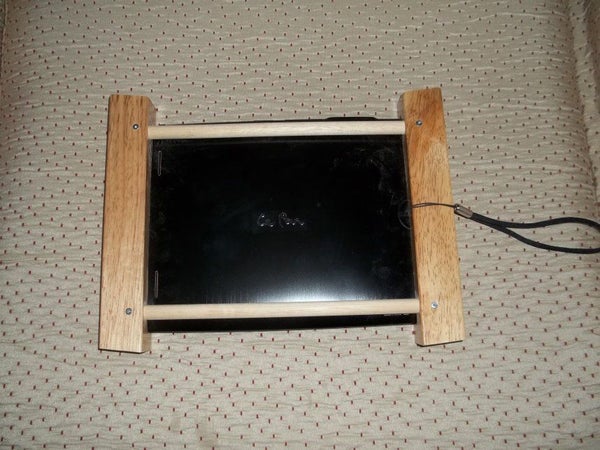
Step 3: Final Assembly
[IMAGE: https://cdn.steemitimages.com/DQmW9EsnErCMSJLA6YRJvwYJmJpku6SySjTr5secfJPhBwJ/FCZ3JECHA4MMB9H.LARGE.jpg] [IMAGE: https://cdn.steemitimages.com/DQmTAnYM97bHmcFaygjbfovKyjAoiNU3DTe5sBHVWD8qhLR/FIBIUKBHA4MMB9B.LARGE.jpg]
Finally I assembled the handles and dowels around the Tablet, inserted the dowels into the holes in the second handle and secured them in place with wood screws.