[IMAGE: https://steemitimages.com/DQmXBrm4L7THTeUb3GsrKfgeSxPKbcT1GyHjXT1JNohueeS/freetrial.jpg]
Google is offering $300 worth of free credit to new users of Google Cloud!
After creating an account click Compute Engine on the left hand side and click VM Instances
[IMAGE: https://steemitimages.com/DQmf51acoUkjLwjeprPig3Jq2yGBTdrQHKPcL4QXQ7wJM8m/compute.jpg]
Click Create Instance
[IMAGE: https://steemitimages.com/DQmX9GCLAAWstXBSv7DVLShbiVrbHu4UYjq214968u8t8dm/create.jpg]
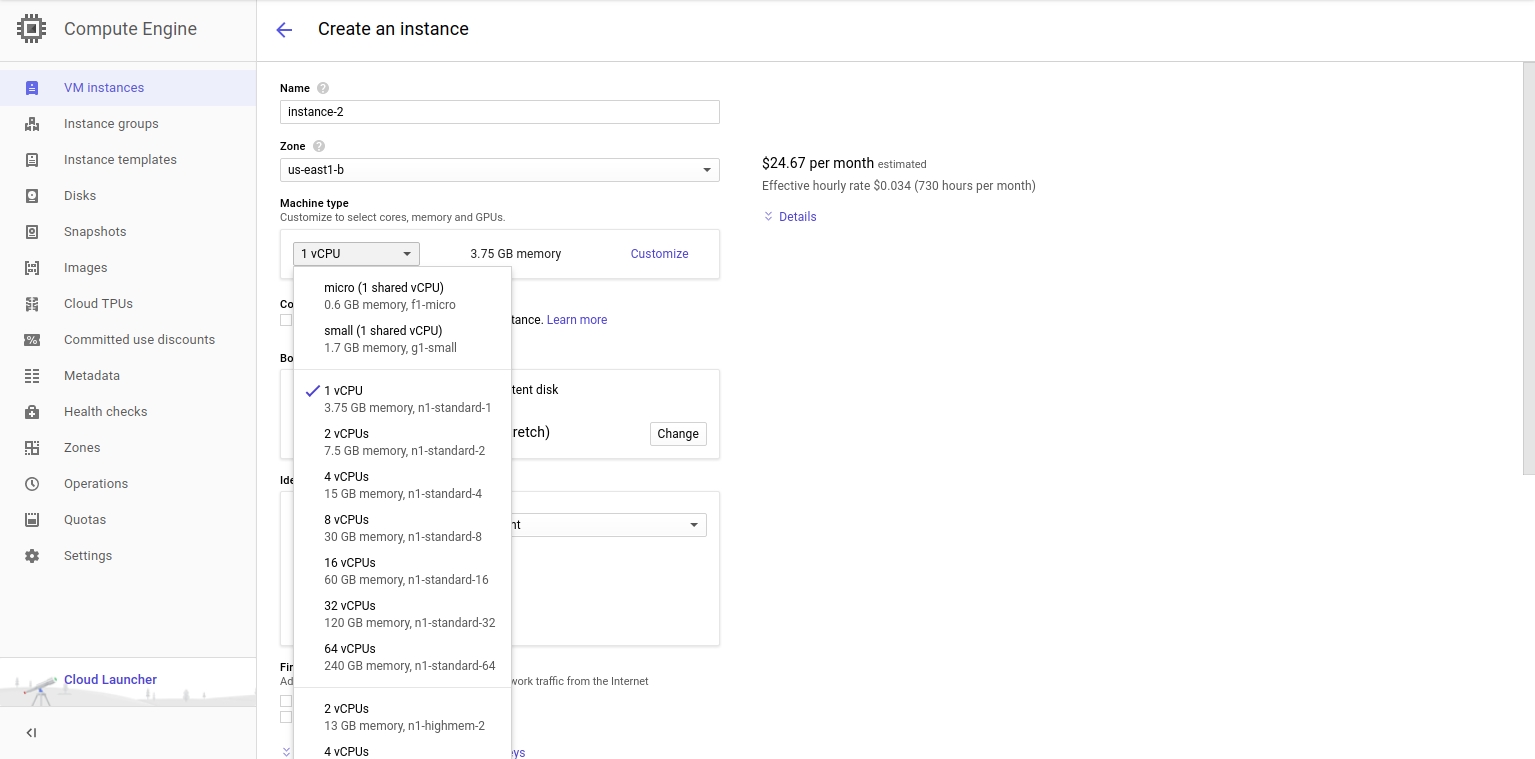
Name the instance whatever you want.
Here you want to click upgrade to be able to use more than 4 CPU cores. The upgrade button should be under the CPU list or the top right corner of the page.
DONT WORRY YOU WILL KEEP THE $300 CREDIT AND THEY DONT CHARGE YOU UNLESS YOU USE MORE THAN YOUR FREE TRIAL!
Click the CPU list in the machine type section
[IMAGE: https://steemitimages.com/DQmSGgxV8ARtpEtYBfjy1cgVcmm65A6pH9BDLSw7dzcmYDD/cpulist.jpg]
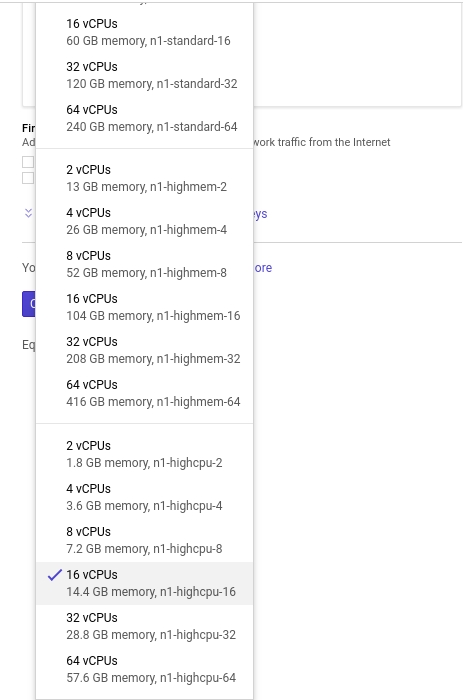
Choose the amount you want to use. I am using 16 vCPU n1-highcpu-16 as it is around $300 a month. Using the n1-highcpu option is the best option for most CPU mining.
[IMAGE: https://steemitimages.com/DQmS7Xh2YcTPrtEPB6zo4k5WUy75AHY13D9vHk7KY2ieKzJ/cpuselect.jpg]
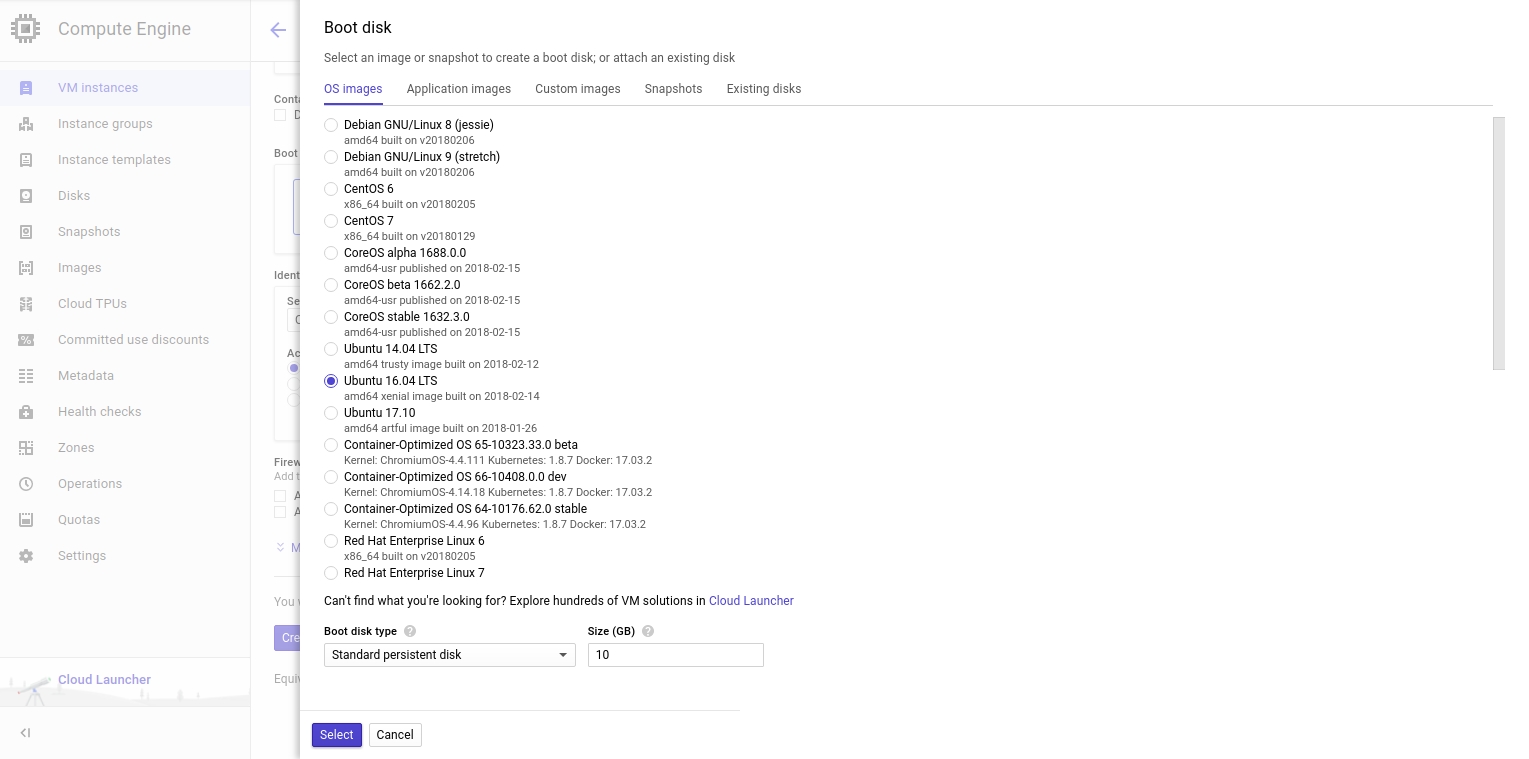
Now change your bootdisk to Ubuntu 16.04 LTS and leave everything default and press select
[IMAGE: https://steemitimages.com/DQmfTmd7WY61y3WY91pzNTbYfvJ7j4SbPD7ho23ZsVcFCwV/bootdisk.jpg]
Now click CREATE!
Once your VM is up and running click the SSH button next to your instance. This will open a window in your browser and will automatically connect.
[IMAGE: https://steemitimages.com/DQmSH2VjWGjYhxhU9r2xygDnY2FjGGy9NiQTKTSuhH7aD8p/connect.jpg]
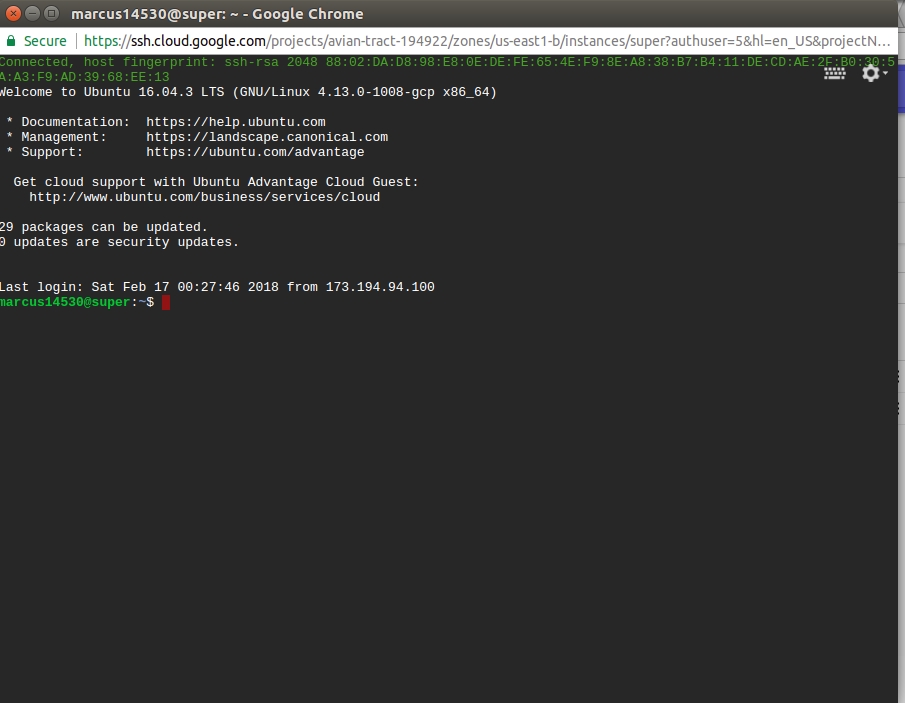
Now you should be connected!
[IMAGE: https://steemitimages.com/DQmdPF61nsYQHENx7DK2pB1g4wqrbFX12QxsQ1UkAS4BYQY/ssh.jpg]
Now to install the CPU miner. We will use XMRIG as its simple to install and use.
Add the following repository for with this command:
sudo add-apt-repository ppa:jonathonf/gcc-7.1
Now update your repositories:
sudo apt-get update
Install the following dependencies:
sudo apt-get install gcc-7 g++-7
sudo apt-get install git build-essential cmake libuv1-dev libmicrohttpd-dev
Clone the git:
git clone https://github.com/xmrig/xmrig.git
Change to the directory:
cd xmrig
Make a build folder and change to it:
mkdir build
cd build
Run CMAKE with these parameters to compile with gcc and g++ for a performance boost:
cmake .. -DCMAKE_C_COMPILER=gcc-7 -DCMAKE_CXX_COMPILER=g++-7
Now run make:
make
Change your hugepages to a larger size so you get better performance:
sudo sysctl -w vm.nr_hugepages=30
You may require a larger size depending on your cores.
Now run the miner!
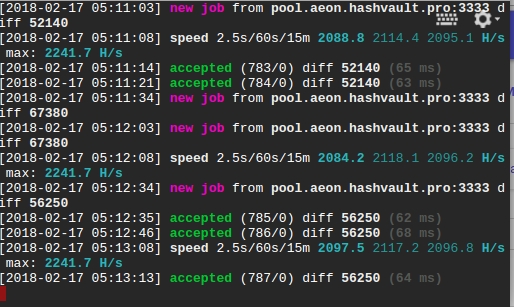
sudo ./xmrig -a "algo" -o "mining-pool" -u "address" -p "password default=x" --max-cpu-usage=100
Here I'm getting about 2KH/s with cryptonight-light
[IMAGE: https://steemitimages.com/DQmQLxgKbmN9kJLbHF886HQTVBCMH2PBoqcSGtrhjmD1GFW/kilo.jpg]
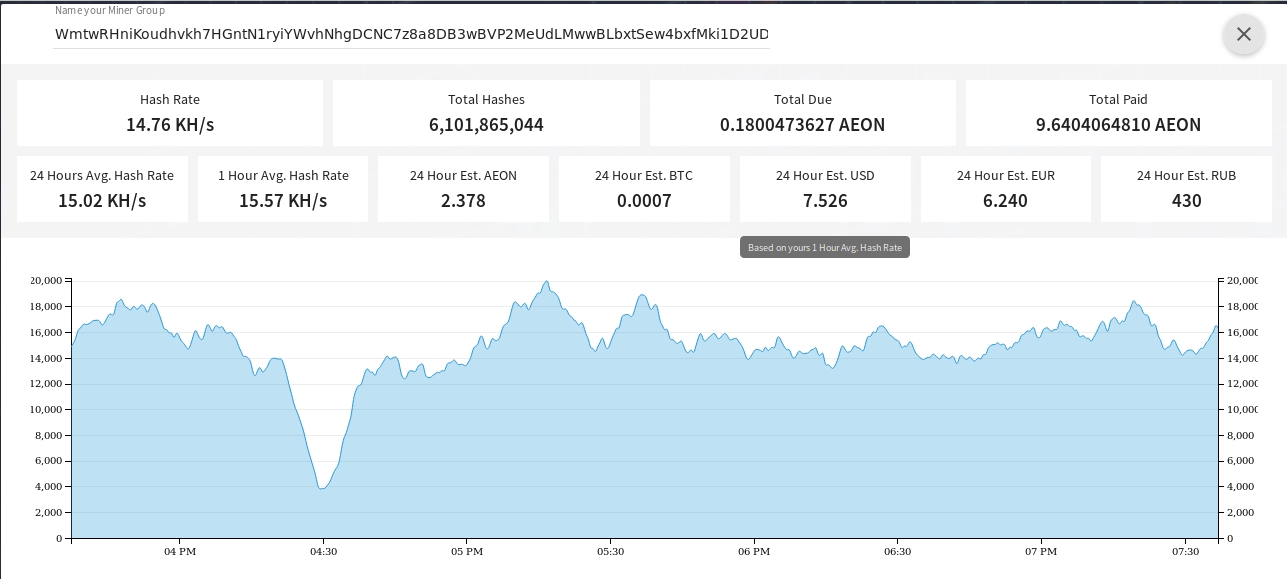
Enjoy the free CPU power and be sure to monitor your free credit!
Using this method I am able to pull 15KH/s sometime 20KH/s on a good day. Thats averaging $8 a day!
[IMAGE: https://steemitimages.com/DQmSzydRxFWKvmNugRtPBD8sHFbbZHGT4xrR24TNFVw37wy/graph.jpg]
Feel free to donate:
AEON: WmtwRHniKoudhvkh7HGntN1ryiYWvhNhgDCNC7z8a8DB3wBVP2MeUdLMwwBLbxtSew4bxfMki1D2UDnxVsSjkN2i2MnB4GEa7
BTC: 1Ku15w89eLeJTRoEsjFLQftU1bexkj1GmC
ETH: 0xe4a555daf0c71abef7b2d725eefae41dead4d8dd
LBRY: baNhe2w7ujnV7ScJN2adFAwfwHKAH3Mord
LTC: LfRLGVEcwmtqMWWuc7q4JV1xKovwbRXhvh
DGB: DBUfGZBV1p1aG4jGRSBdW4FQpEdcZzxbds
DASH: XfqNfUUAeLPKt17QhGJfJSveNHCmt5TMdB