Spanish.
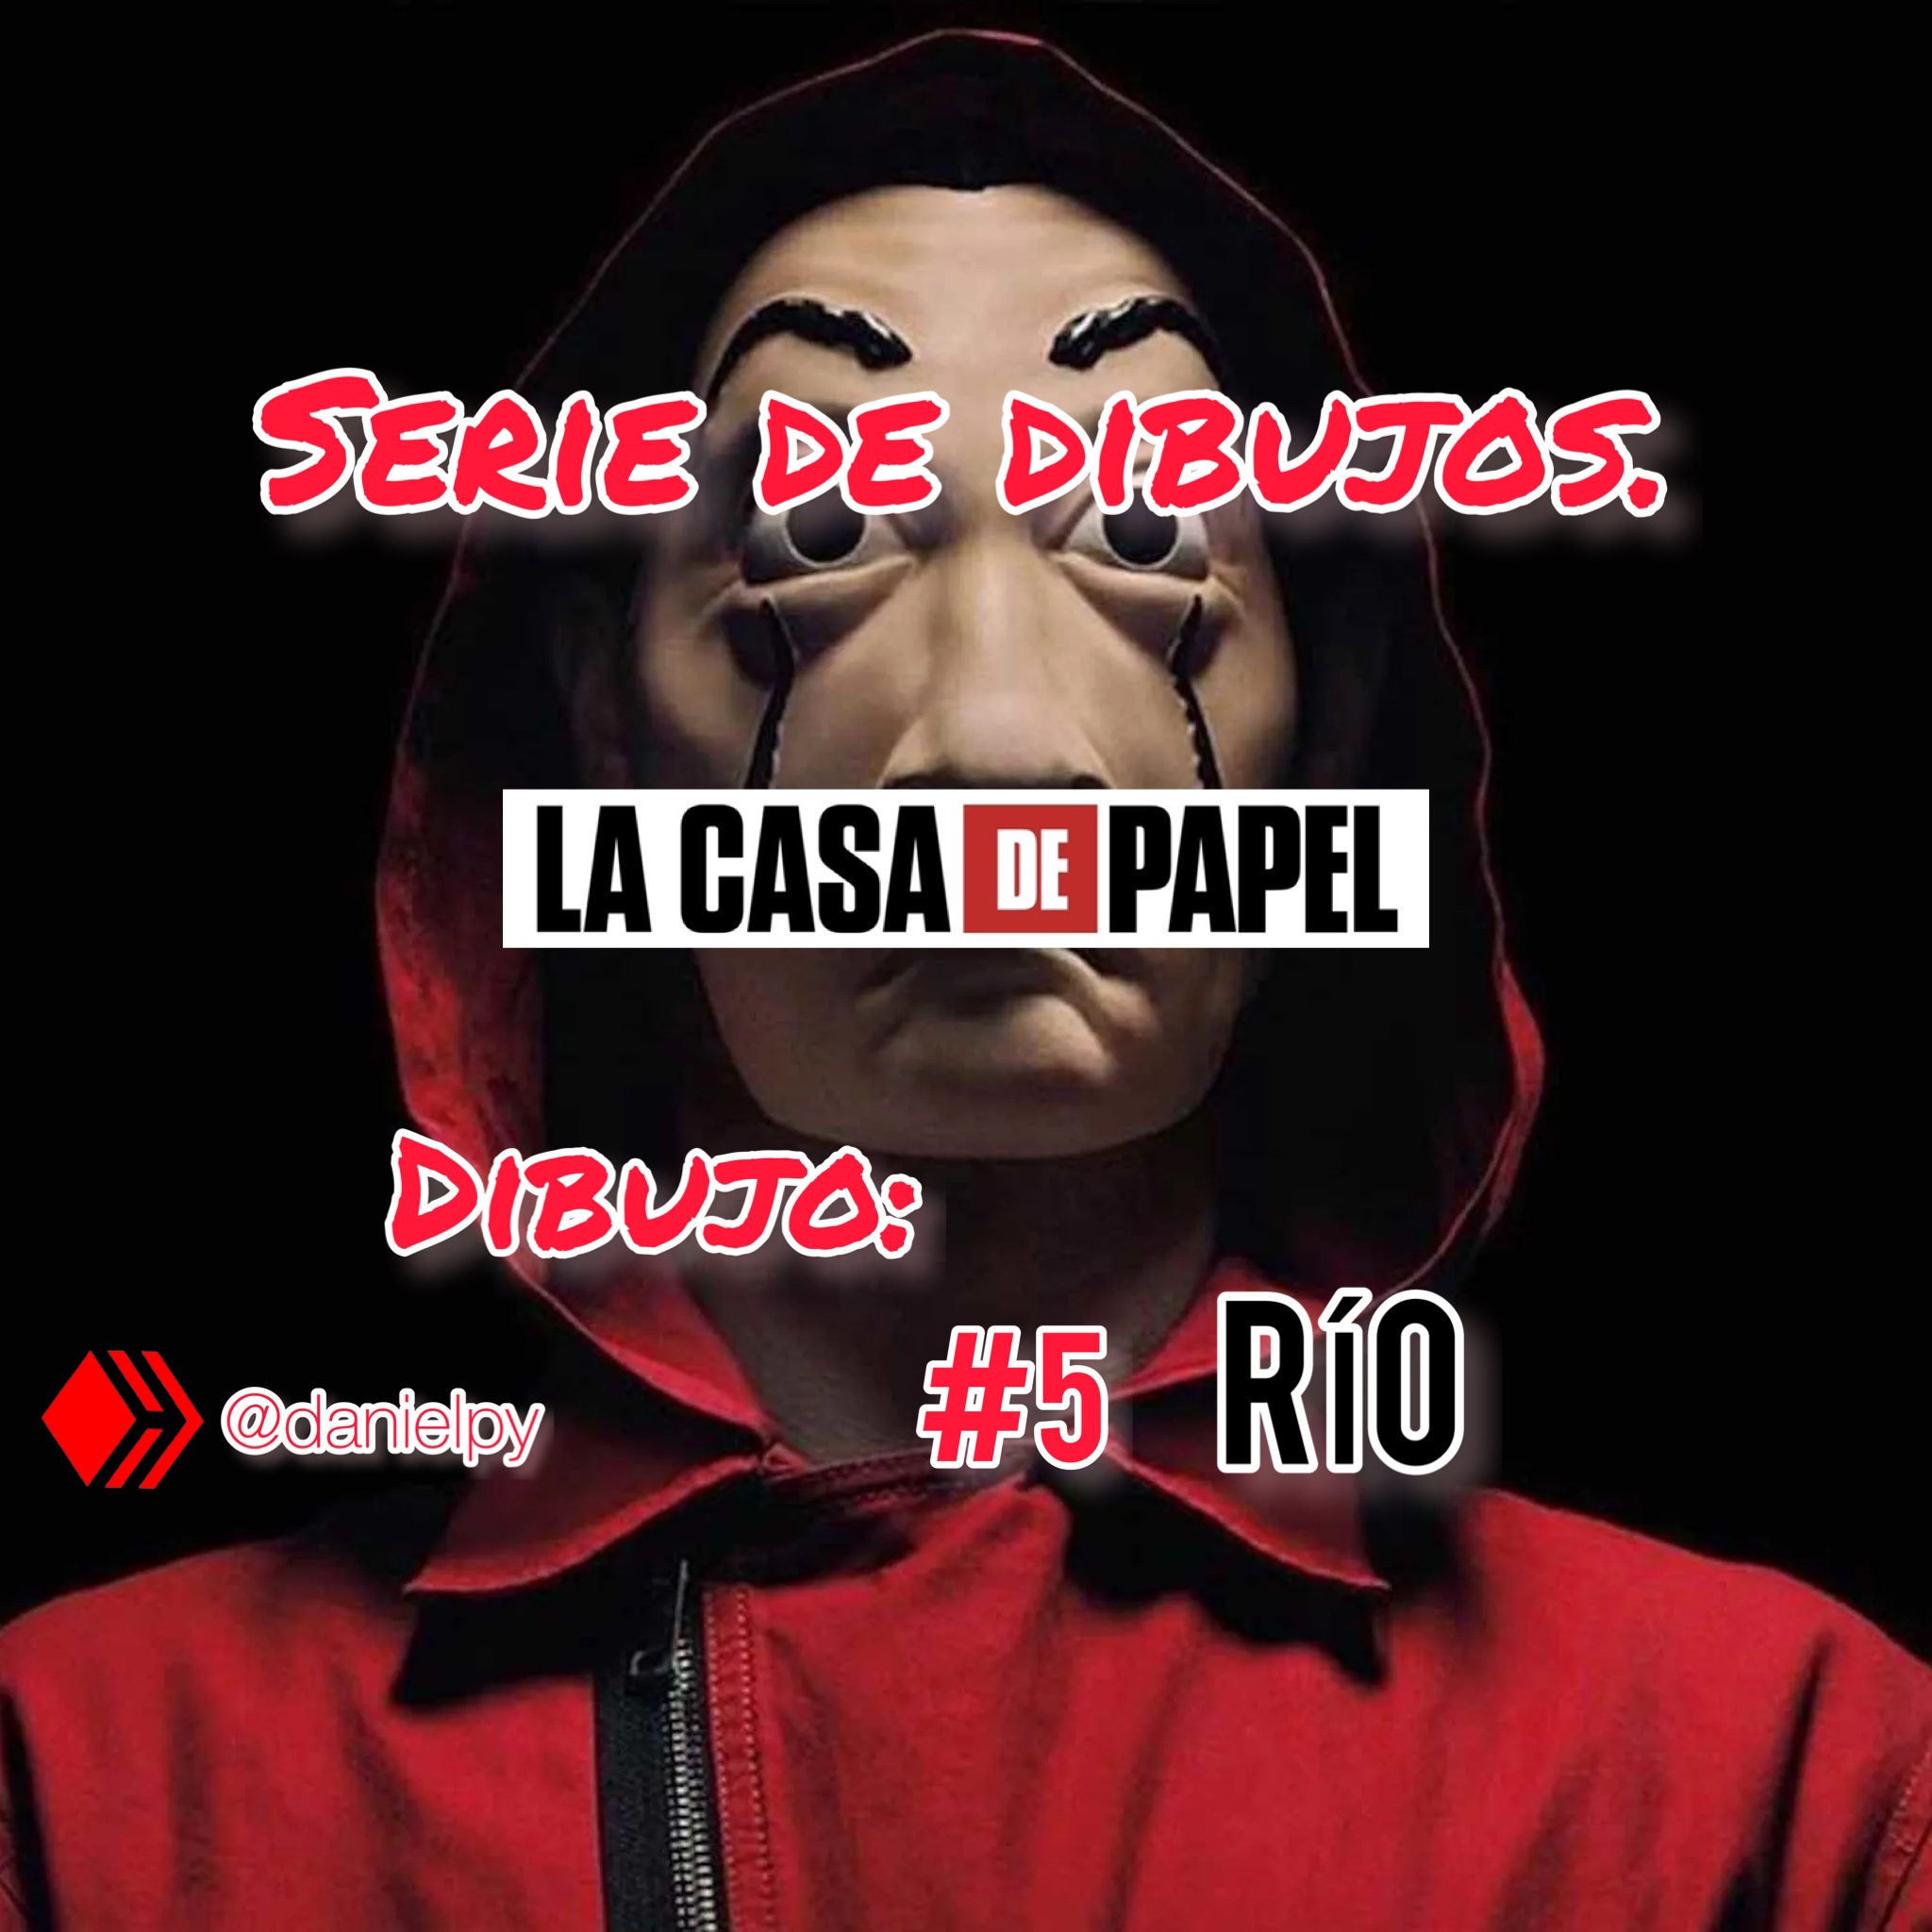
Hola amigos, hoy quiero seguir compartiendo con ustedes otro dibujo que hice ayer. Siguiendo así la dinámica (serie de dibujos).
Para esta ocasión mi elección fue Aníbal Cortés, (RÍO)
> Una infancia programando y hackeando. Una adolescencia con la mirada en la Red, esa capacidad y esos conocimientos le hizo jefe de seguridad siendo muy joven, pero su inmadurez hizo que como pasatiempo se ha metido en roturas y hackeos de sistema de seguridad.
Terminó en búsqueda y captura por la interpol y es ahí donde fue rescatado por El Profesor, formando parte de la banda atracadora como el maestro tecnológico del grupo.
Materiales utilizados.
* Hoja A4.
* Lápiz grafito HB.
* Lápiz grafito 3B.
* Lápiz grafito 4B.
* Lápiz grafito 5B.
* Borrador.
* Pañuelo para difuminar.
Teniendo todo preparado empezamos con el:
Paso Número 1
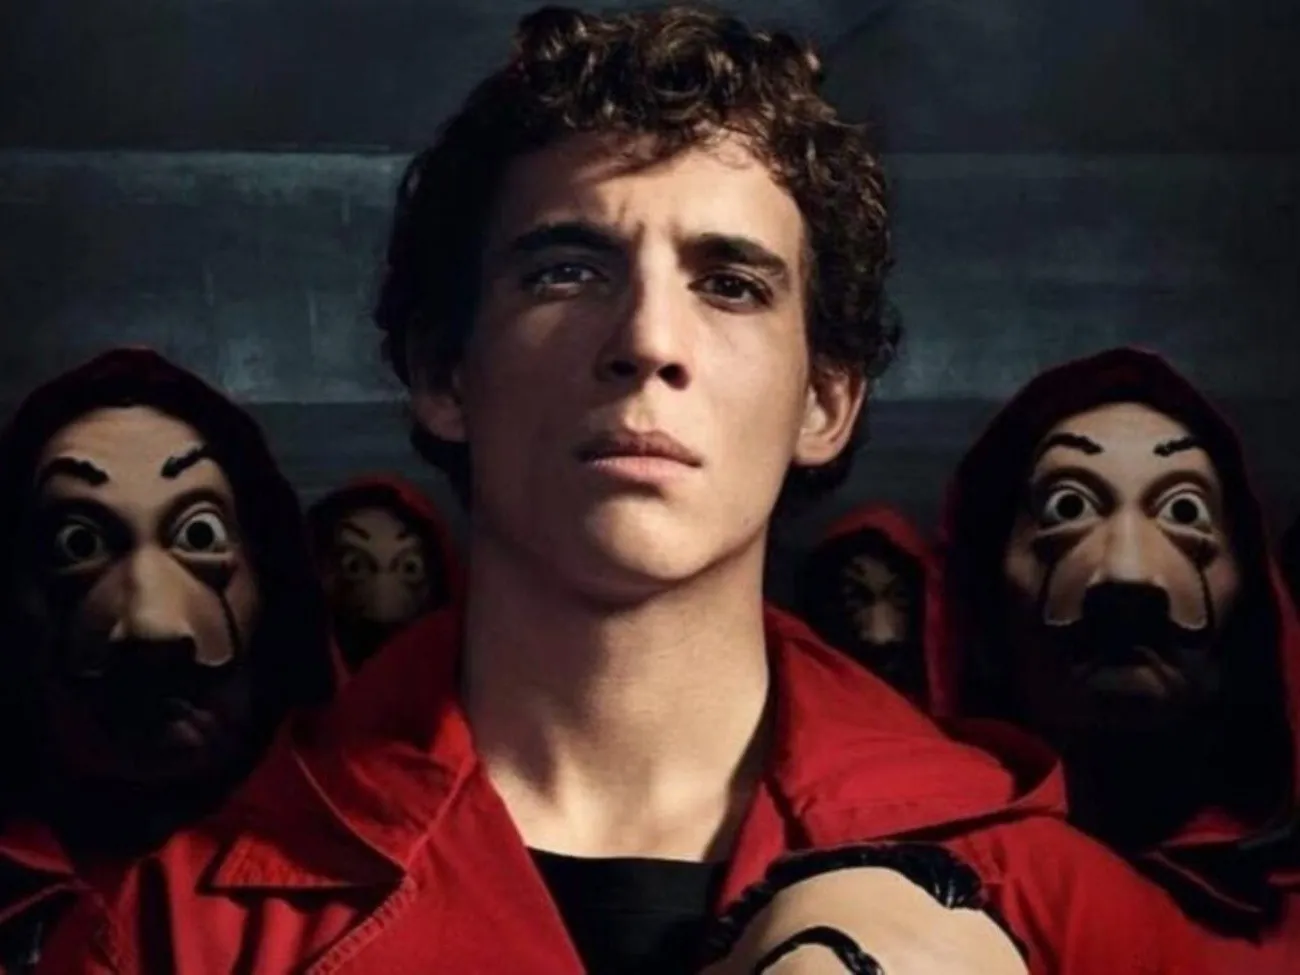
Escogí la fotografía del personaje que es ésta.👇🏻
[IMAGE: https://images.hive.blog/DQmckuLzCEMVSUn5QpYggwi5H5MVmxHomTFKeMJpfCQbZyL/C5DE9E25-9E35-4092-B244-8D022655D54F.webp]
Link
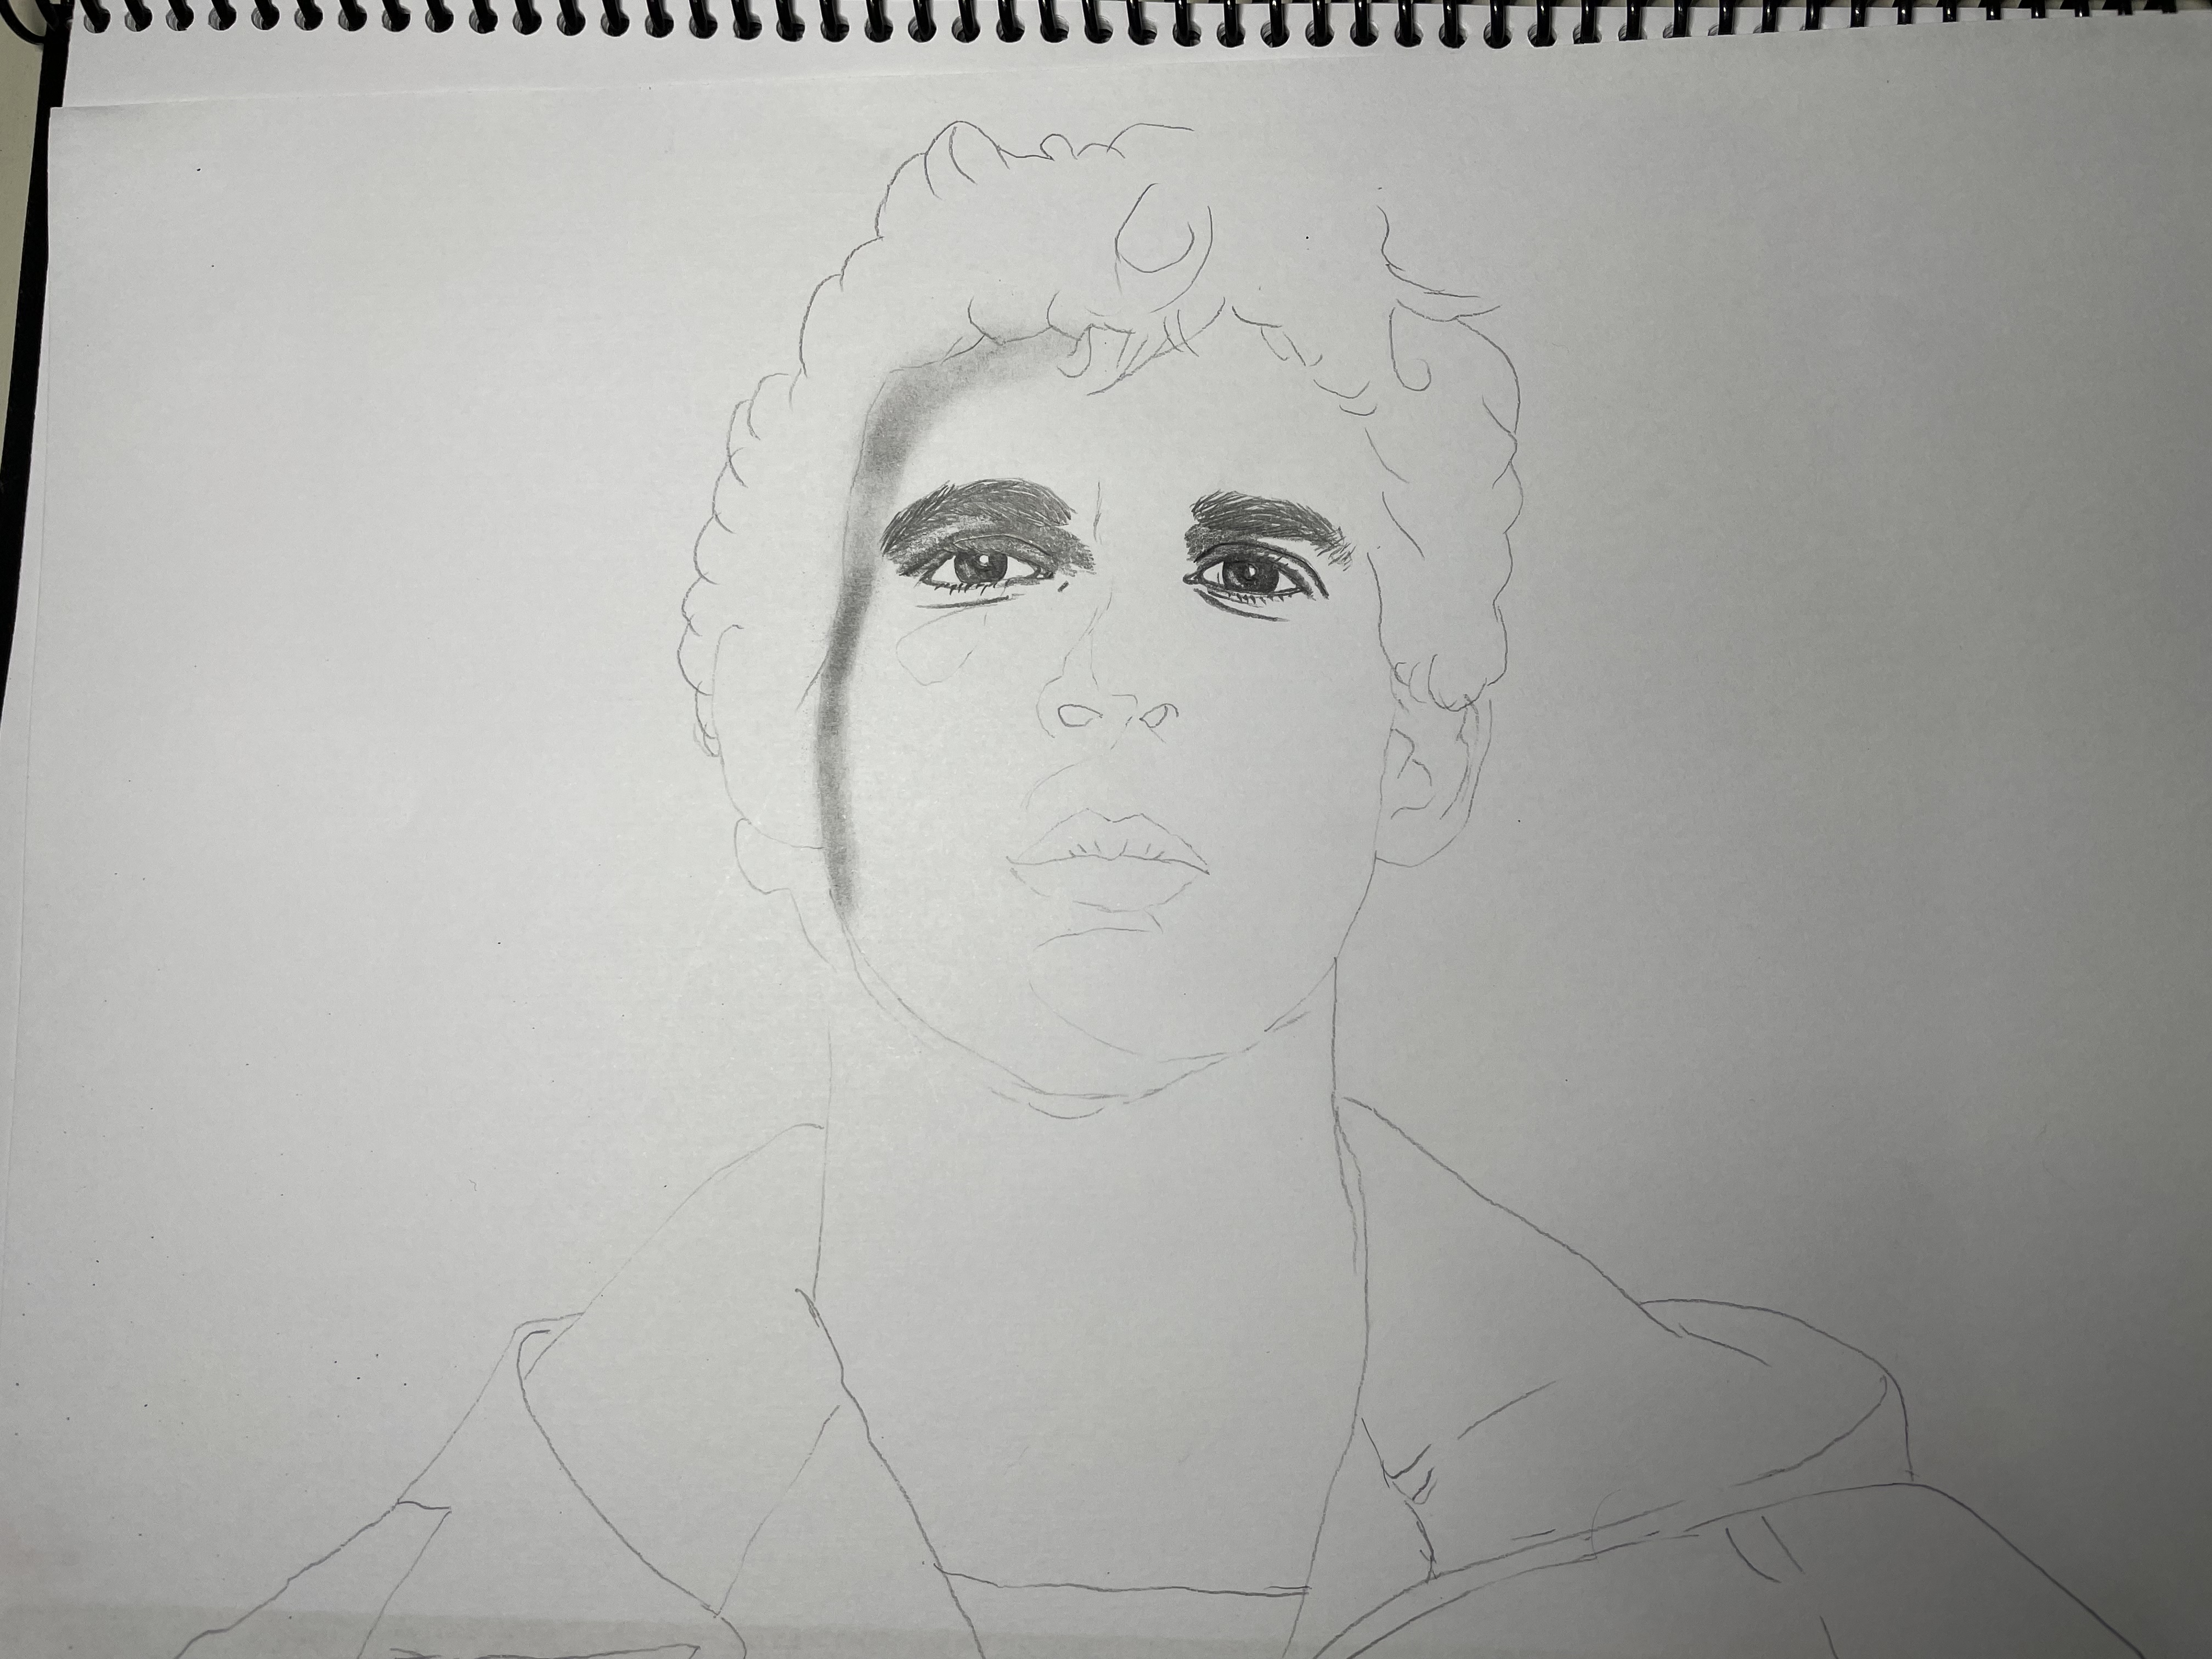
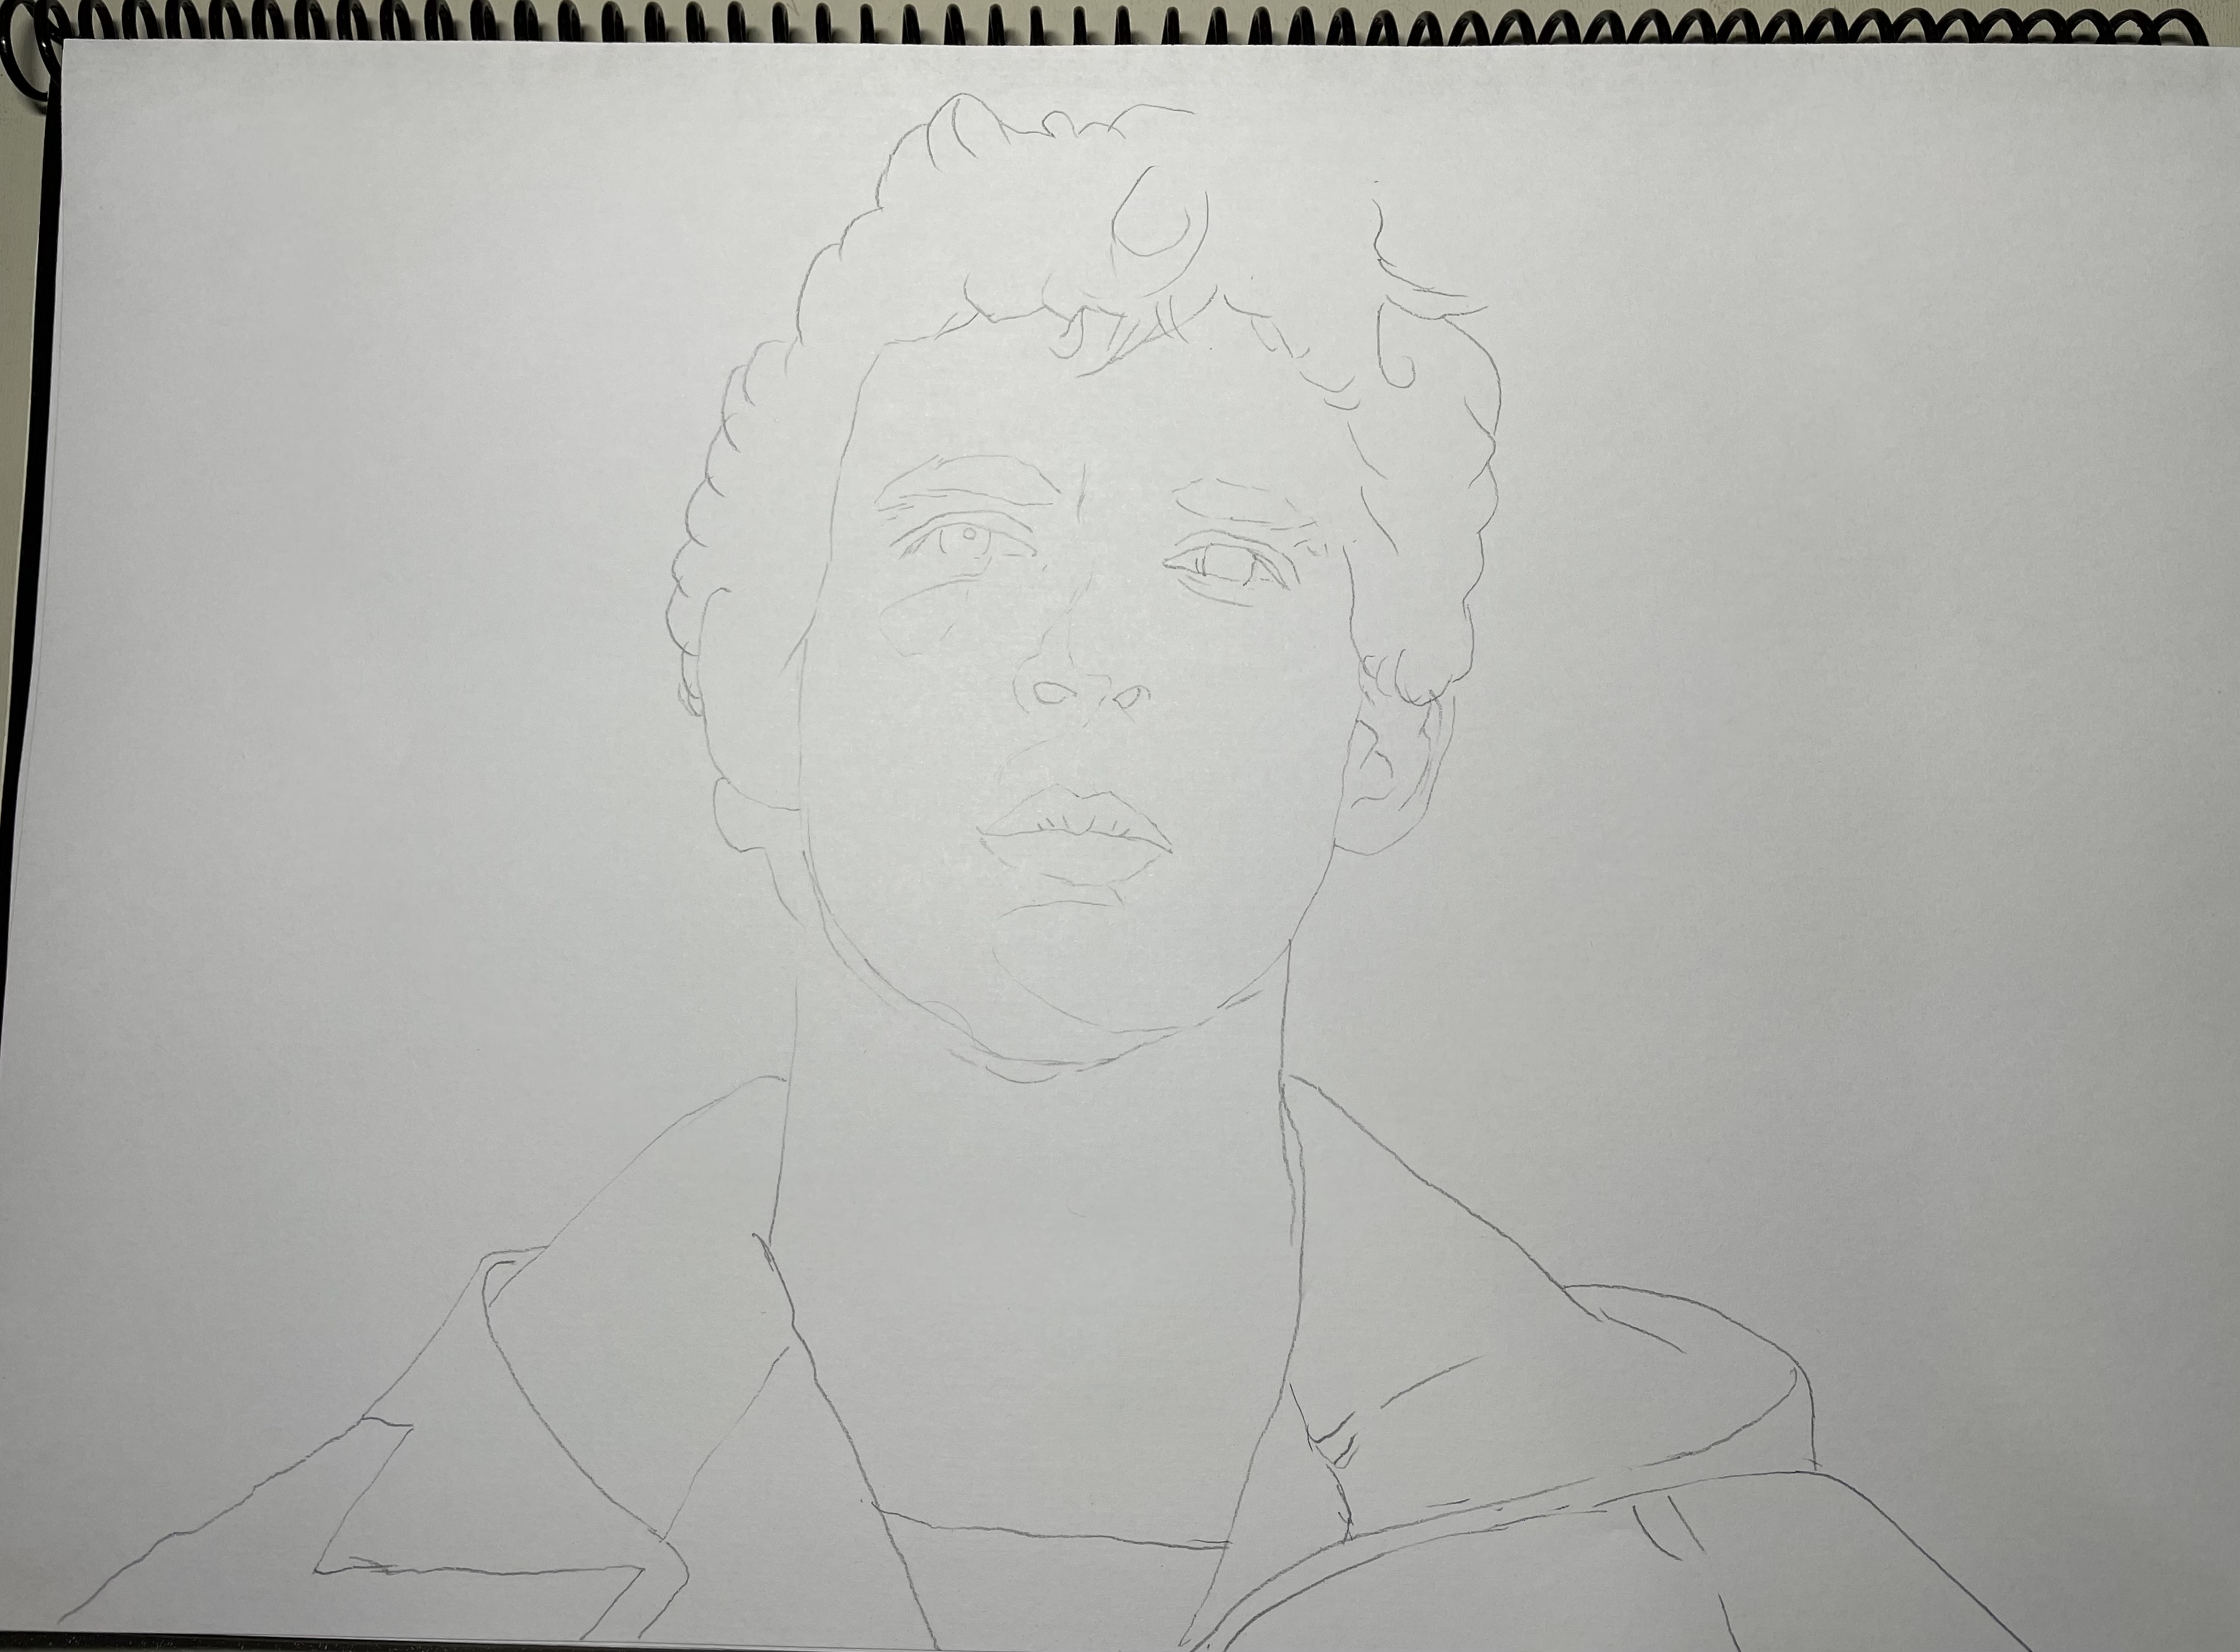
Paso Número. 2
Con un lápiz HB hago el boceto general.
[IMAGE: https://images.hive.blog/DQmcy1vaWNZaLXYBm6Va5UScoxEosCm6XDj1C7Bjtt6WuL8/195AA05B-343D-40ED-B6CC-D2BBC28A89D1.jpeg]
Paso Número 3
Una vez hecho el boceto, marco y pinto las líneas de los ojos con el lápiz 3B acompañado con un 4B.
[IMAGE: https://images.hive.blog/DQmfA1tT63gMbkfmioGJUd9ew56ENTjuV9jsrd3JuMz7AzT/0C8194FD-C214-43A4-8B68-AA0A689AD696.jpeg]
Paso Número 4
Con el lápiz 5B hago una sombra al rostro izquierdo y con un pañuelo difumino todo, este efecto se logra gracias al lápiz grafito, ya que quedan restos en la hoja y con un pañuelo esparzo haciendo efecto de sombra.
[IMAGE: https://images.hive.blog/DQmcWQAt6eD5TaHbkvP1U5TtVMbuvxmsXLheb8gKugp7Vtg/E4862F2A-0F92-409F-9A26-3F09910427CC.jpeg]
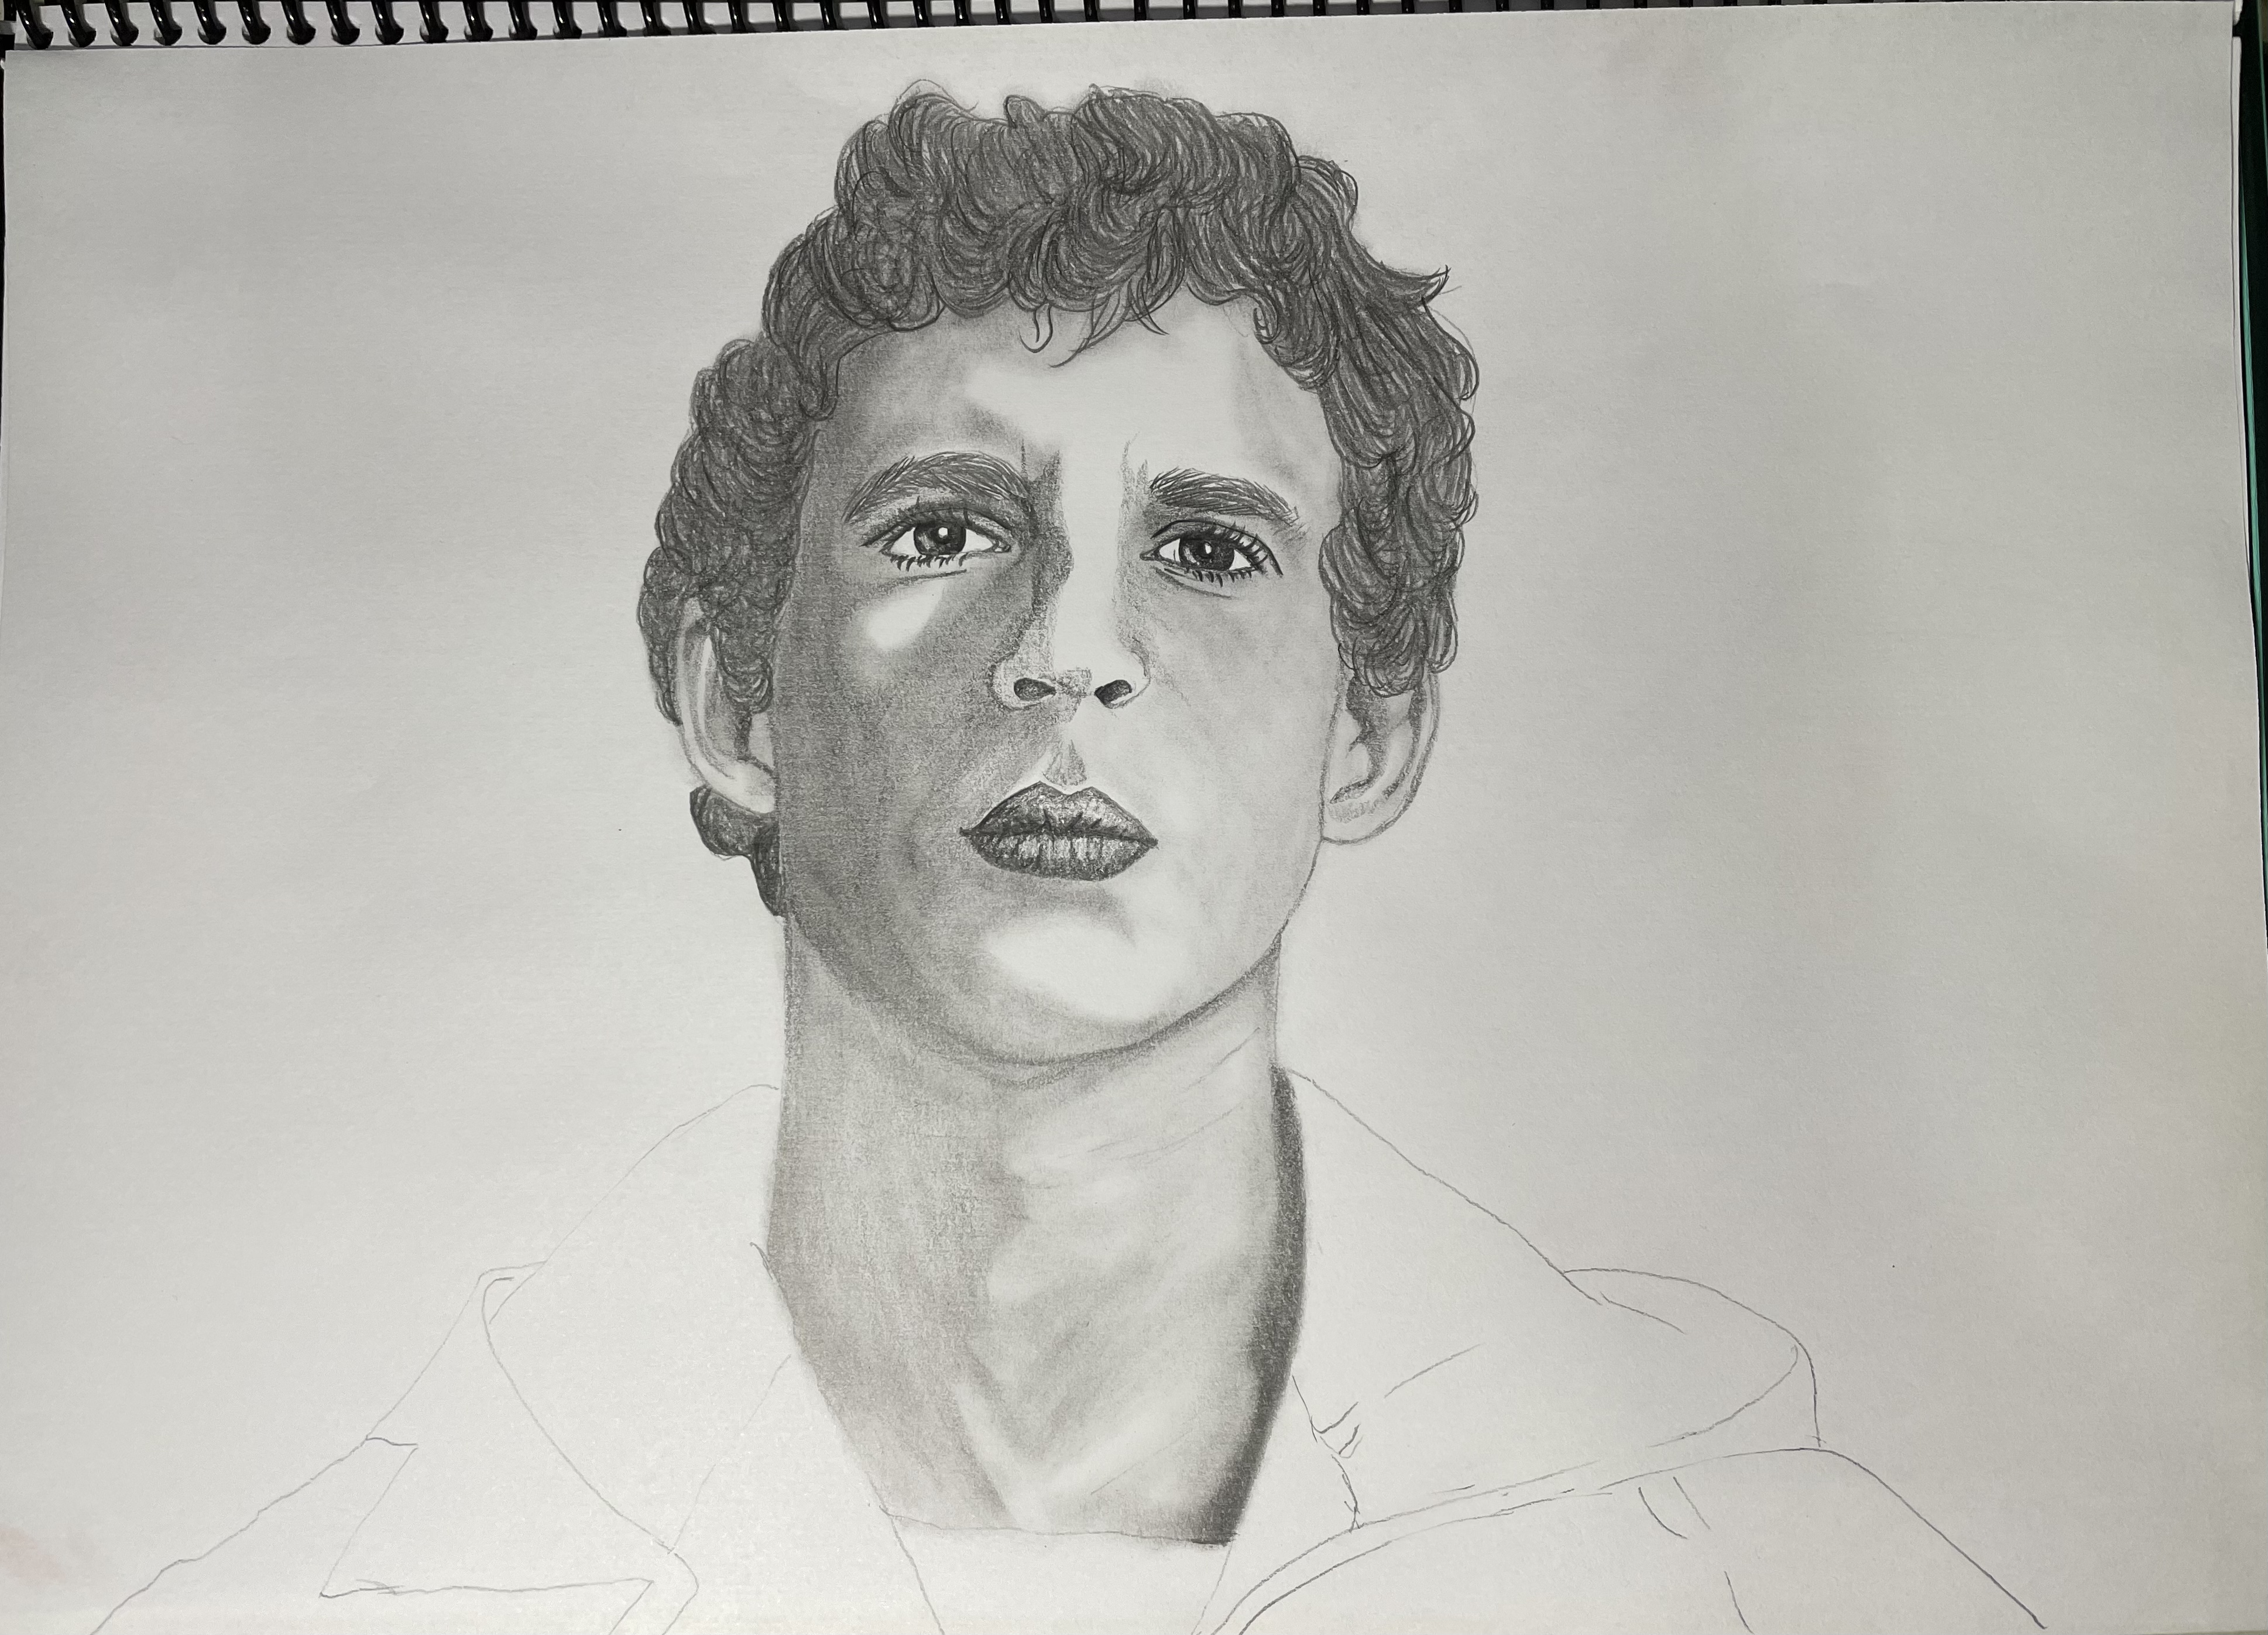
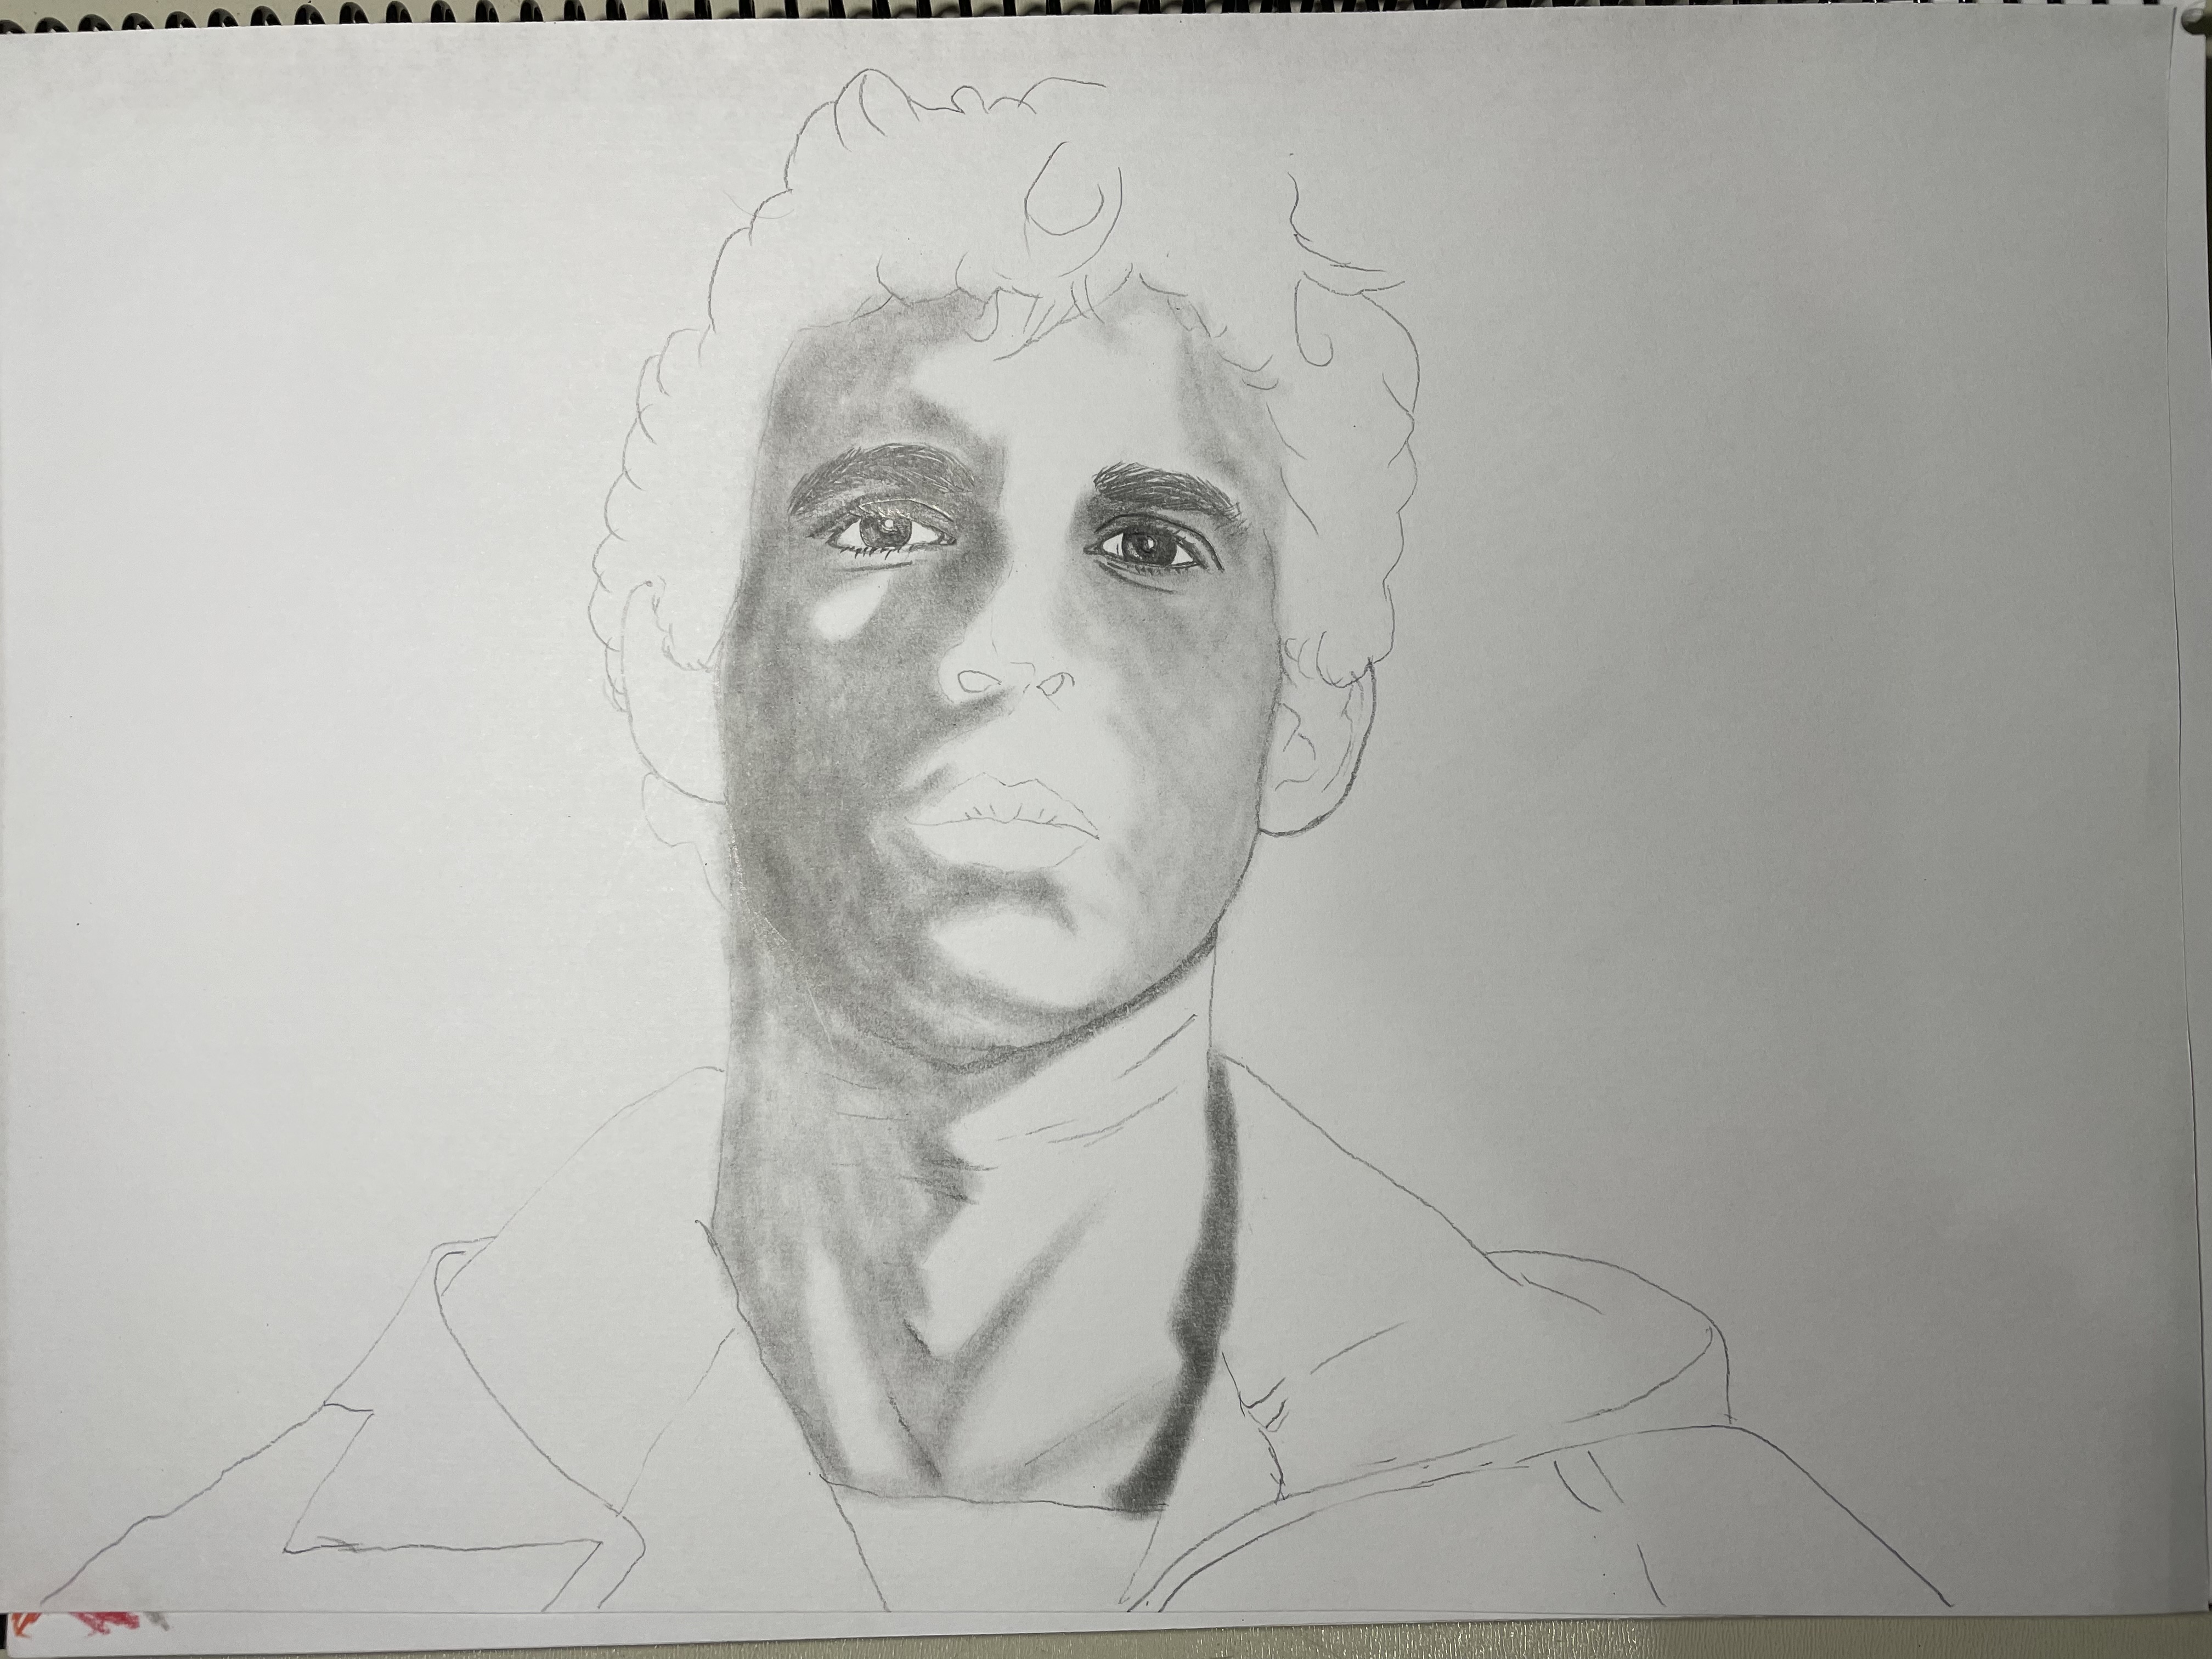
Paso Número 5
Sigo añadiendo más profundidad e intensidad a las sombras del rostro y cuello. Utilizando el mismo método anterior.
[IMAGE: https://images.hive.blog/DQmesr9AbUdsQaqxE5wjx3AG2LwehbtsA15hyHMPPhbAthY/163304E1-B1E1-42C8-AB26-C67F108E5BED.jpeg]
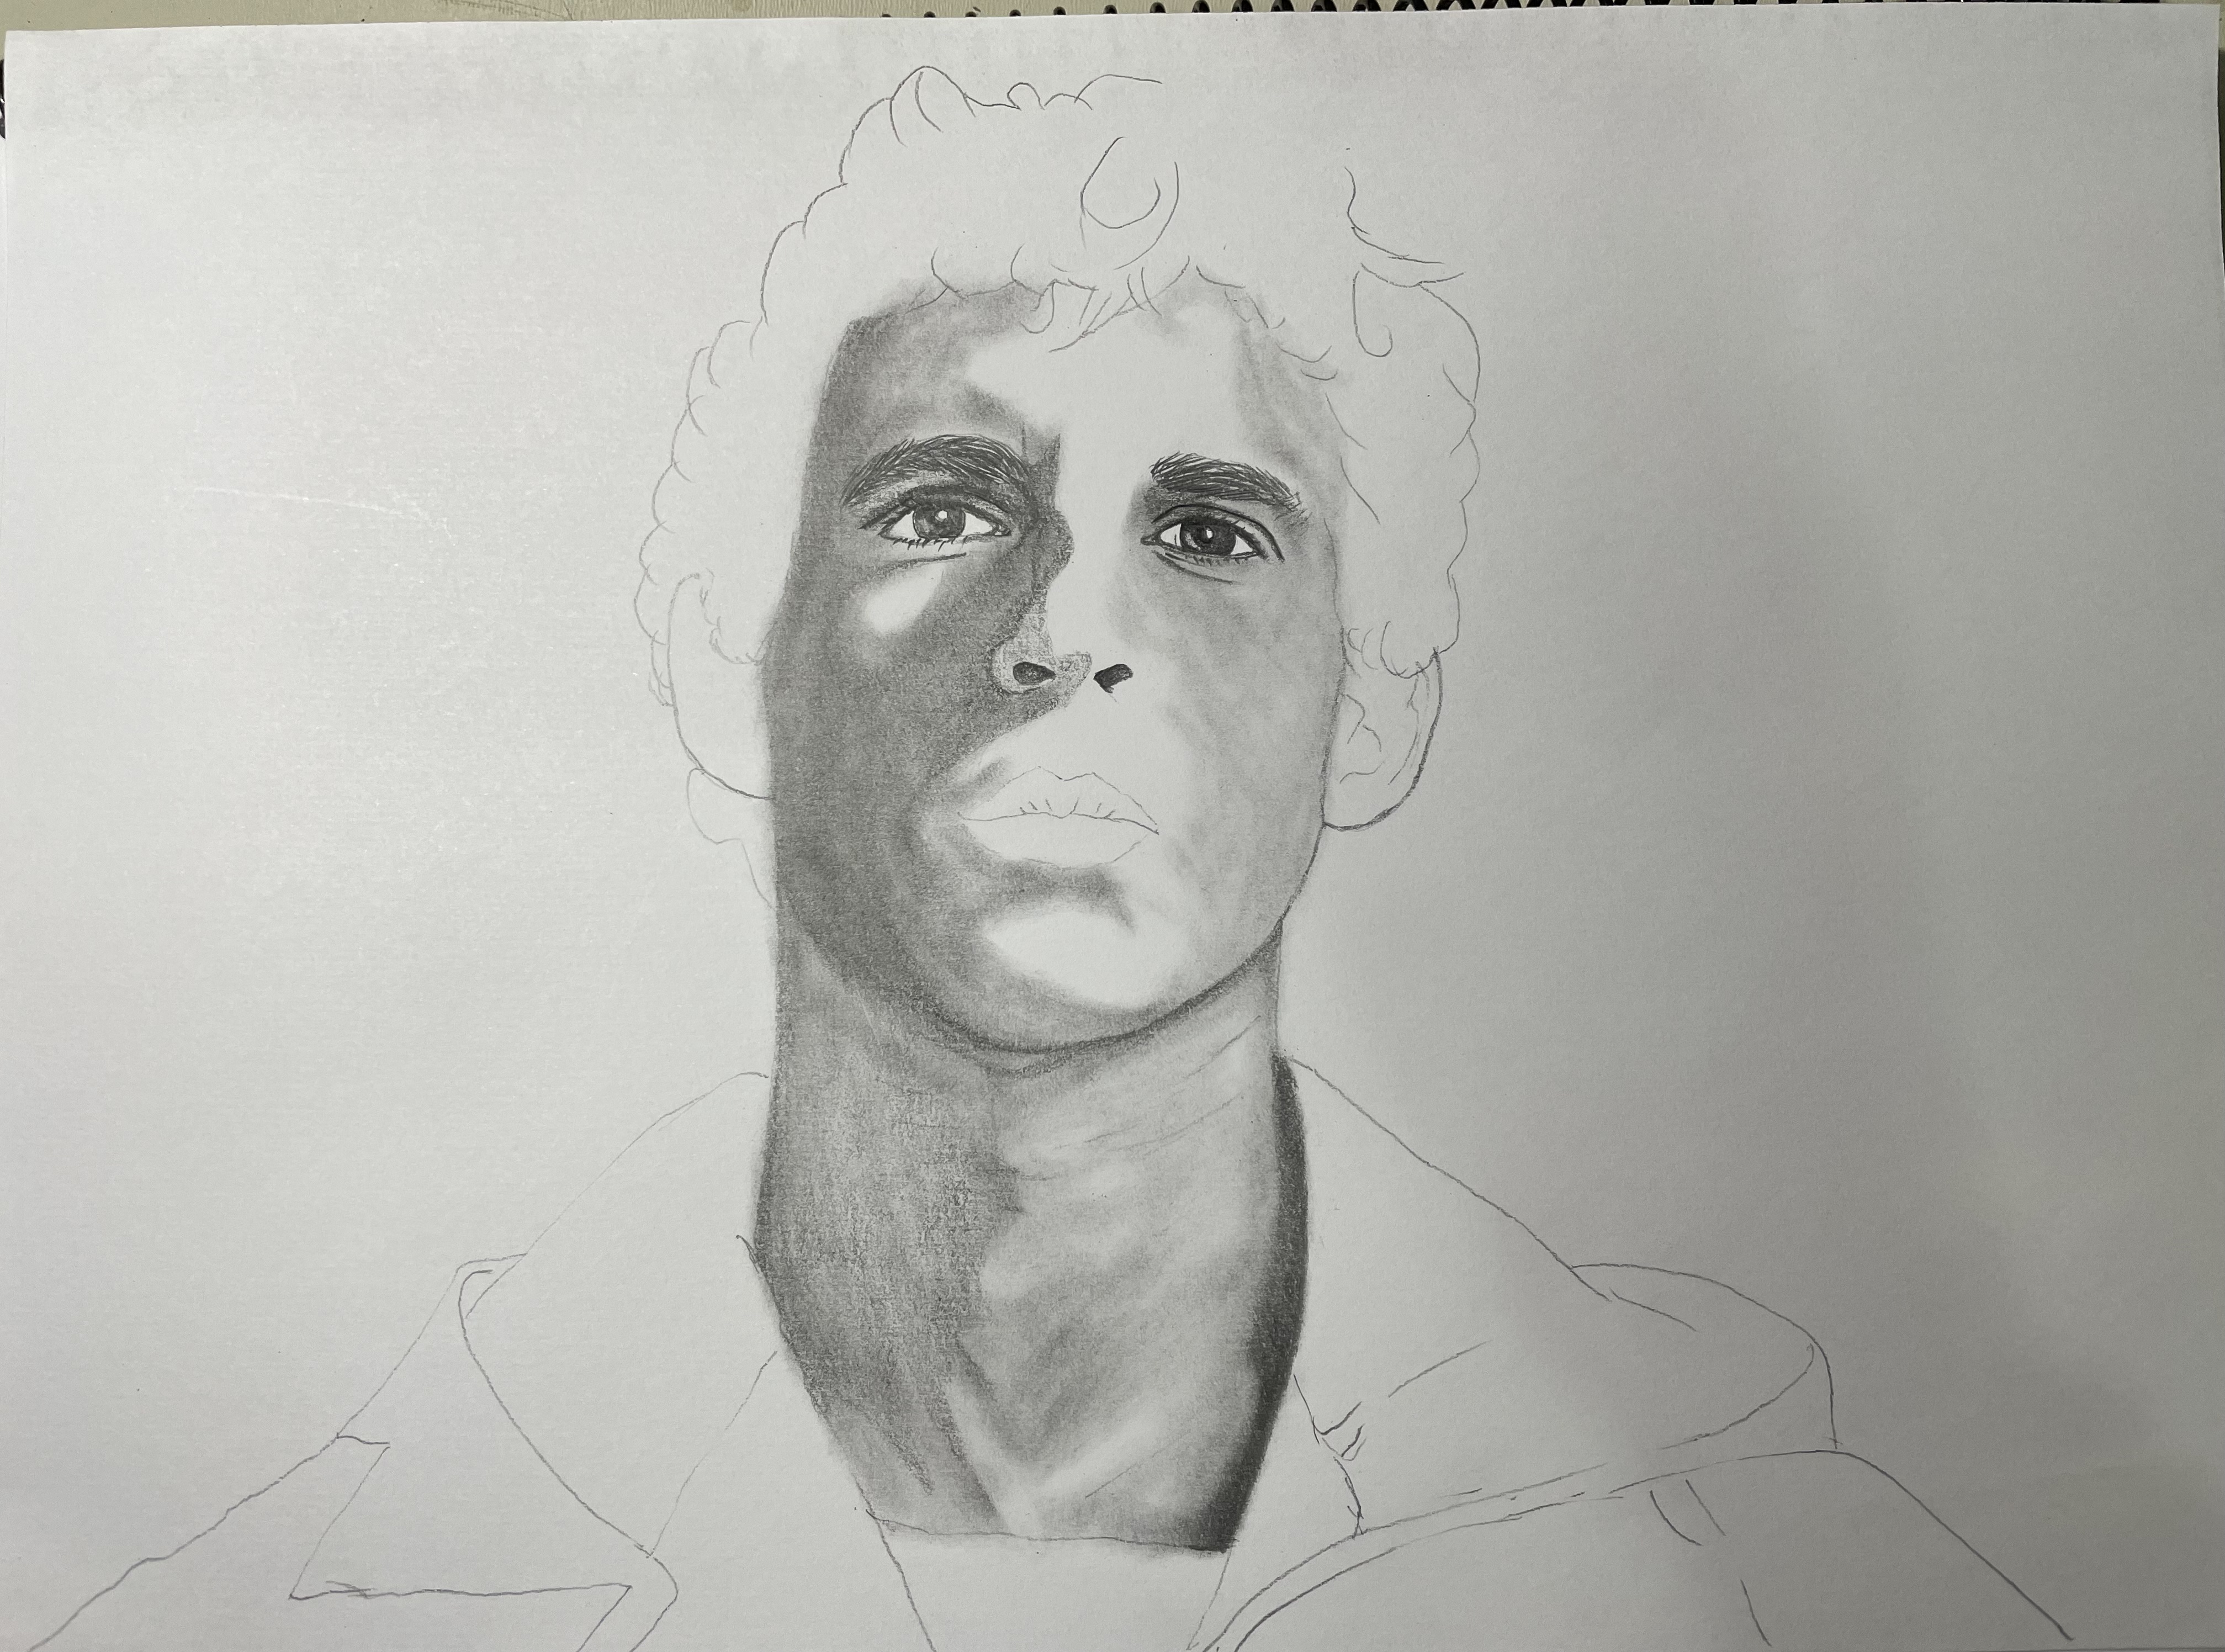
Paso Número. 6
Defino bien la nariz, boca y cabello, utilizando los lápices, 3B, 4B, 5B y un pañuelo para difuminar.
[IMAGE: https://images.hive.blog/DQmWpcmDBG9bNueHz7EBV4PGRVThshLok2UVg8gQebYfq4c/69052675-F0B4-4997-B586-DF4F7C37CFDC.jpeg]
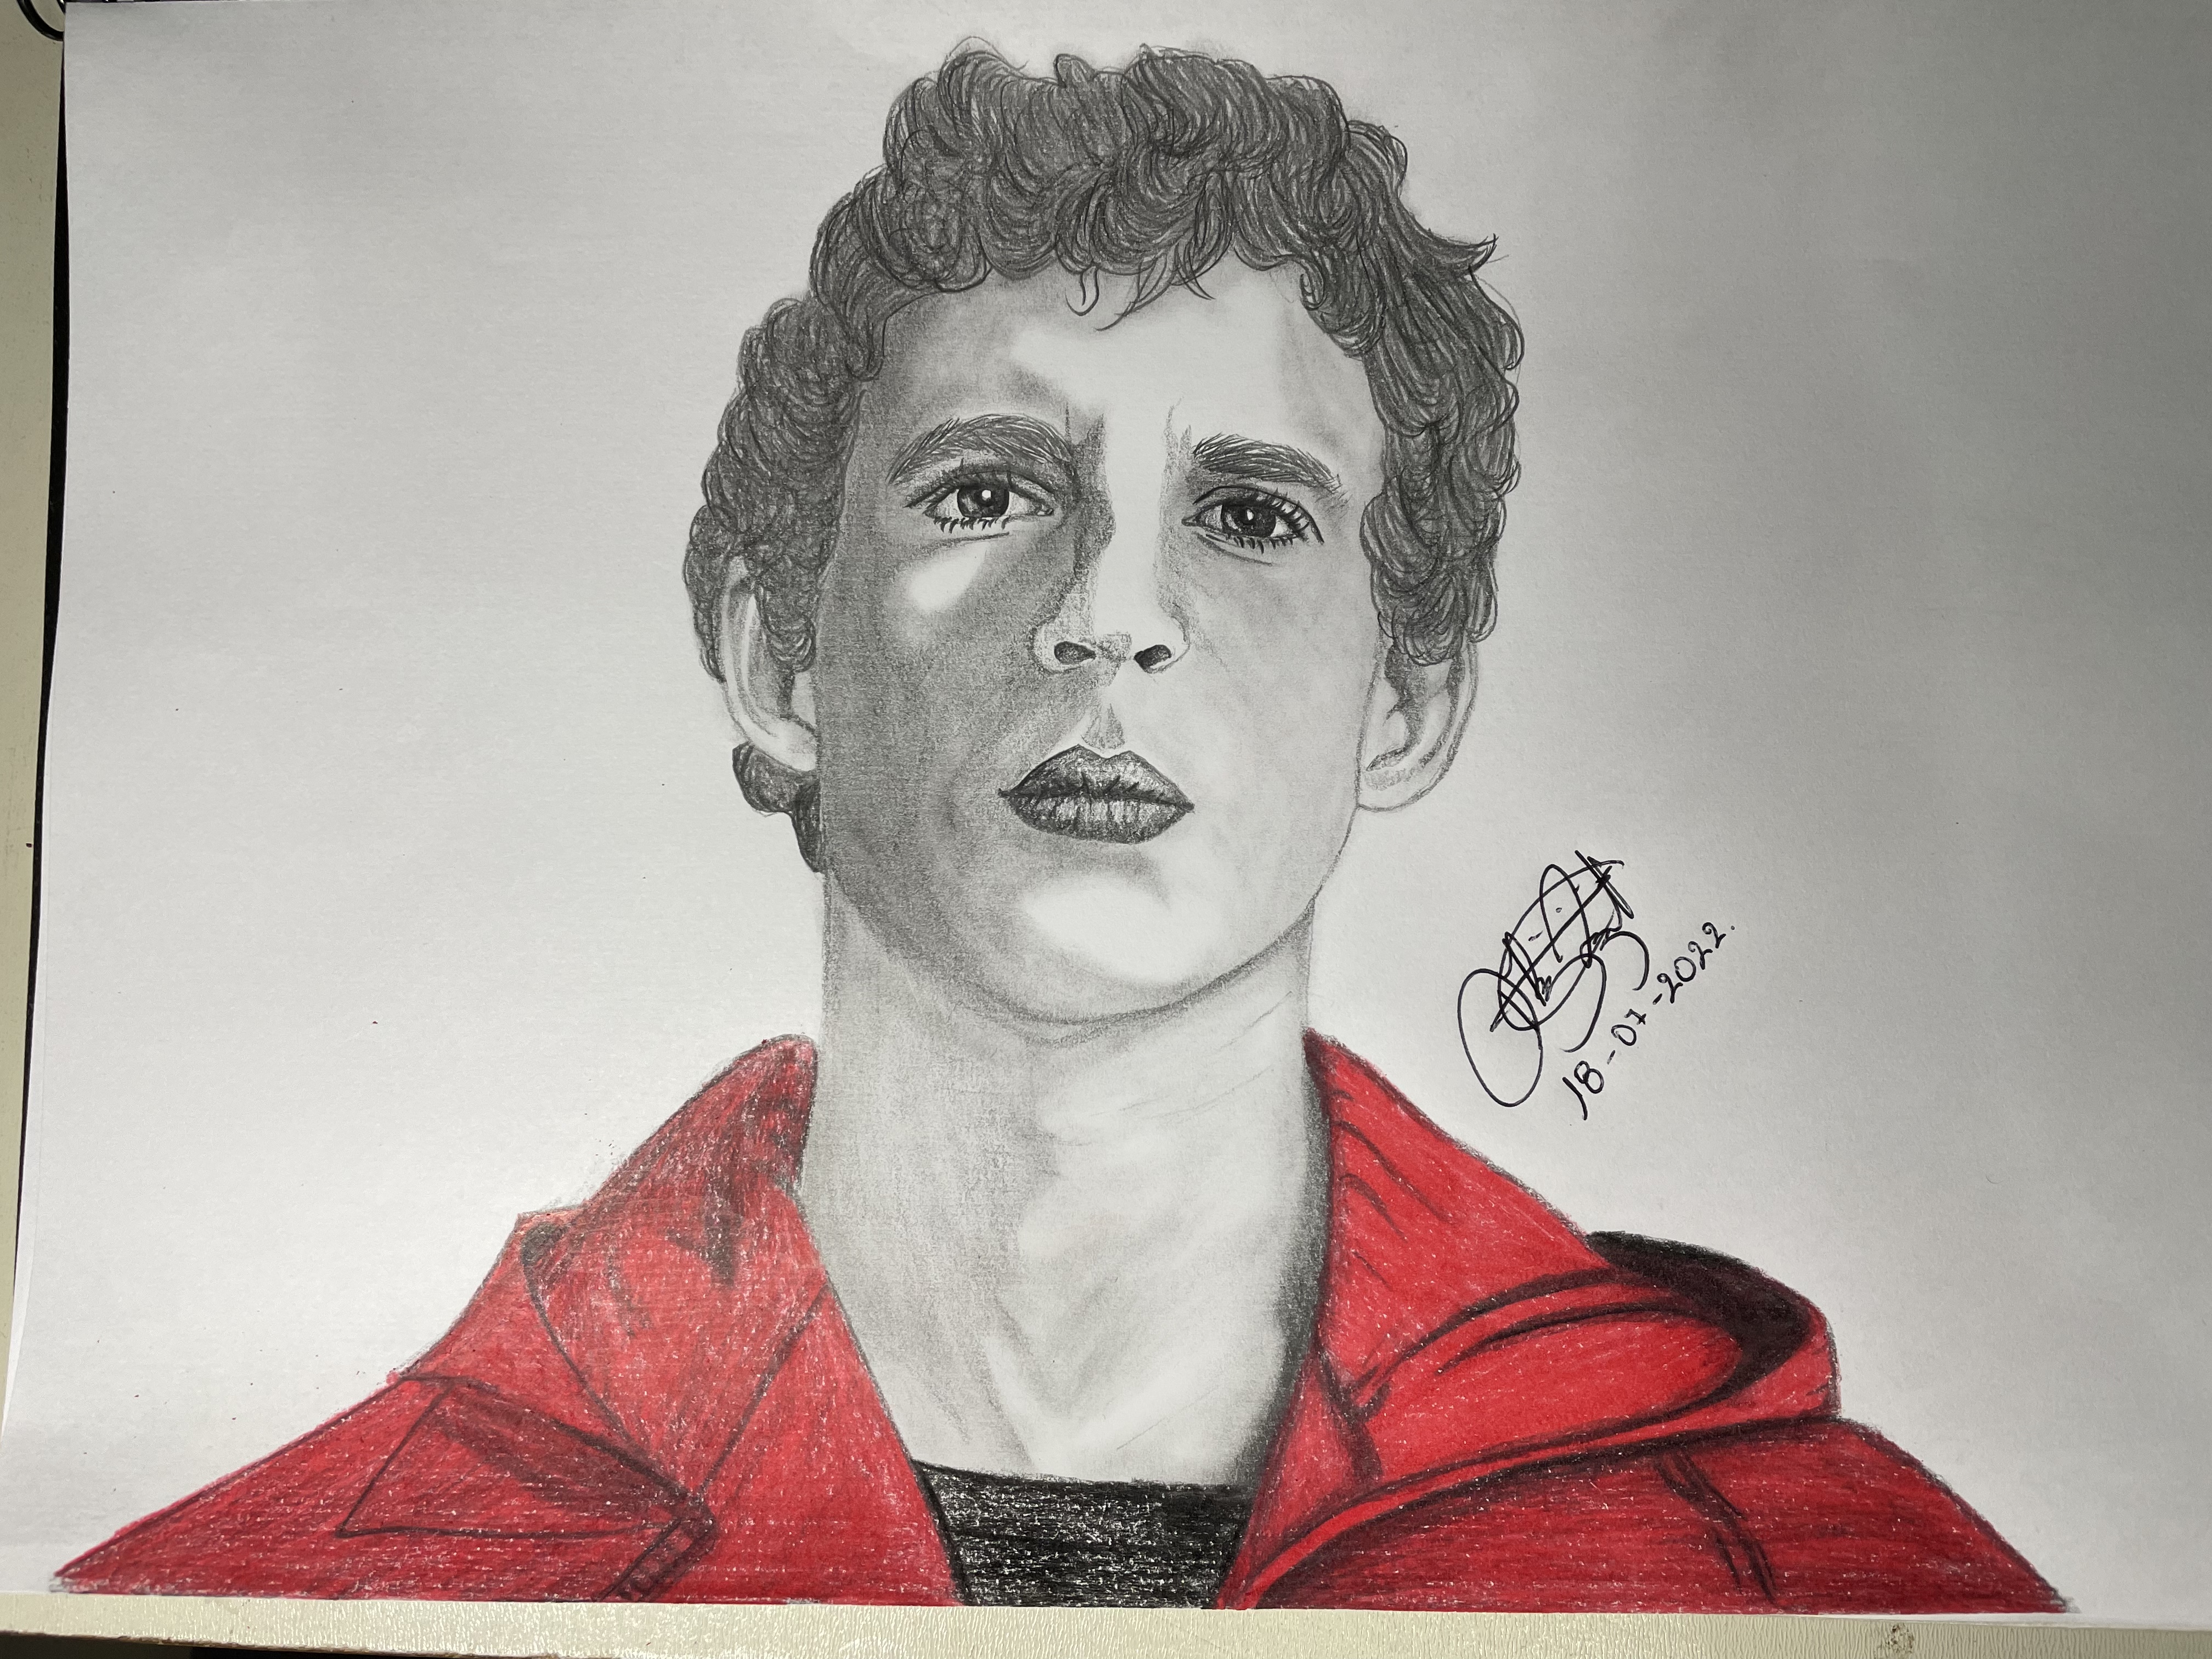
Paso Número 7
Para la chaqueta utilizo un lápiz de color negro para dar un acabado de profundidad y sombra.
[IMAGE: https://images.hive.blog/DQmXEpaTZnxxRQJFQrTdoVUzvwBcH1yodq3xyZSbv3et3MG/DA39E27D-E4C1-4FBA-89BC-4349EE774013.jpeg]
Paso Número 8
Llegando a la parte final, con un lápiz de color Rojo pinto todo la parte de la ropa y así ha quedado el resultado.
[IMAGE: https://images.hive.blog/DQmbmbFkuhZ6yWh62sNbQvtiqmXmwUw4JLSJ21fU4iG9Aj6/59E7234A-5925-4C1F-A374-56EA0A662441.jpeg]
Si te tomaste el tiempo y llegaste hasta aquí, te doy gracias por ver y leer mi post.
@danielpy
English.
Hello friends, today I want to continue sharing with you another drawing I made yesterday. Following the dynamics (drawing series).
For this occasion my choice was Aníbal Cortés.
Materials used.
- Sheet A4.
- Graphite pencil HB.
- Graphite pencil 3B.
- Graphite pencil 4B.
- Graphite pencil 5B.
- Draft.
- Scarf to blend.
Having everything ready, we start with the:
Step Number 1
I chose the photograph of the character that is this.👇🏻
[IMAGE: https://images.hive.blog/DQmckuLzCEMVSUn5QpYggwi5H5MVmxHomTFKeMJpfCQbZyL/DADF1AE7-D559-4ED1-86AA-8908B9CF7710.webp]
Link
Step Number 2
With a HB pencil I make the general sketch.
[IMAGE: https://images.hive.blog/DQmcy1vaWNZaLXYBm6Va5UScoxEosCm6XDj1C7Bjtt6WuL8/F4056C94-379A-4F27-B58B-AE0C589CDE62.jpeg]
Step Number 3
Once the sketch is done, I frame and paint the eye lines with the 3B pencil accompanied by a 4B.
[IMAGE: https://images.hive.blog/DQmfA1tT63gMbkfmioGJUd9ew56ENTjuV9jsrd3JuMz7AzT/ABB4EAC0-DBE7-4FCE-87FA-47DB12A80716.jpeg]
Step Number 4
With the 5B pencil I make a shadow to the left face and with a scarf I blur everything, this effect is achieved thanks to the graphite pencil, since there are remains on the sheet and with a scattered handkerchief making a shadow effect.
[IMAGE: https://images.hive.blog/DQmcWQAt6eD5TaHbkvP1U5TtVMbuvxmsXLheb8gKugp7Vtg/FB13BA29-DCD0-4364-A45A-A48814F520E7.jpeg]
Step Number 5
I continue to add more depth and intensity to the shadows of the face and neck. Using the same method as above.
[IMAGE: https://images.hive.blog/DQmesr9AbUdsQaqxE5wjx3AG2LwehbtsA15hyHMPPhbAthY/CDD13EB9-3458-4BF0-A85B-F747B4ADCD4B.jpeg]
Step Number 6
I define the nose, mouth and hair well, using the pencils, 3B, 4B, 5B and a tissue to blend.
[IMAGE: https://images.hive.blog/DQmWpcmDBG9bNueHz7EBV4PGRVThshLok2UVg8gQebYfq4c/4062BE2E-7914-41FE-9AB5-EBFDAC1BE6FB.jpeg]
Step Number 7
For the jacket I use a black pencil to give a finish of depth and shadow.
[IMAGE: https://images.hive.blog/DQmXEpaTZnxxRQJFQrTdoVUzvwBcH1yodq3xyZSbv3et3MG/C5110BF3-CCE4-4E01-AEE8-6A17E4A3902A.jpeg]
Step Number 8
Reaching the final part, with a red pencil I paint the entire part of the clothes and that's how the result has turned out.
[IMAGE: https://images.hive.blog/DQmbmbFkuhZ6yWh62sNbQvtiqmXmwUw4JLSJ21fU4iG9Aj6/128285A9-DA59-45A2-B777-CAD33C9D6D63.jpeg]
If you took the time and got here, I thank you for seeing and reading my post.
@danielpy