오늘은 그림 과정을 소개하는 첫 날인데요 ㅎㅎ
아주 떨리기도 하고 재미있을거같네요 ^^
오늘 소개할 그림은 바로 이 그림입니다!!
Today is the first day to introduce the painting process.
It will be very trembling and fun. ^^
The picture to introduce today is this picture !!
[IMAGE: https://steemitimages.com/DQmdpBEmAmrKFdaur3xs9h3tXa4UsiMTa8ygTYTS3jagExj/16.jpg]
뭔가 섹시한? 여전사 를 생각해보고 그린그림입니다 ㅎㅎ
좀 예전그림이라서 많이 부족하고 아쉬운그림이지만...ㅎ과정을 간략한 설명과 함께 감상하시면 좋을거같습니다.
Is something sexy? It is a picture drawn by thinking of a woman.
It is a bit old picture because it is a little old picture, but it is a picture that is a bit disappointing ... ^^ It would be good if you can enjoy the course with a brief explanation.
[IMAGE: https://steemitimages.com/DQmNNgSFhR1QxN7Bwy5NhgDrqQrJWgtKidoxsXUPeSsPa2P/1.jpg]
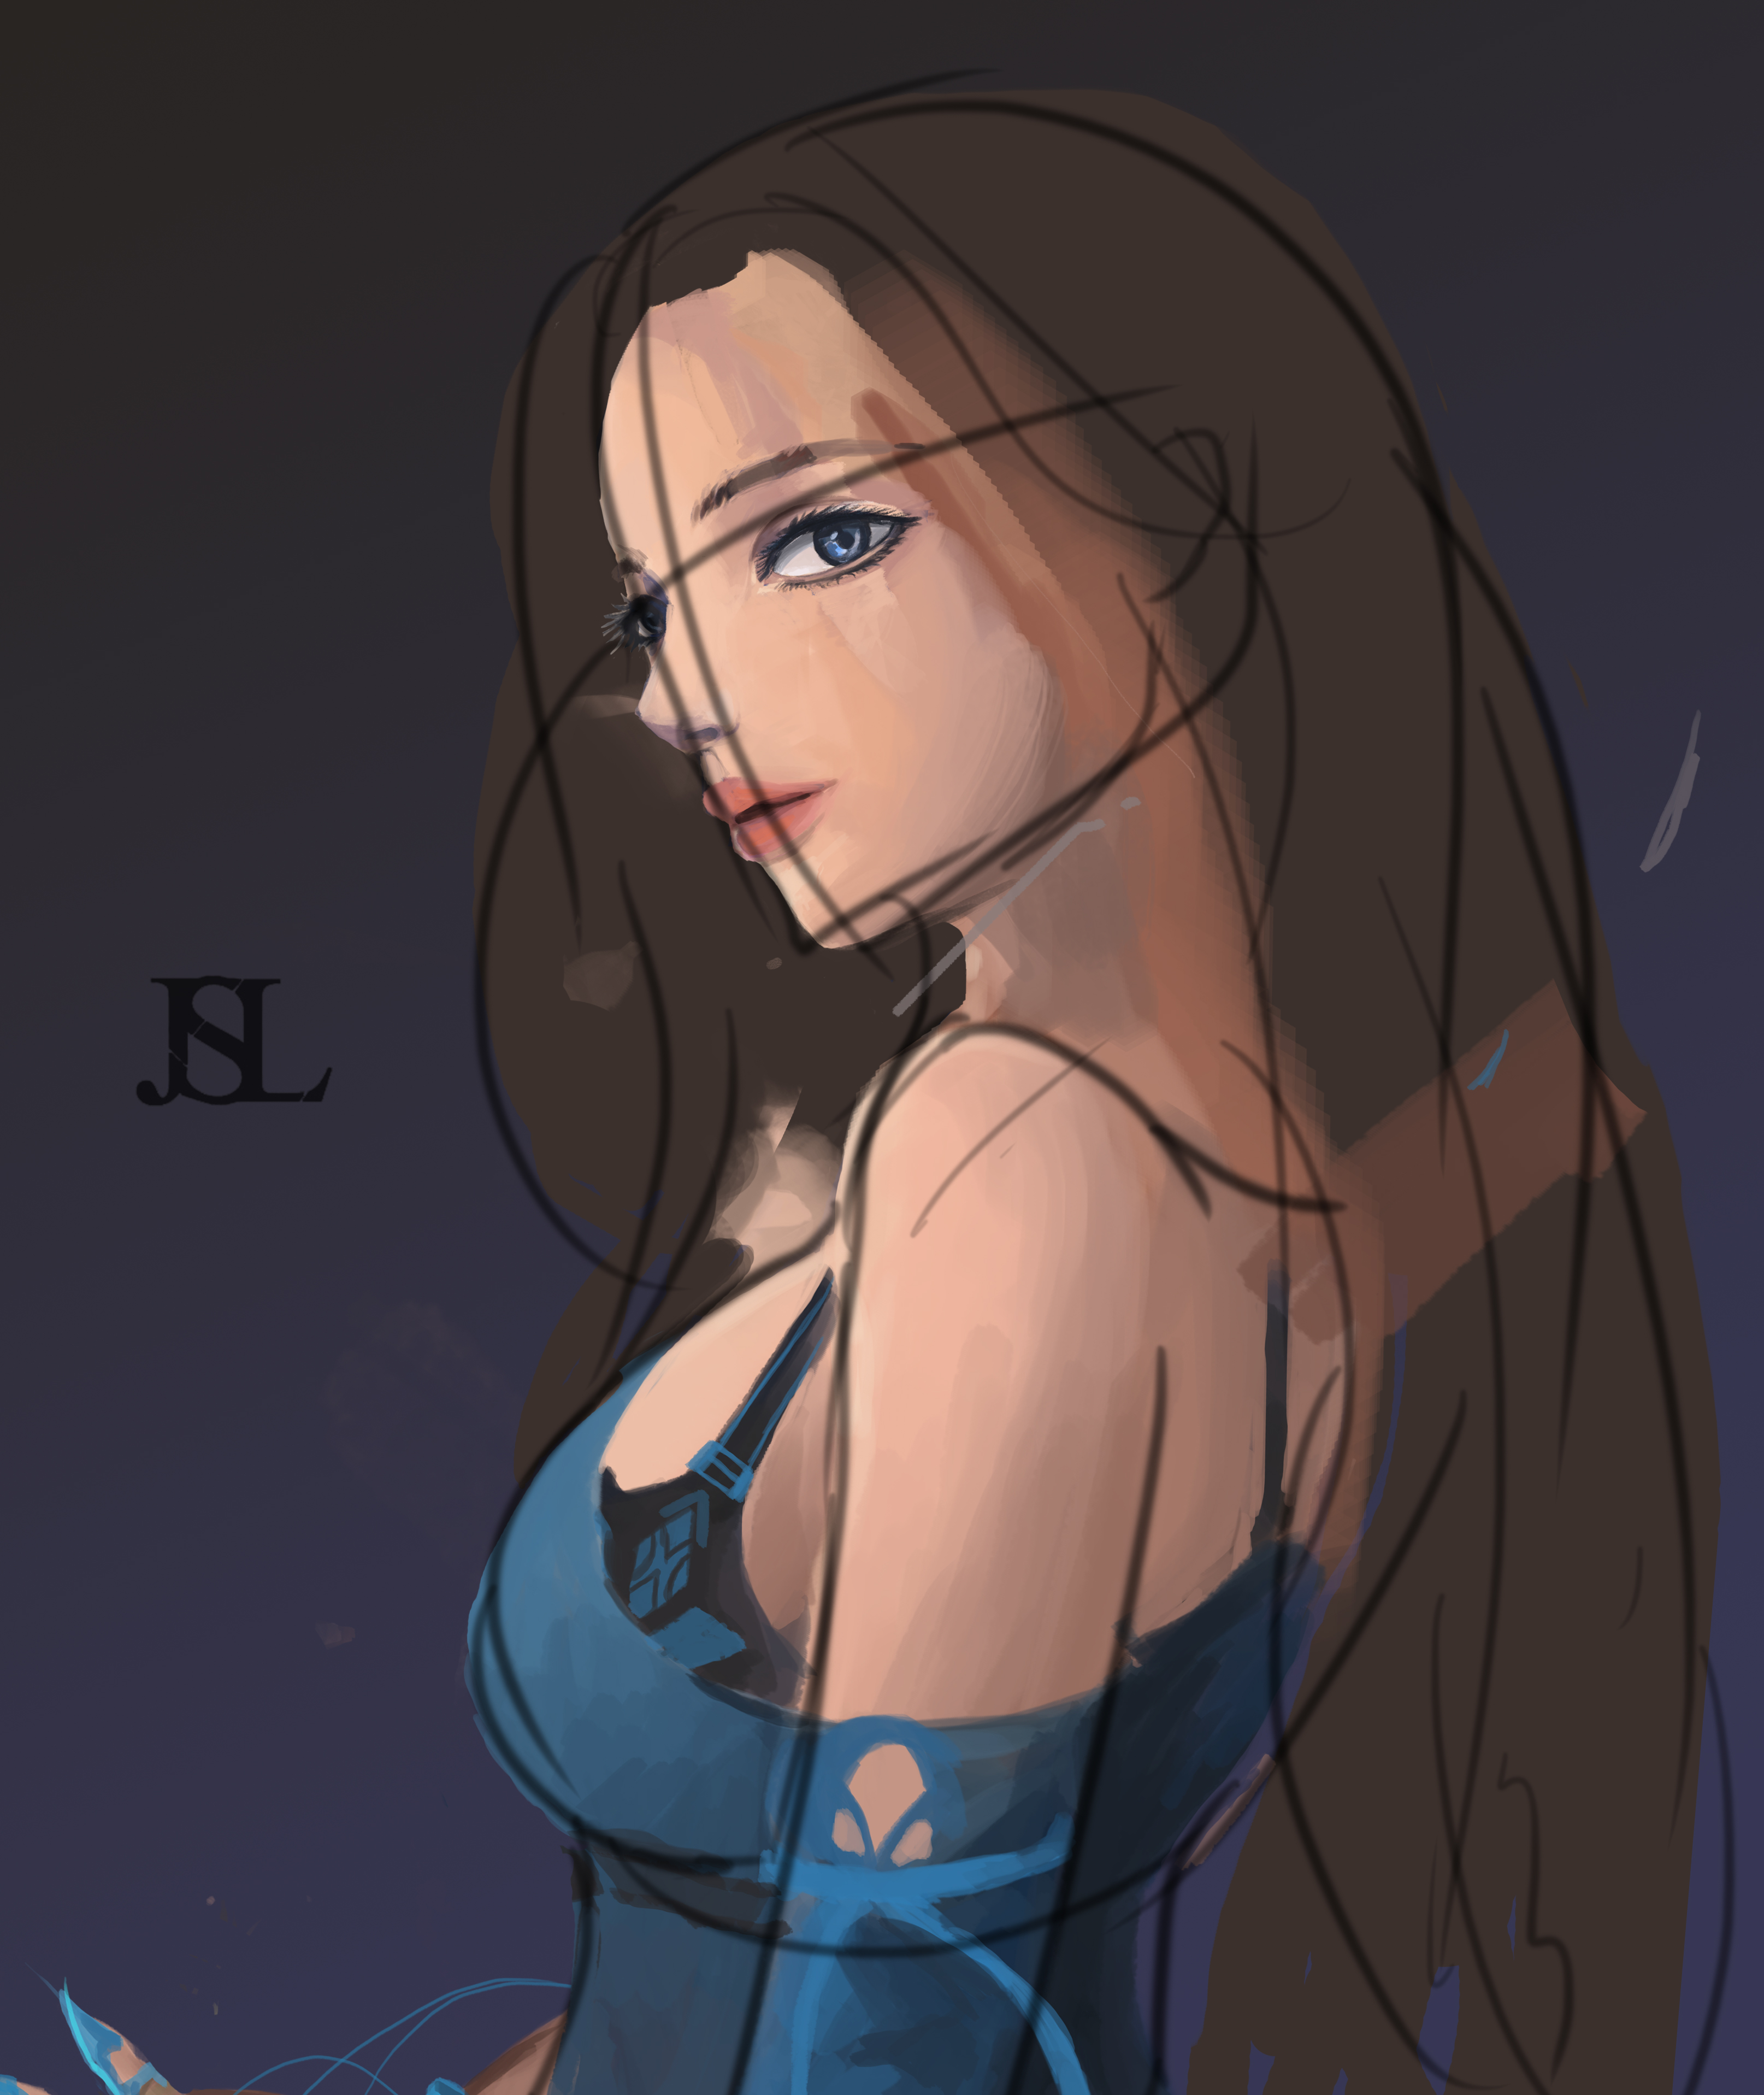
일단 첫번째 배경에 대략적인 분위기와 스케치를 간단하게 해줍니다 ㅎ 저는 이때만해도 스케치는 그렇게 디테일을 많이
하지 않고 나중에 하는 타입이엿죠 ㅎㅎ!
Once you have a rough background and simple sketch on the first background,
I do not have a type to do it later.
[IMAGE: https://steemitimages.com/DQmXBga86PWjWUPmWewq3Hre5PM5sN9jSd94zuskASAXq42/4.jpg]
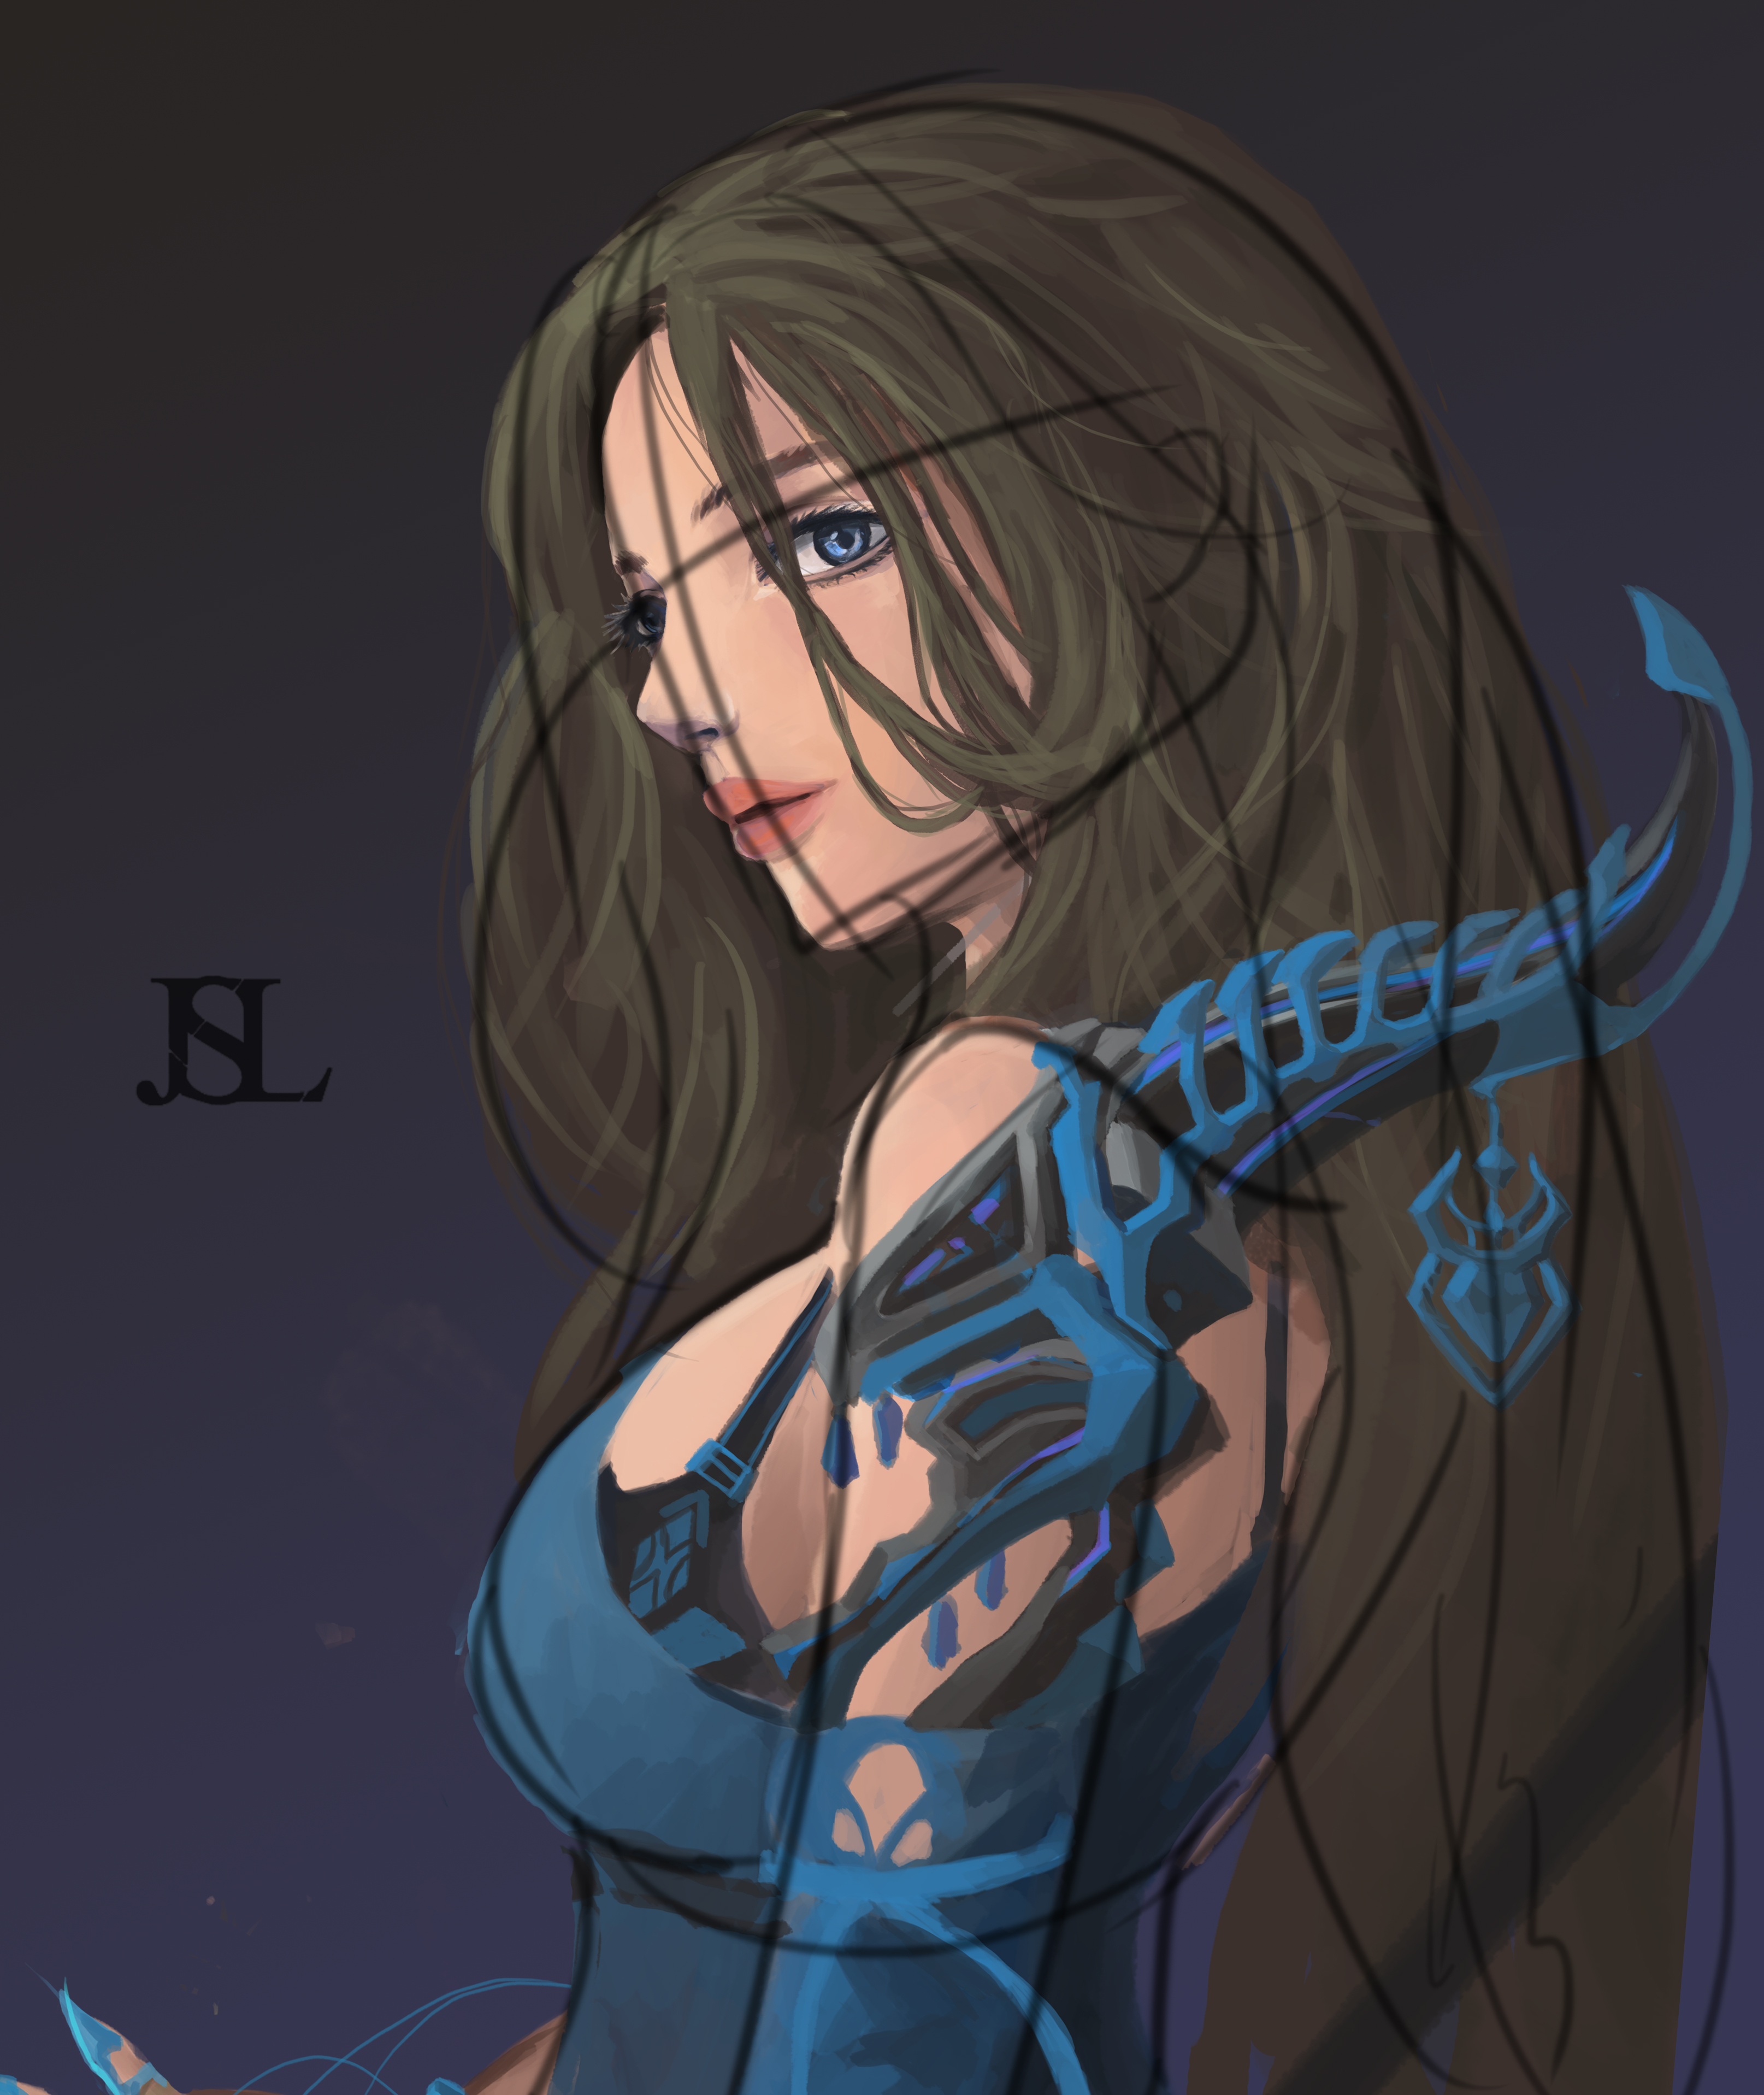
그 다음엔 전체적인 톤을 정하고 디테일을 잡아가기 시작합니다. 이건 중간 에 찍은 사진이구요.
Then we start to set the overall tone and grab the details. This is a picture taken in the middle.
[IMAGE: https://steemitimages.com/DQmakbR9cQXcFn4Erhm1L1QhG825eKgwwuat8B4nXVTRT1E/6.jpg]
스케치 라인을 유지하면서 디테일을 잡아가기 시작합니다.저는 이부분에서 상당히 많은 시간을 소요합니다. 옷이나 갑옷 형태 머리스타일 얼굴분위기 등등 생각할것이 많거든요 ㅎㅎ
I keep getting sketched lines and begin to get the details. I spend a lot of time in this part. There are many things to think about clothes and armor type hair style face mood and so on.
[IMAGE: https://steemitimages.com/DQmNT45X7J6CoUBLaUbmUGfGHahWZ7CBdmJzHucdxGA7UKF/8.jpg]
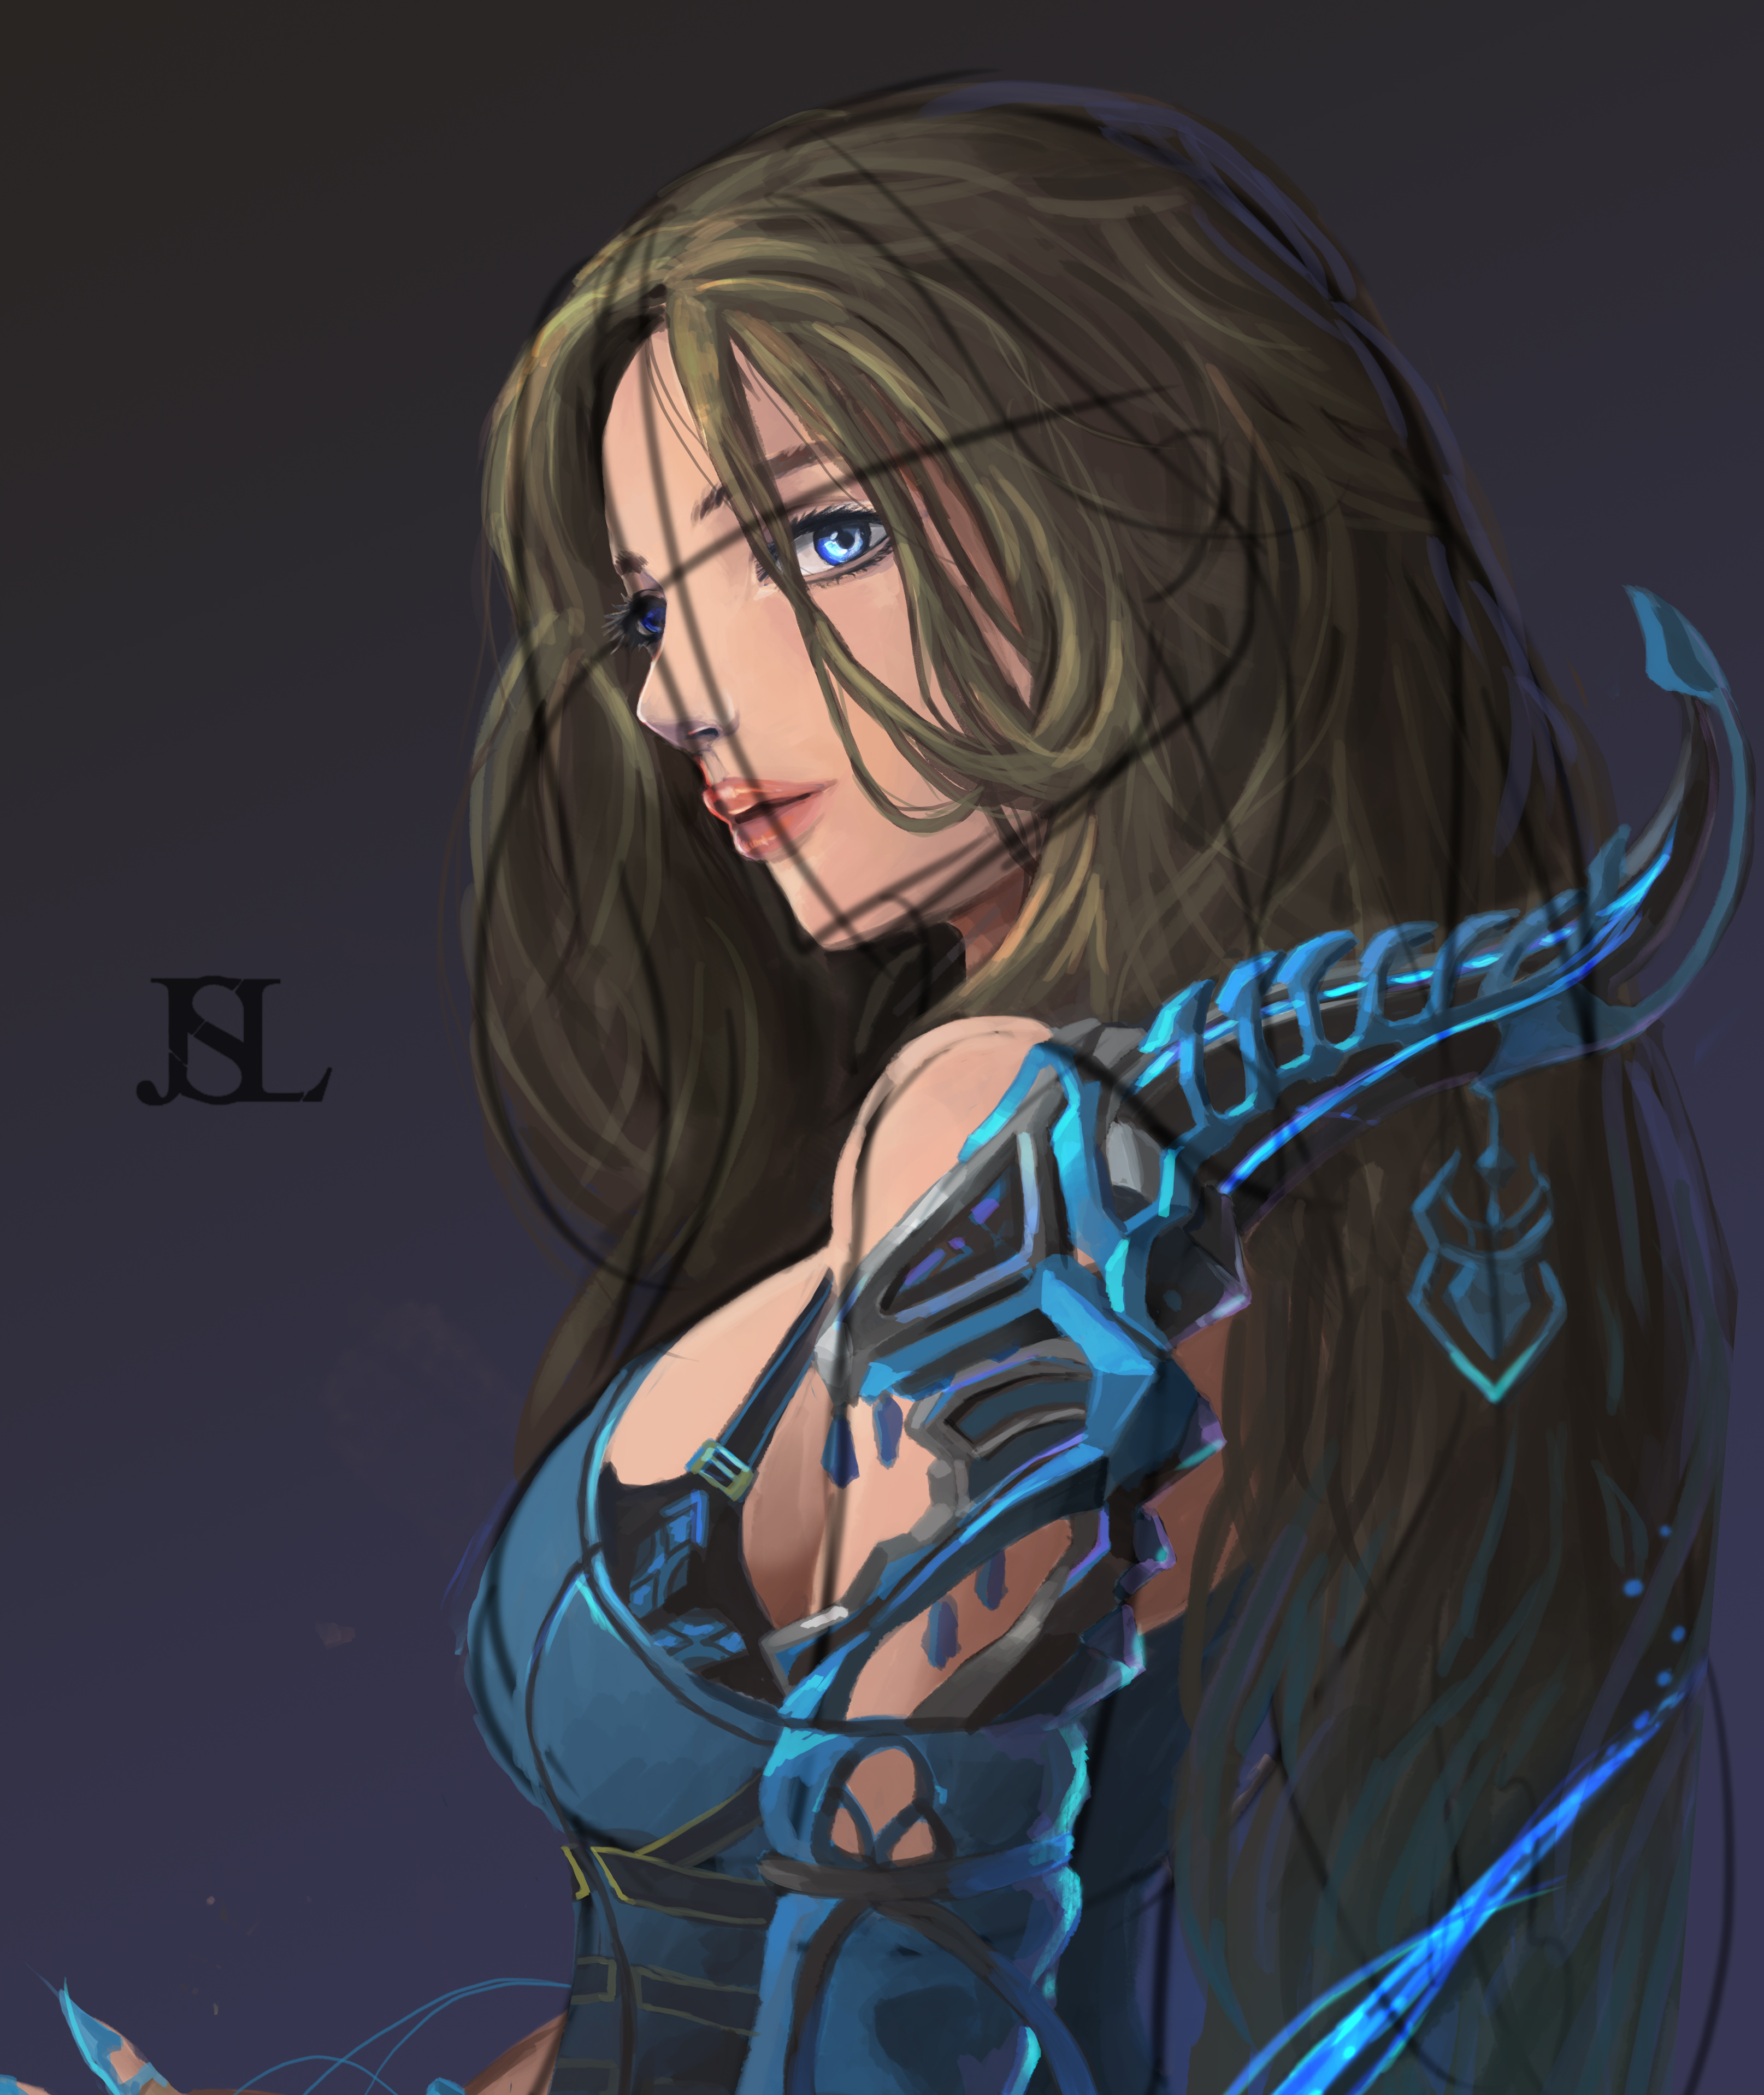
부족하거나 허전한 부분을 바로잡고 어두운 부분을 추가했습니다 ㅎ
I corrected the short or empty part and added the dark part.
[IMAGE: https://steemitimages.com/DQmUSZh7Mz7LChP5JqgEYeED51d2sefQ5TwsDwoVrMEFKRg/11.jpg]
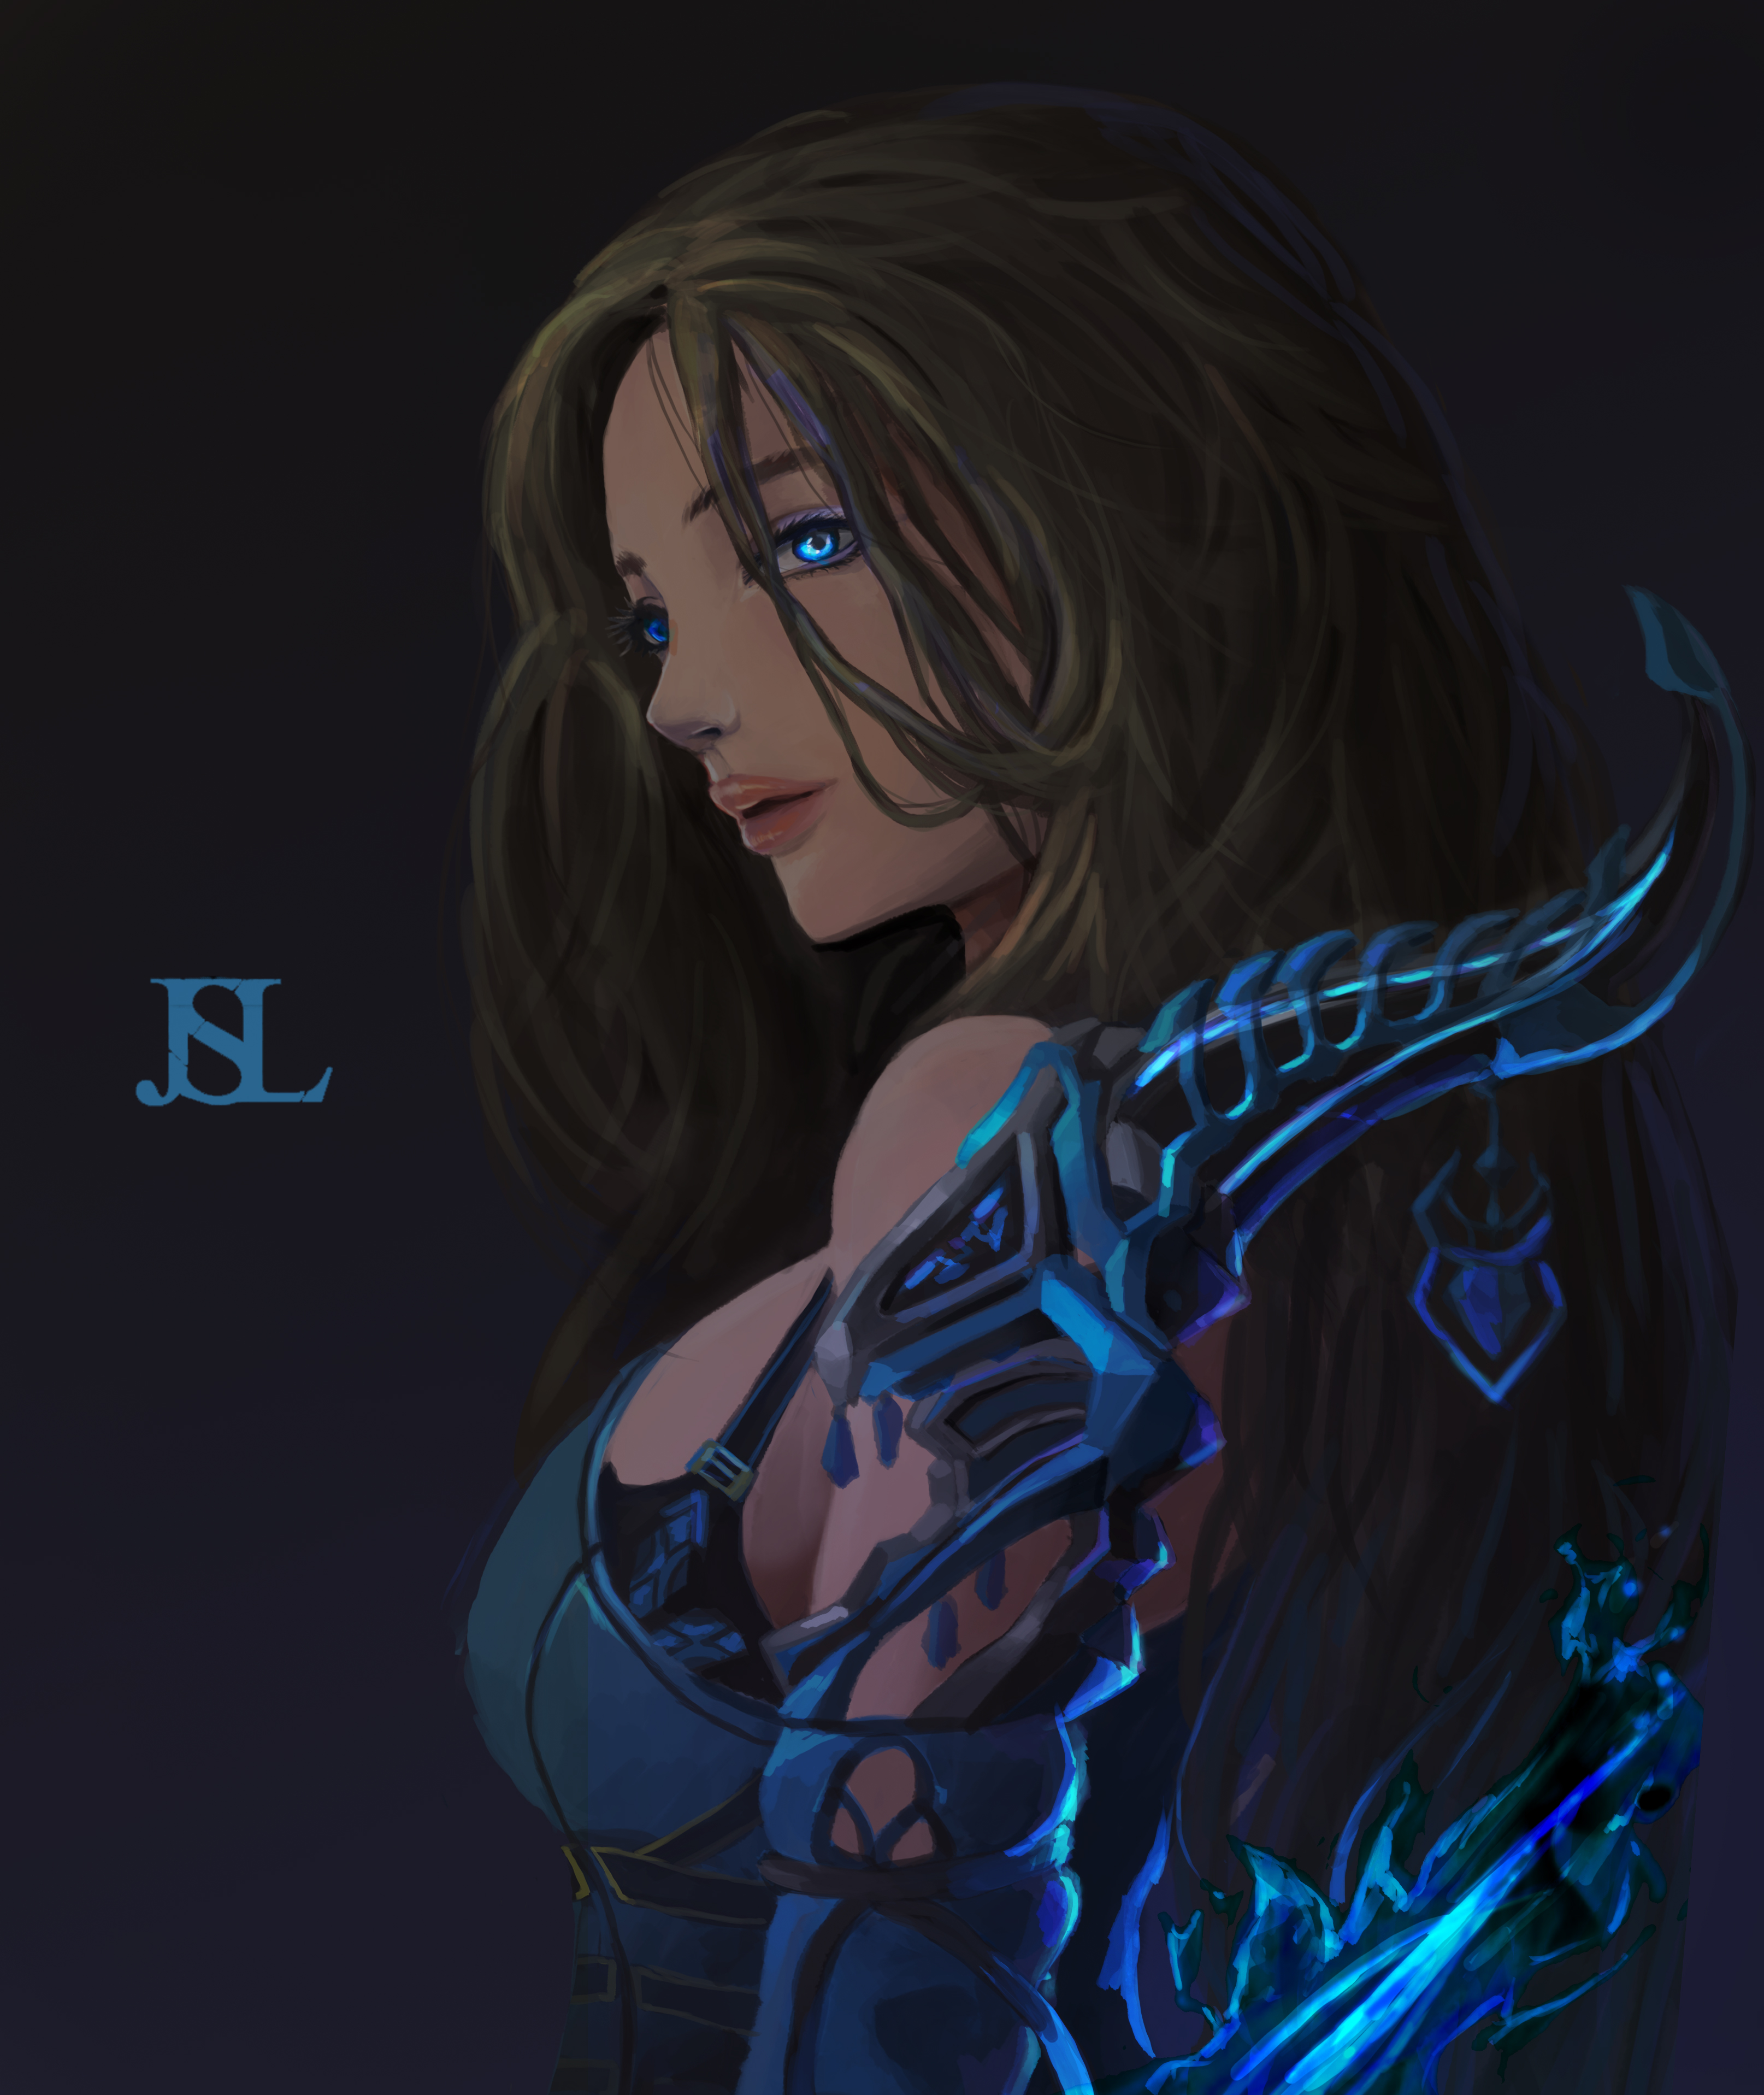
밑부분에 뭔가... 빛나는 물체가 있으면 더 좋을거 같아서 추가하고 밝은 부분을 추가해주어서 좀더 입체감을 주었습니다.
I thought it would be better if there was something ... shining on the bottom, so I added it and gave it a more realistic feeling by adding bright parts.
[IMAGE: https://steemitimages.com/DQmTP4zavUDpAYQuj55wEweyfsSwHecZbTZ4S5NHMmqrvPb/13.jpg]
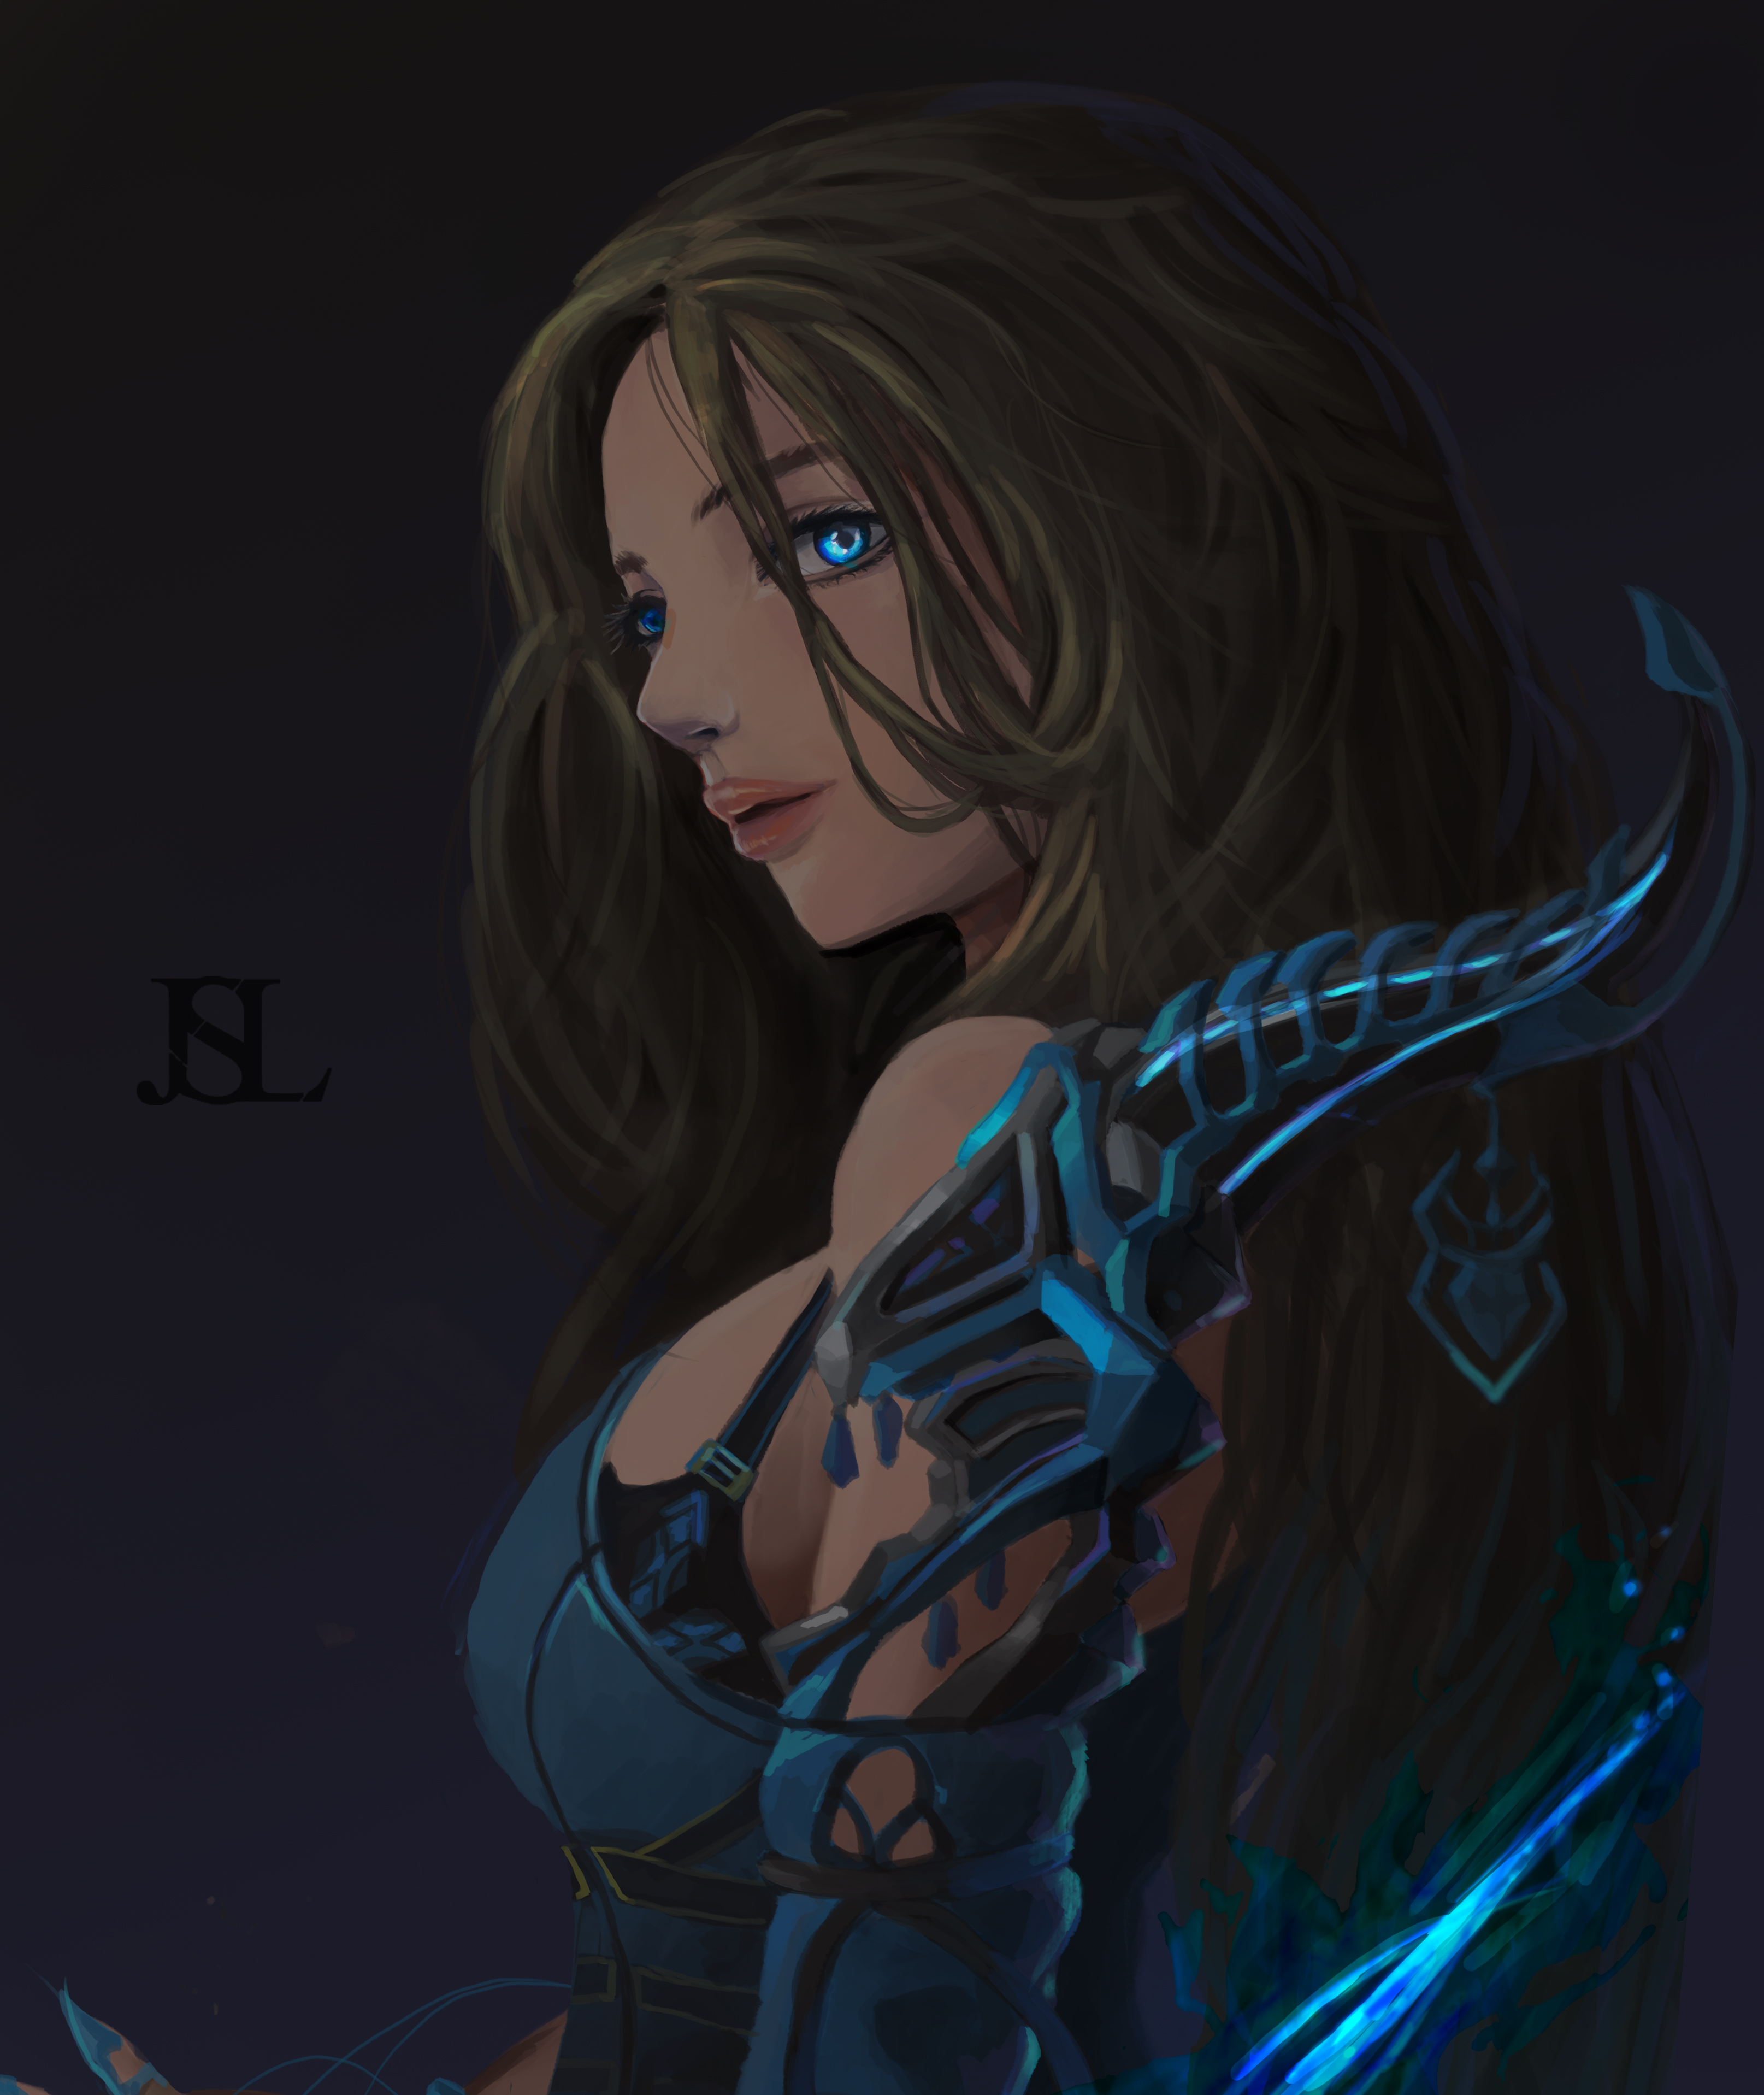
전체적으로 배경에 어두운 느낌을 추가해서 눈과 밑부분 발광체가 더욱 돋보이게 해줍니다 .ㅎ 이때즘 와서야 얼굴의 헝태가 잘못되어있다는 걸 깨닫고.. ㅋㅋ 얼른 수정을하면서 완성을 했습니다.
It's a good idea to add a dark background to the whole, which will make your eyes and bottom emitter stand out. ^^ This time, I realized that my face was wrong.
[IMAGE: https://steemitimages.com/DQmdpBEmAmrKFdaur3xs9h3tXa4UsiMTa8ygTYTS3jagExj/16.jpg]
그래서!! 최종 완성이 된 이미지가 완료되었습니다.ㅎㅎ
so!! The final image has been completed.
제가 혼자 그릴때는 그냥 하는편이여서 정리하는데 상당히 힘들었네요 ㅎㅎ
저도 이렇게 그리면서 여러가지 잘못된 걸 수정하고 하면서 완료하는거라 중요한거는 틀린걸 찾을수있는 눈이 중요한거 같아요. 그럼 더 좋은그림을 그릴수 있다고 생각합니다.
후... 첫 포스팅 힘들었네요 ㅋㅋ 좋은 말씀이나 더 궁금하신거 있으시면 댓글 남겨주시면 답변해드리도록 하겠습니다 ㅎ
부족한 글 봐주셔서 감사합니다 ㅎㅎ 그럼 다음 그림 소개는 이 그림으로 할 예정입니다 !! ㅎㅎ 그럼 좋은 밤 되세요 ㅎㅎ
When I draw alone, I just do it, so it was very difficult to organize it.
I am doing so while I am correcting various misconceptions, and I think that the important thing is to find the wrong eye. Then I think I can draw a better picture.
After ... first posting was hard. If you have any questions or want to know more, please leave a comment and I will reply you.
Thank you for looking at the shortage. ^^ So next picture introduction will be done with this picture !! Well then, have a good night ^^
[IMAGE: https://steemitimages.com/DQmPm51zJRp4aXFXLp6XGYsg93yhj4KtSc4Do8SzwpcU2Hh/%EB%A0%88%EC%9D%B4%EB%B8%90-%ED%95%B4%EC%83%81%EB%8F%84-%EB%86%92%EC%9D%80%EB%B2%84%EC%A0%BC-(1).jpg]
.jpg)