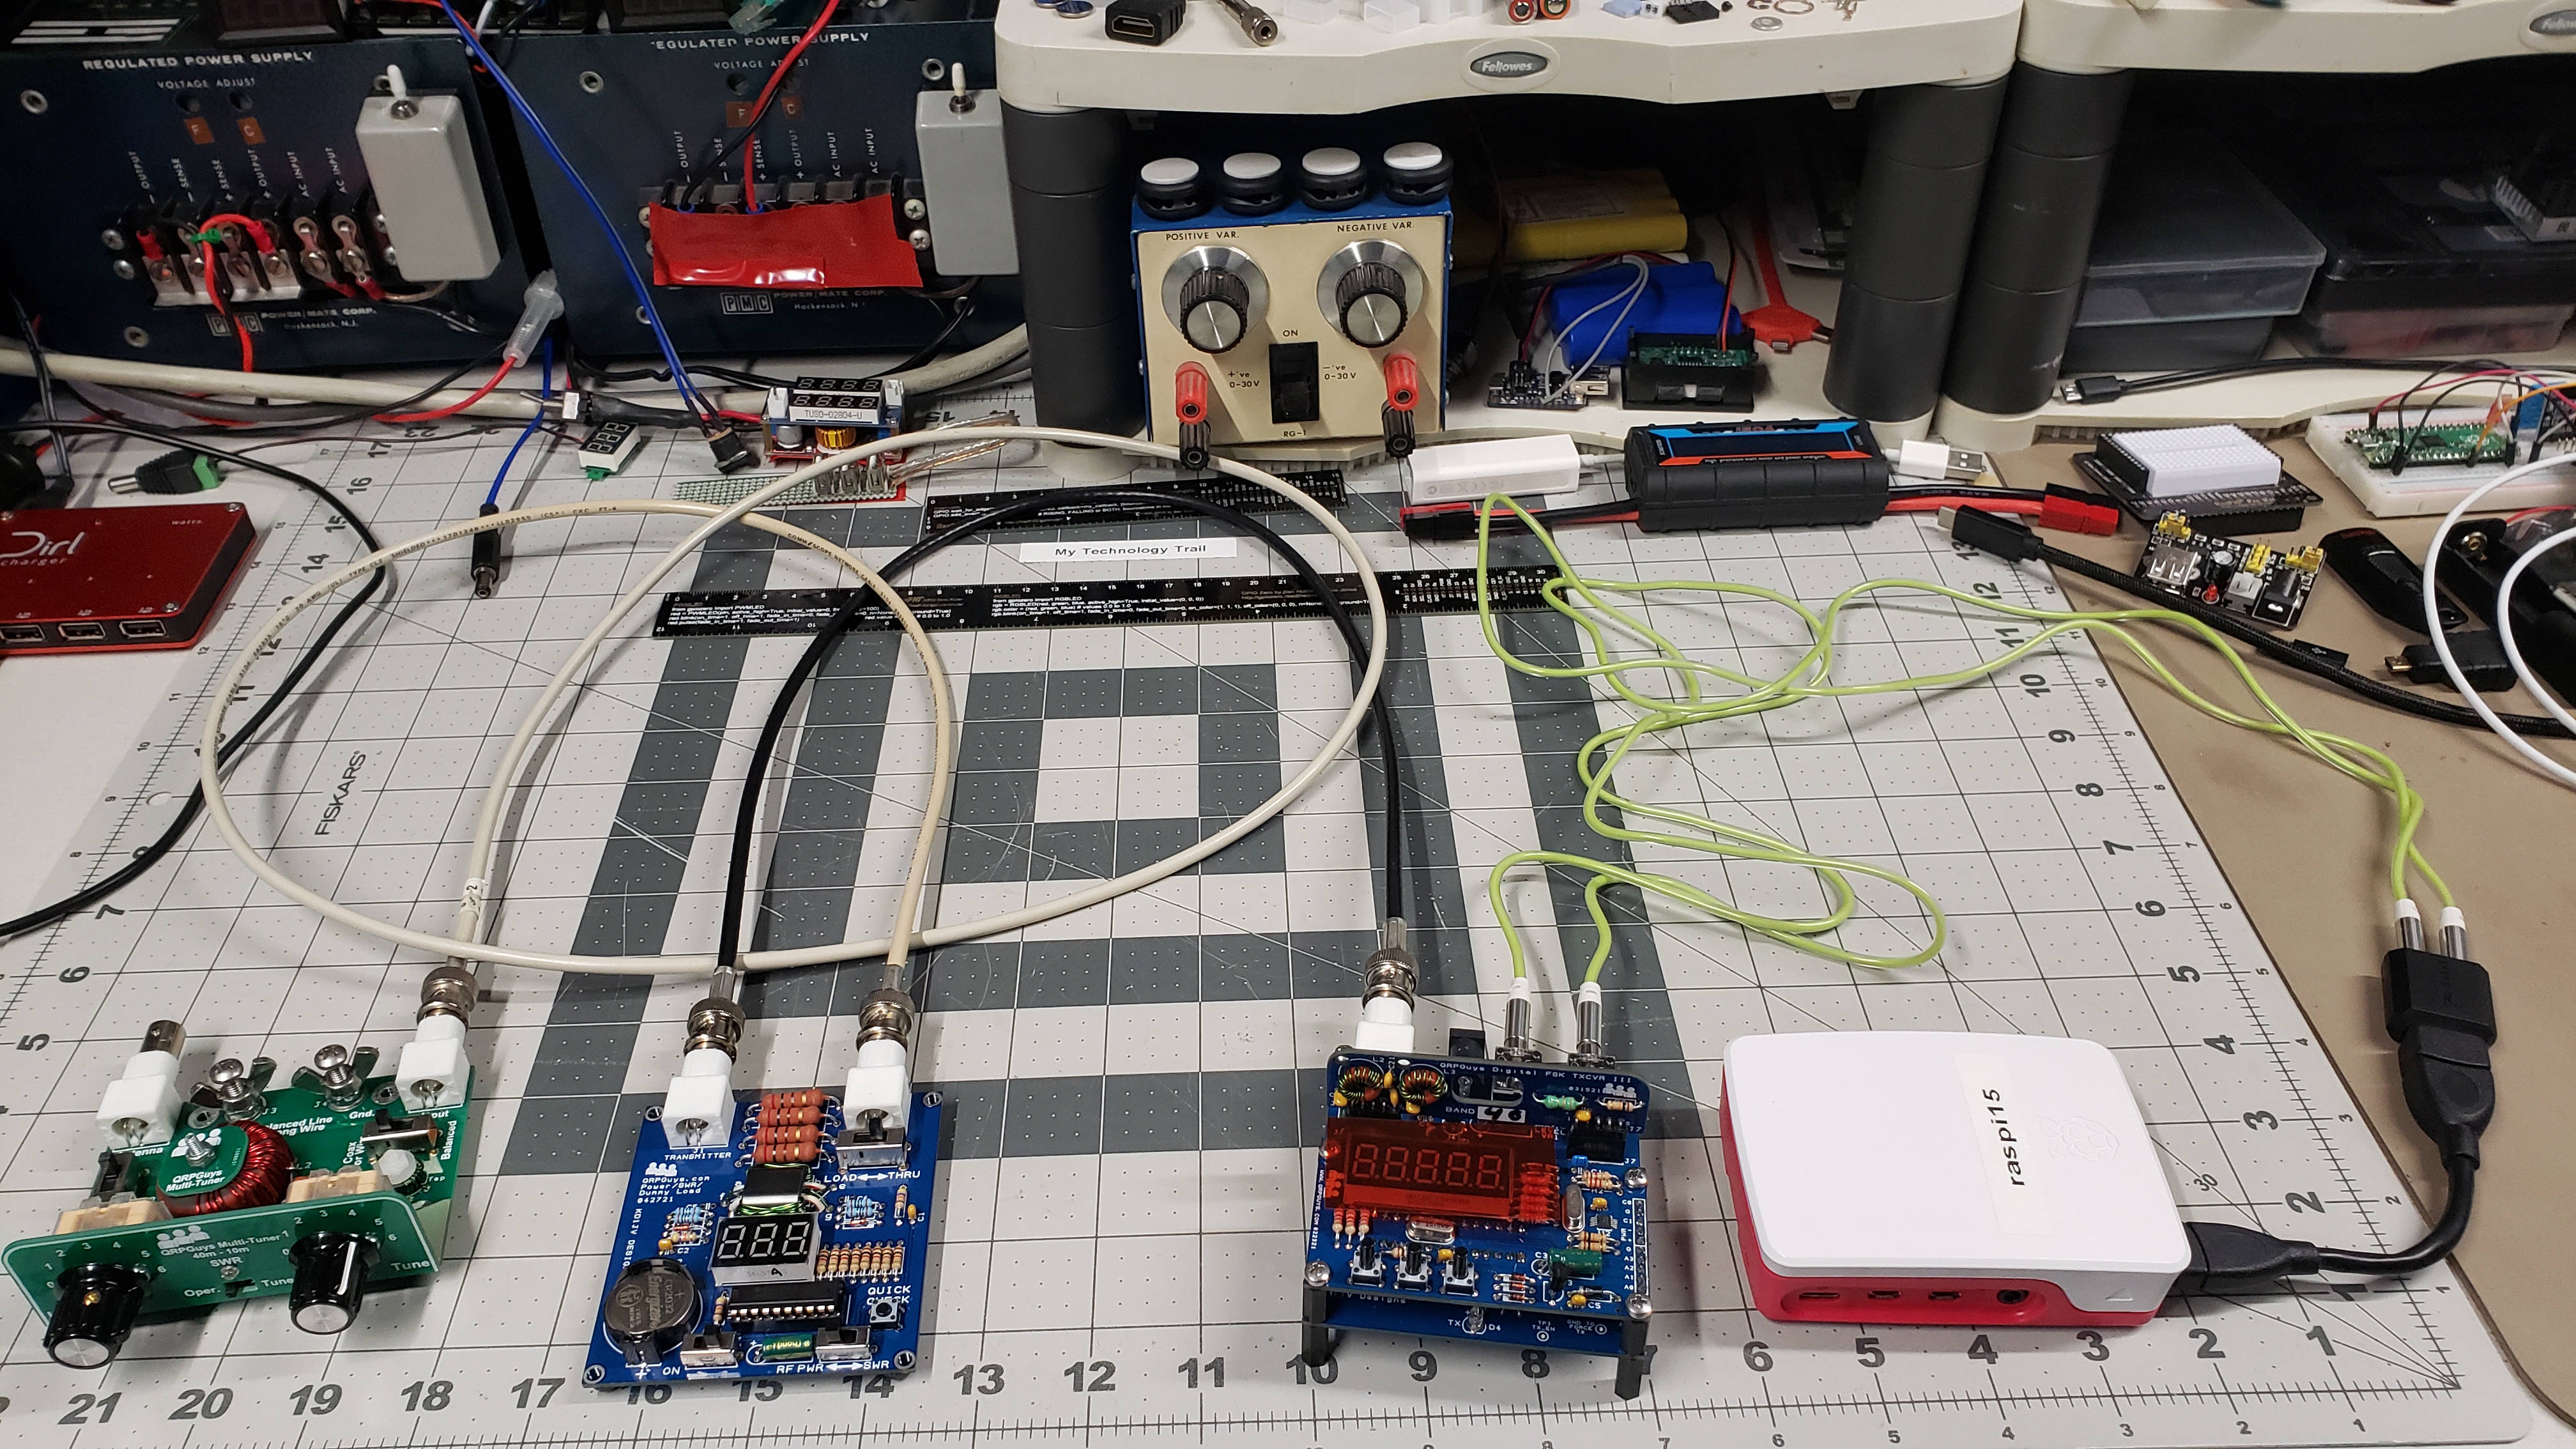
Here is a picture of my QRP transceiver setup before I decided to mount it for display and make it portable as a single unit.
[IMAGE: https://images.hive.blog/DQmbK2npcBgcH2a2wiWnZjwacejbThadMoUjw6LVD6Xz3Ky/rig-pre-mount.jpg]
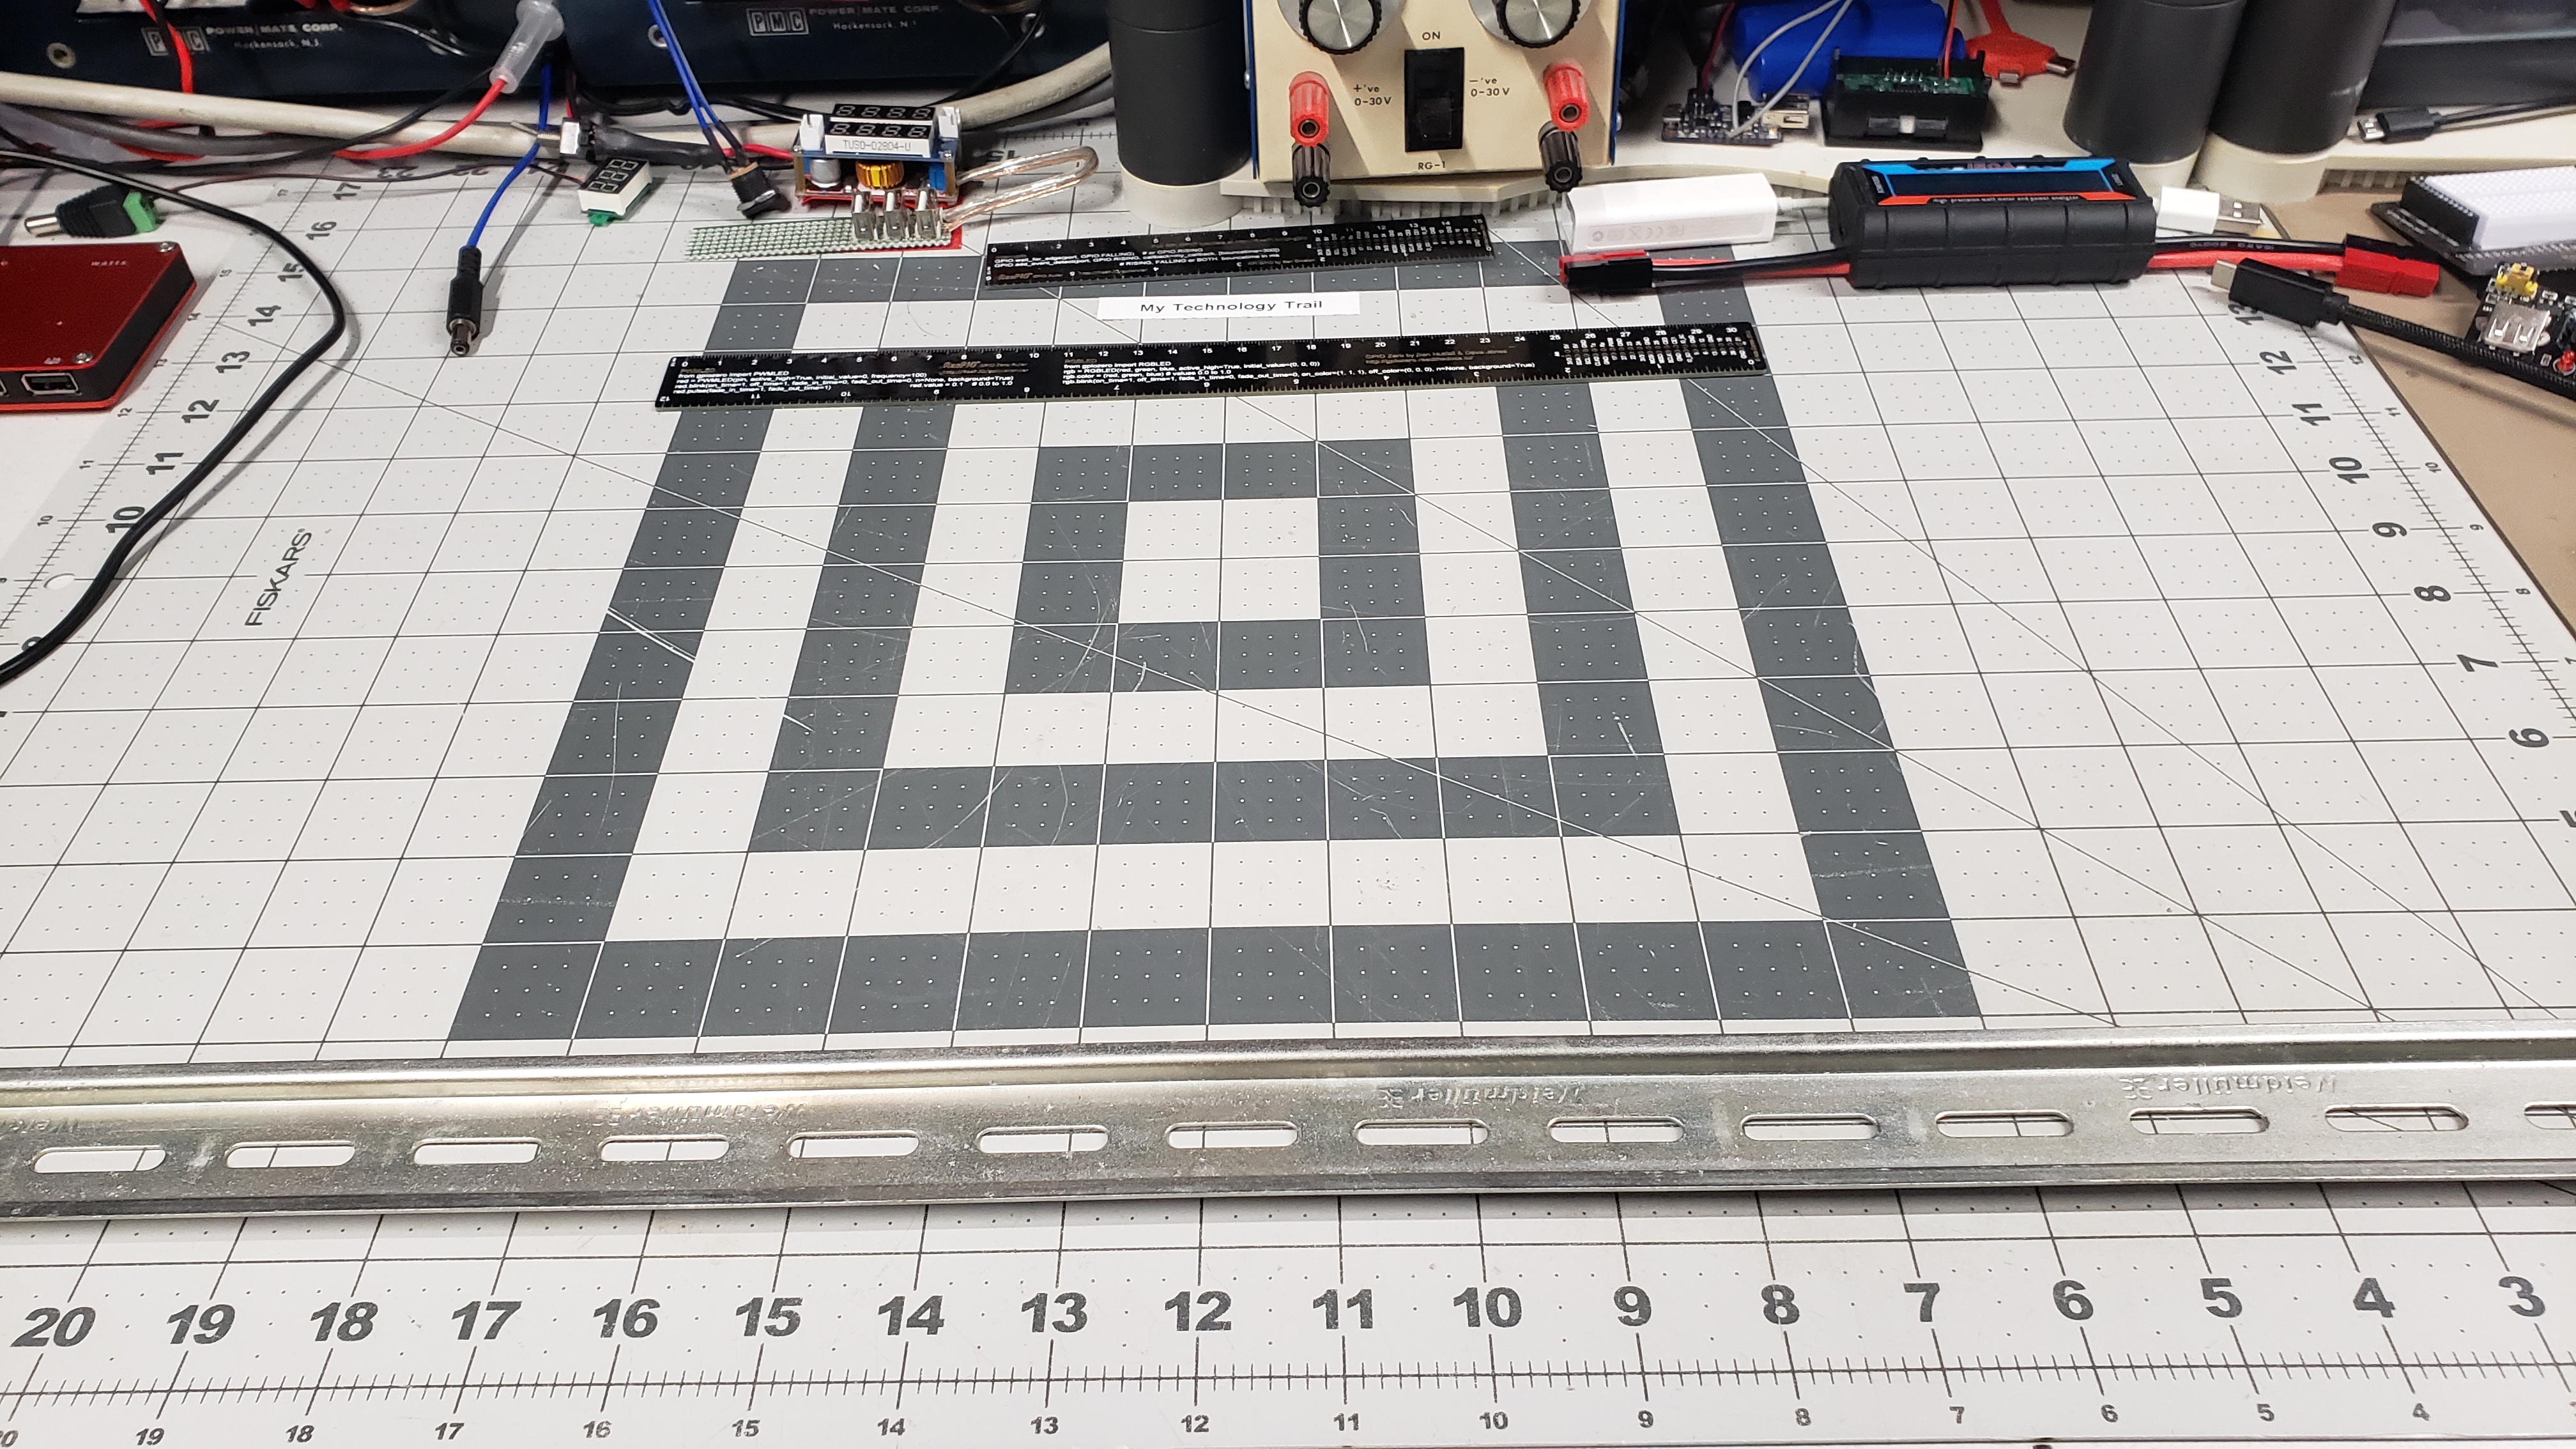
Here is a picture of the DIN rail that I will be mounting the completed unit to.
[IMAGE: https://images.hive.blog/DQmenMUVBnNsr28YHyjrcKUYzWaQWtzPNyg7cxuLxWuxsYX/din-rail.jpg]
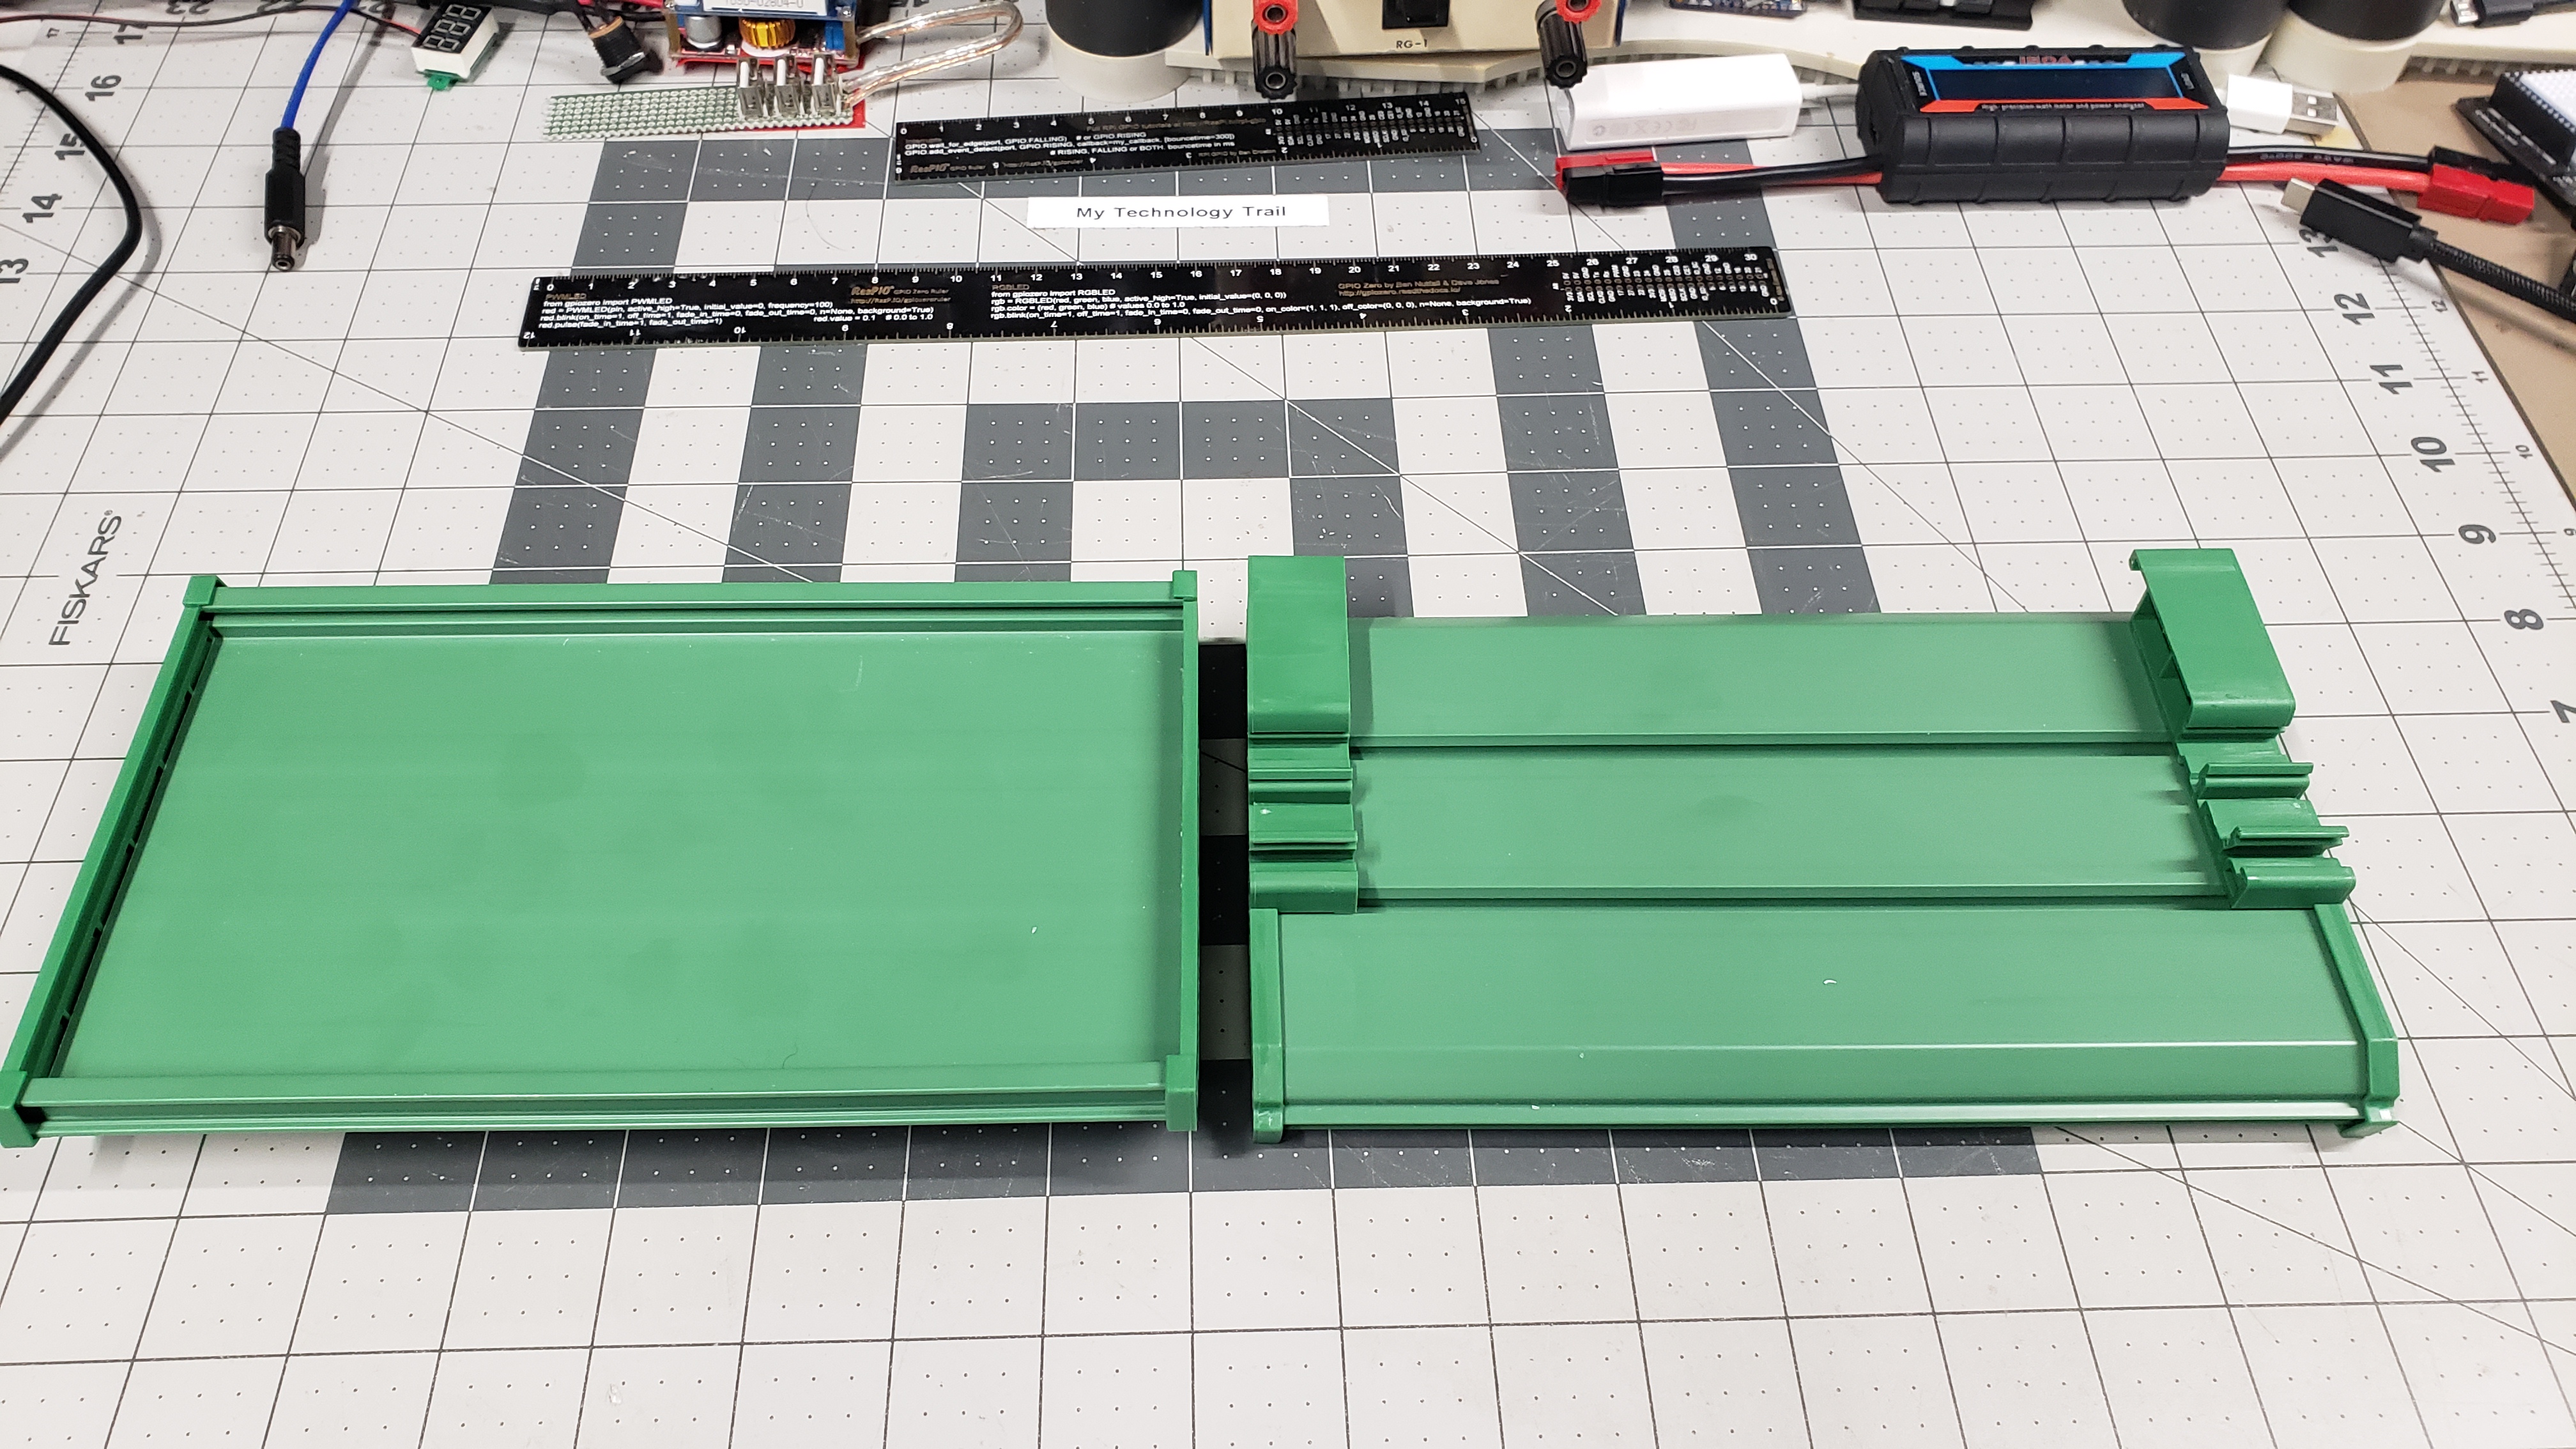
Here is a picture of the plastic units that connect to the DIN rail (front and back).
[IMAGE: https://images.hive.blog/DQmZL3LaU8dUVjYHGxkME7NS627BCkr4FyKxkdvVBAdba1t/din-mount.jpg]
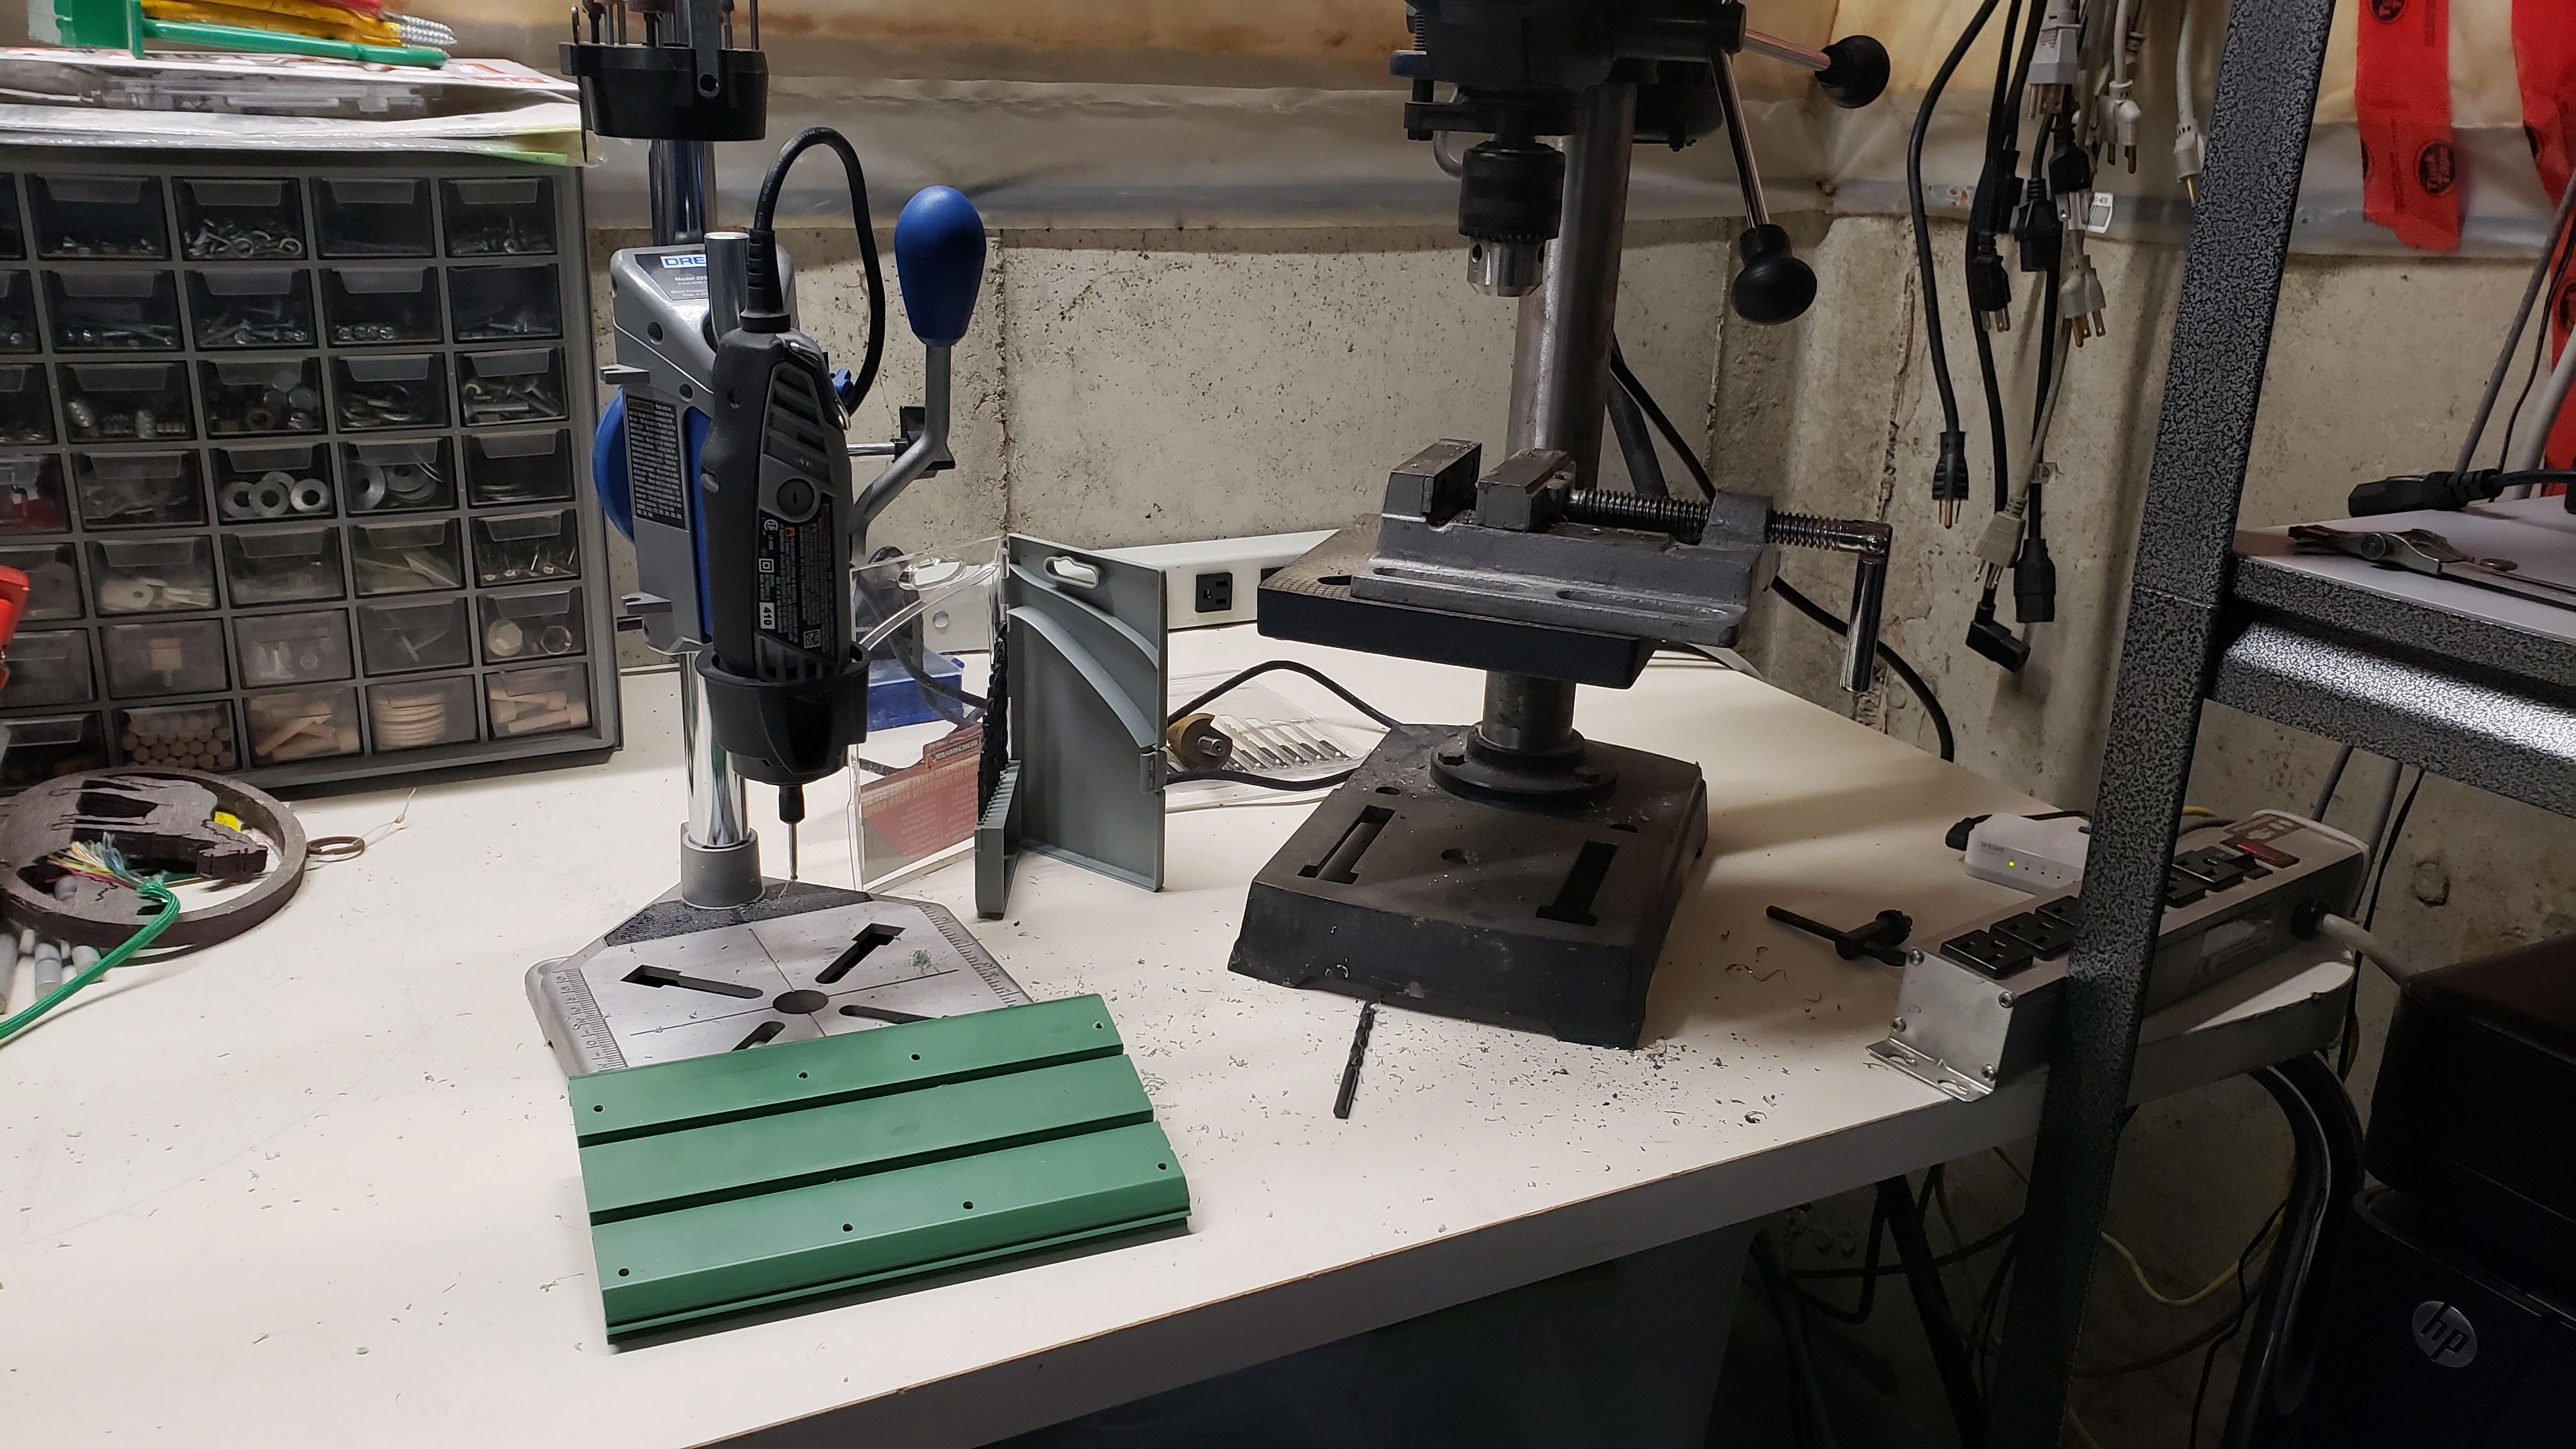
Here is a picture after I have drilled some holes into on of the DIN mounts before mounting the transceiver.
[IMAGE: https://images.hive.blog/DQmZuSeryHgNwse6MycFg6AosW6kndFSr8A2LwFKNBEgDYe/mount-drilling.jpg]
Here is the transceiver mounted with the other modules I use to operate the whole as a unit for digital communications.
[IMAGE: https://images.hive.blog/DQmPQppWdHf2omqH71T7u5haWpJ2C1nieZXt9wAay9w4H35/rig-mounted.jpg]
In the picture above I am running WSJT-X on the Raspberry Pi and QRP Guys transceiver I mounted.
Posted with STEMGeeks