New project in the making.
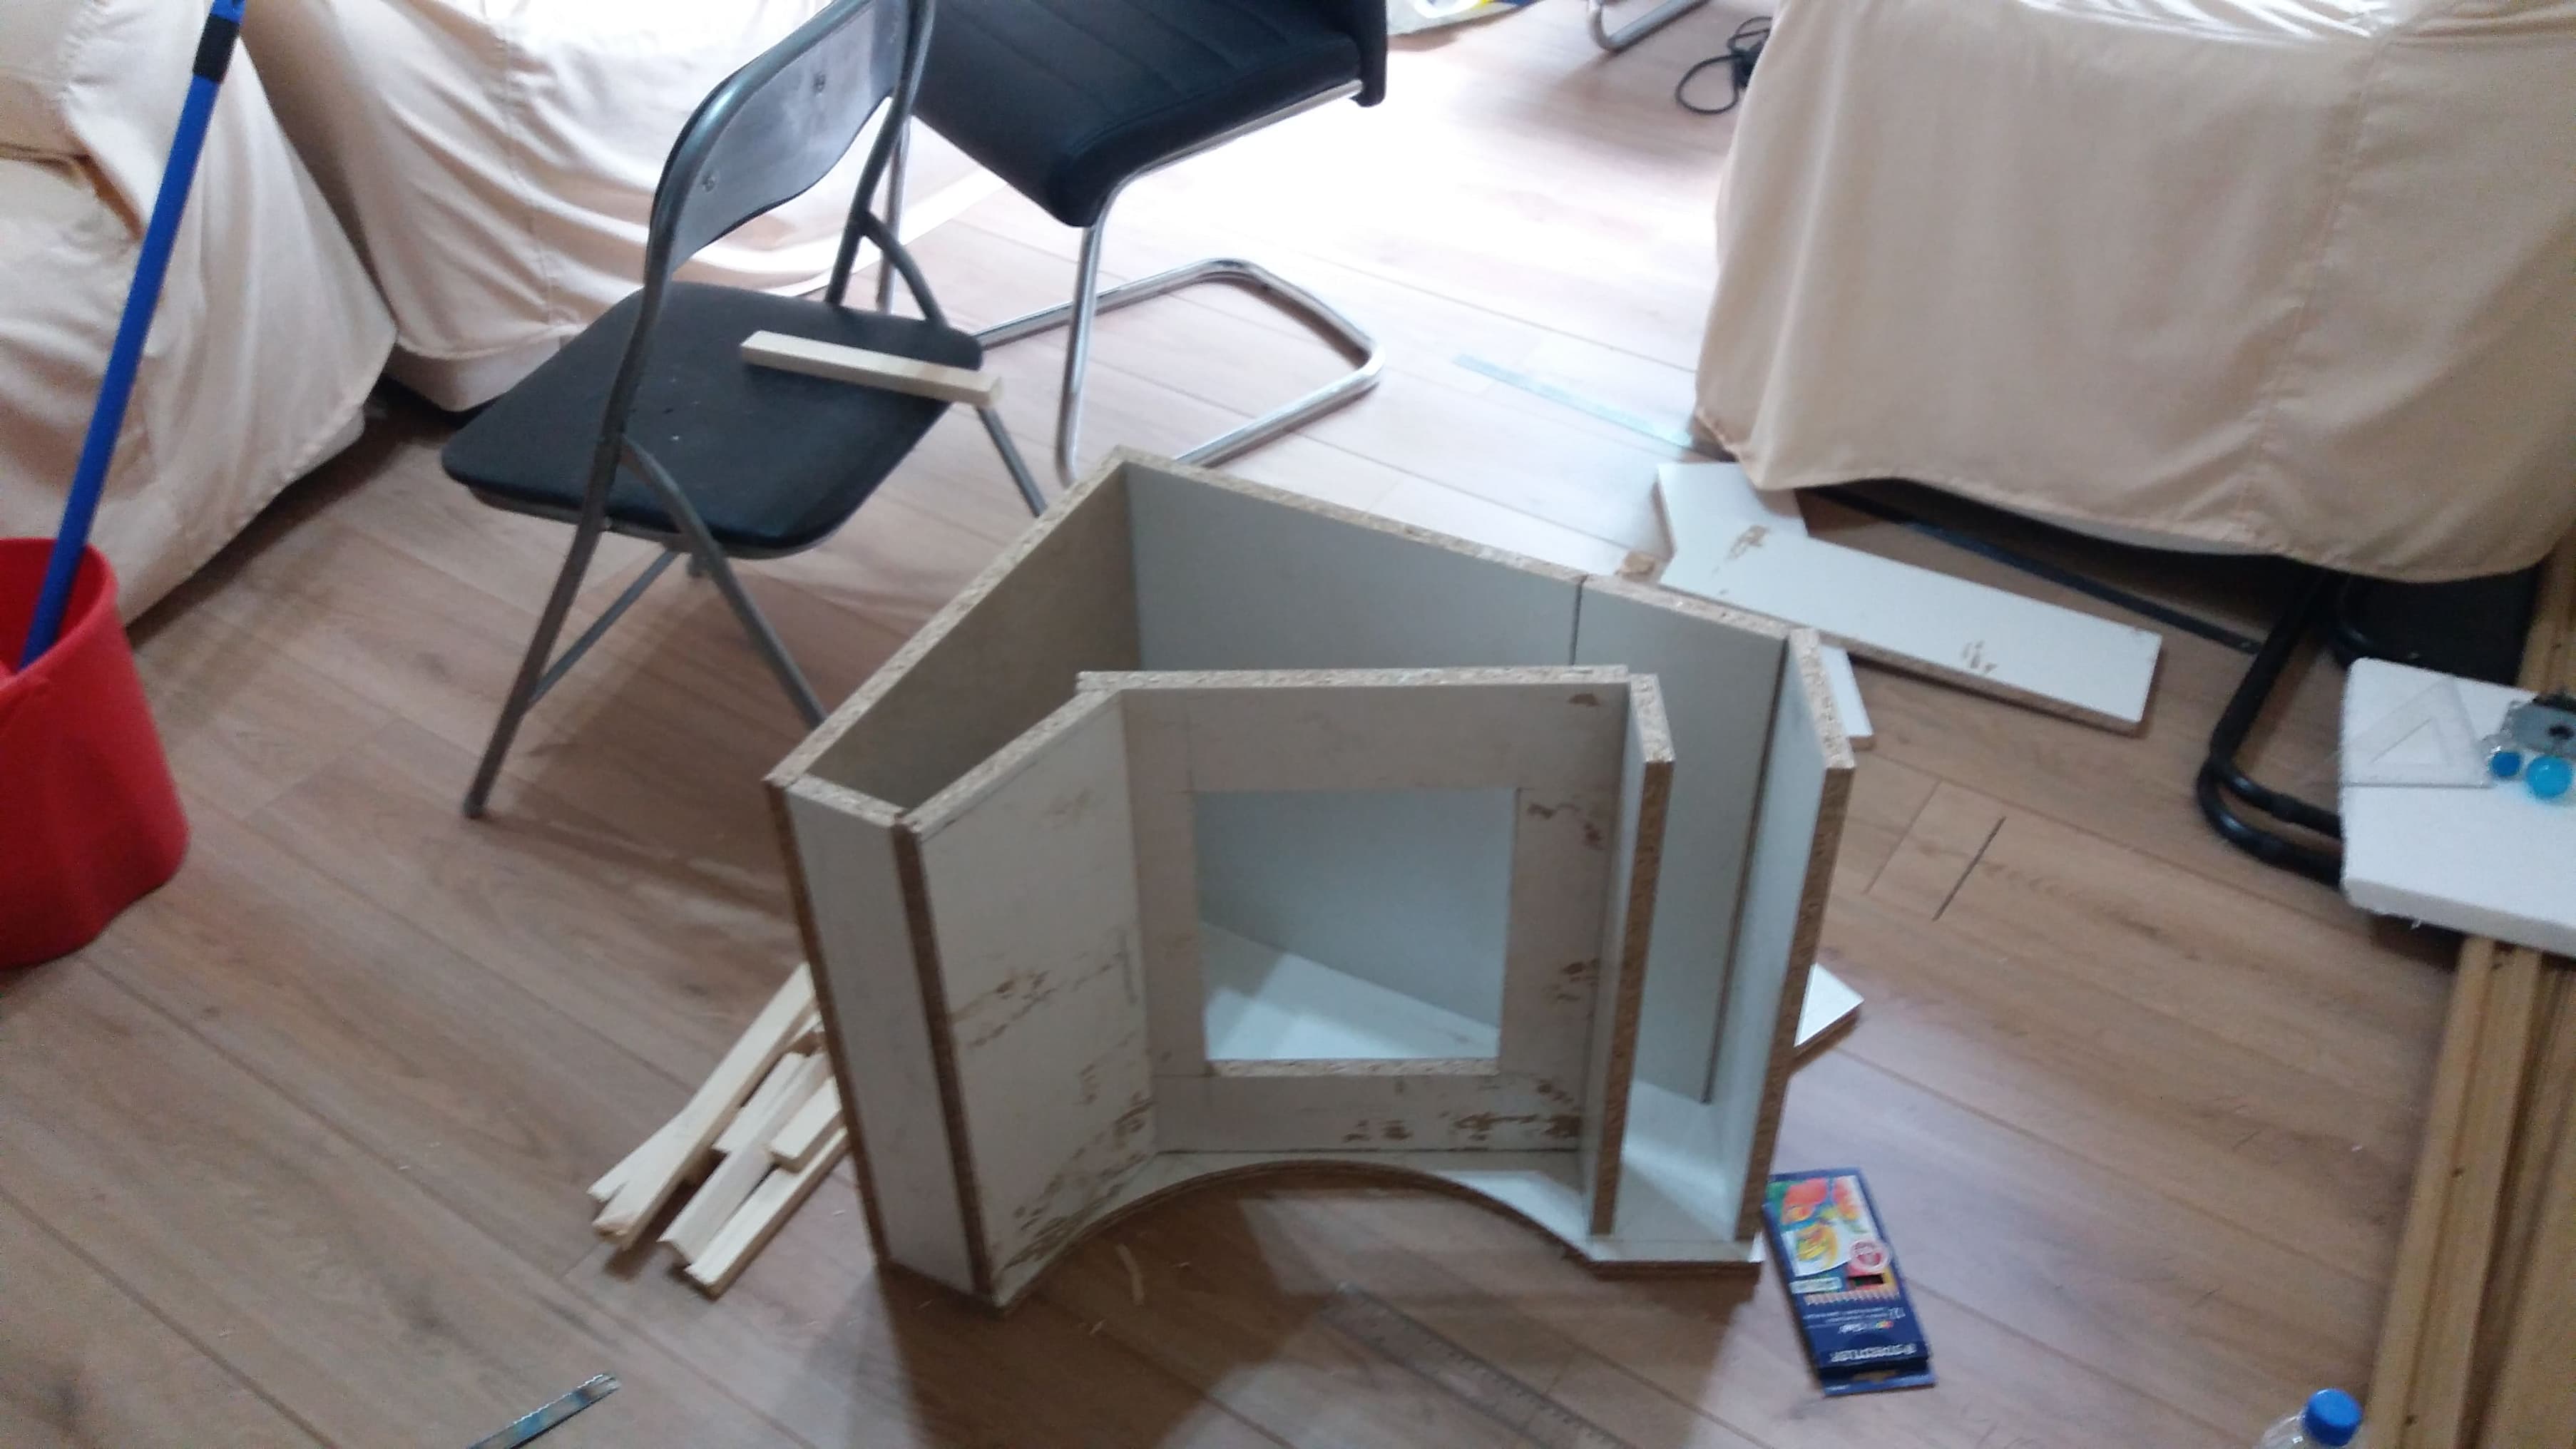
Step 1
[IMAGE: https://cdn.steemitimages.com/DQmZ3tFxZQQRfqQ6bXkhYjLSRGvwa4wgeCMCTrugJmgVMQh/39503462_437444553415476_8937758743190306816_n.jpg]
Checking to see if angles and sizes correspond
Step 2
[IMAGE: https://cdn.steemitimages.com/DQmZK7bRW4gJwu4RVkWwCKUZtV7ijVDRSxx2nqAhjFcGdwd/39535809_323752671696654_6410657126468812800_n.jpg]
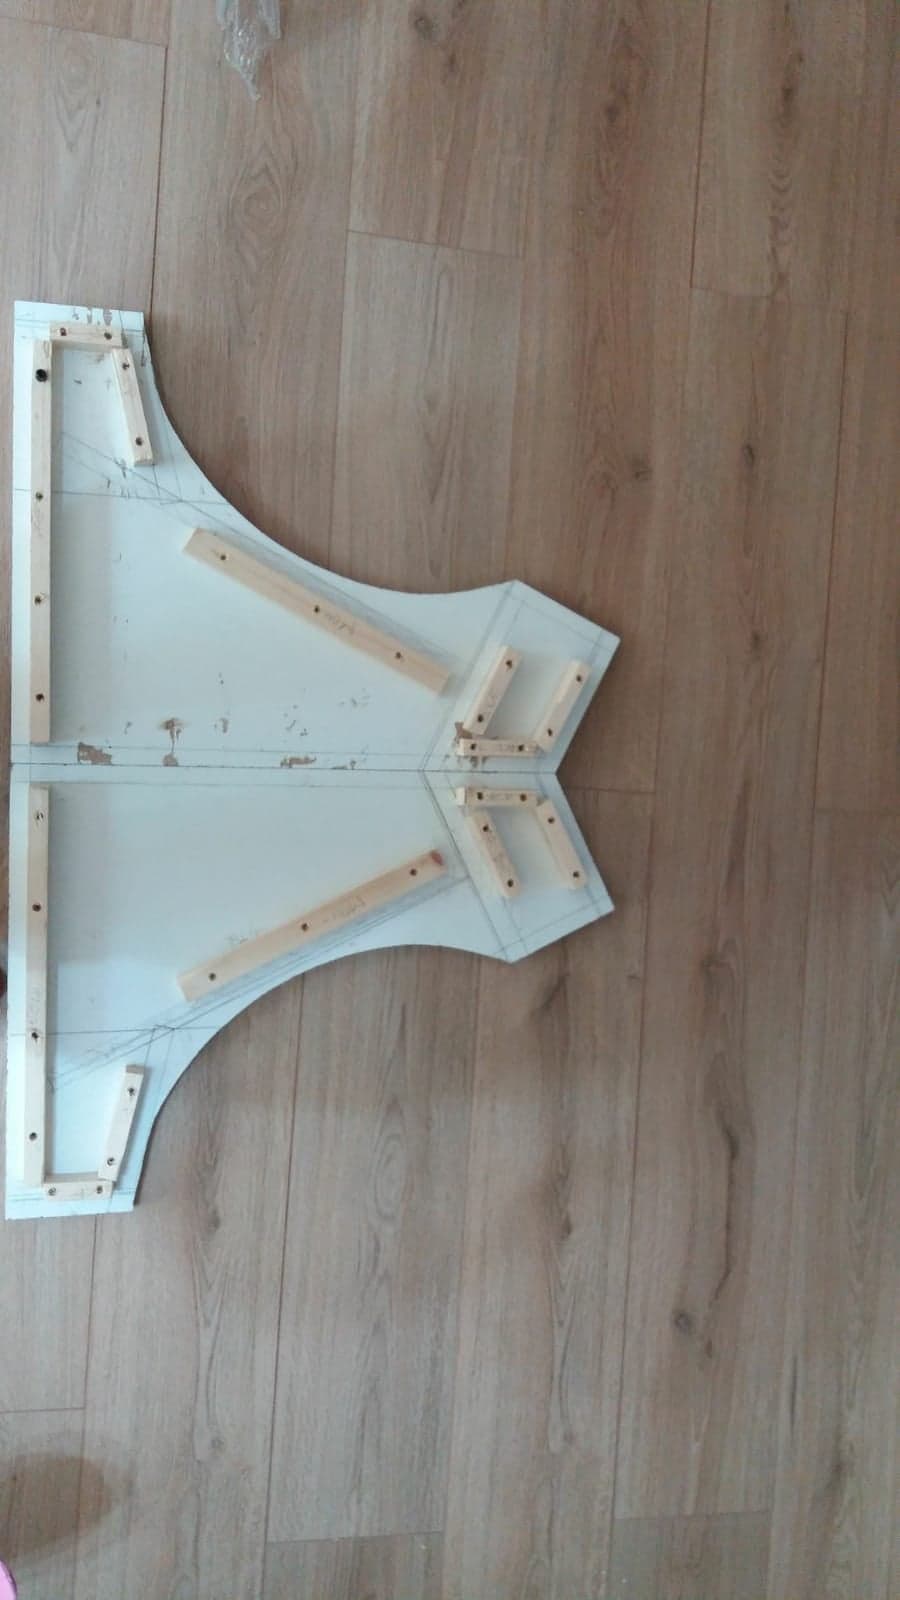
Making the internal structure
Step 3
[IMAGE: https://cdn.steemitimages.com/DQmPx3AE3USkRLMbHujR5XguJ4eAEHC4TfpkeyoxzgSPLgs/39724966_256301664995237_5328099761834688512_n.jpg]
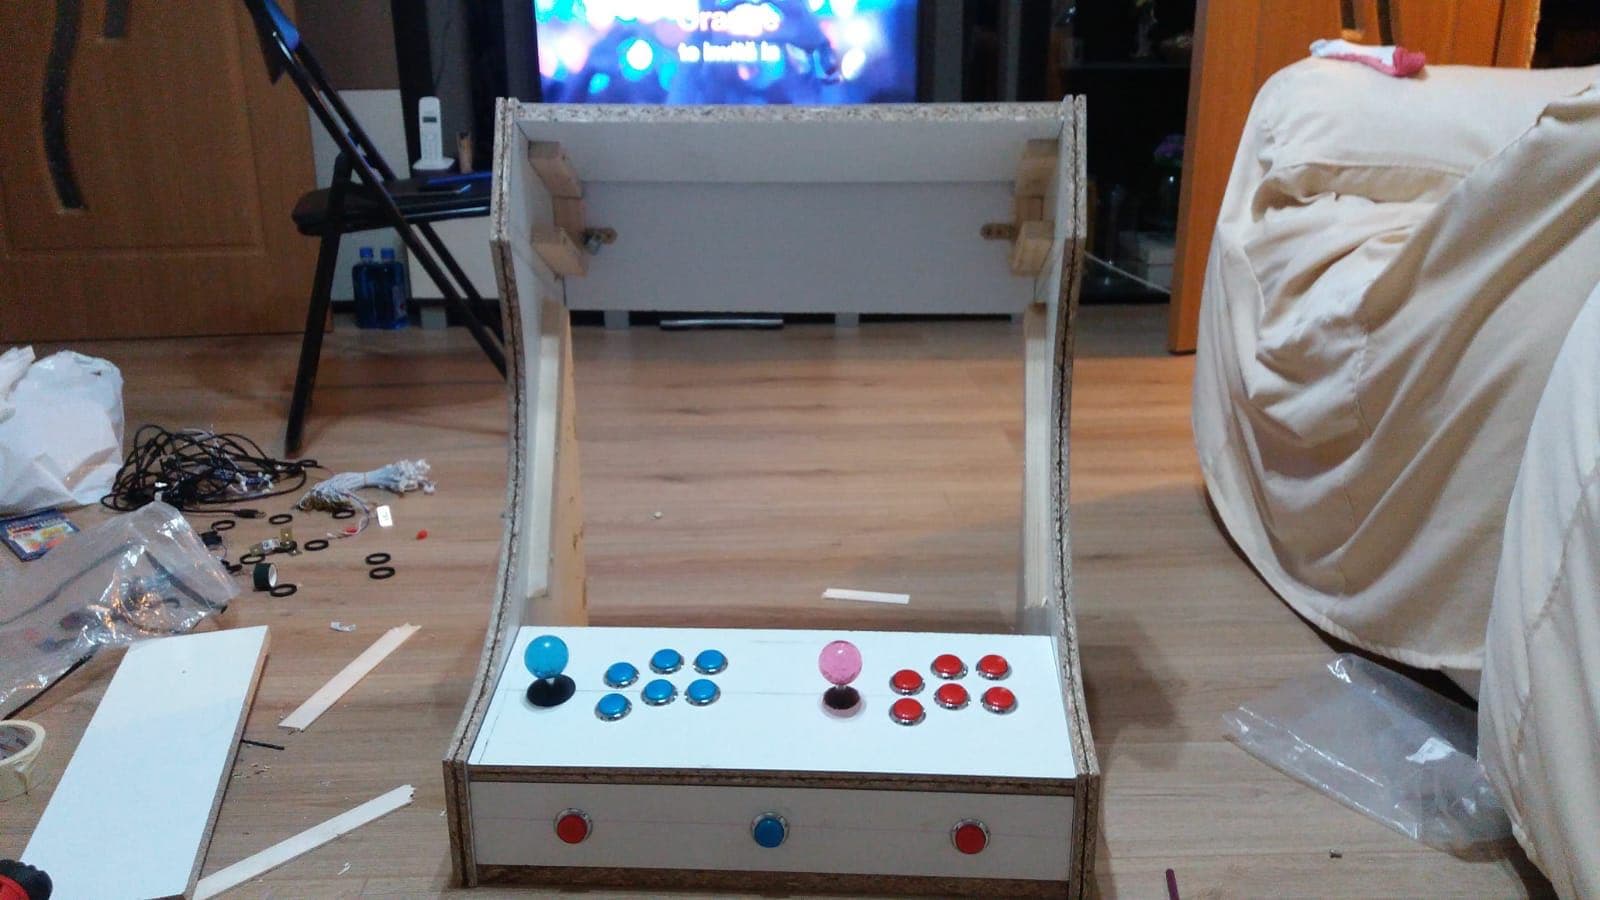
Steady gaining shape, had to drill the button holes from a pattern drawn straight on the plank.
Only that took me 4 hours ( stupid me ) :)))
Step 4
[IMAGE: https://cdn.steemitimages.com/DQmSsJyHvPrLRW4J4vnykA7zvi2hngEKYmNwS2EhGRHFQ84/39558041_2254472951505937_5339644187249737728_n.jpg]
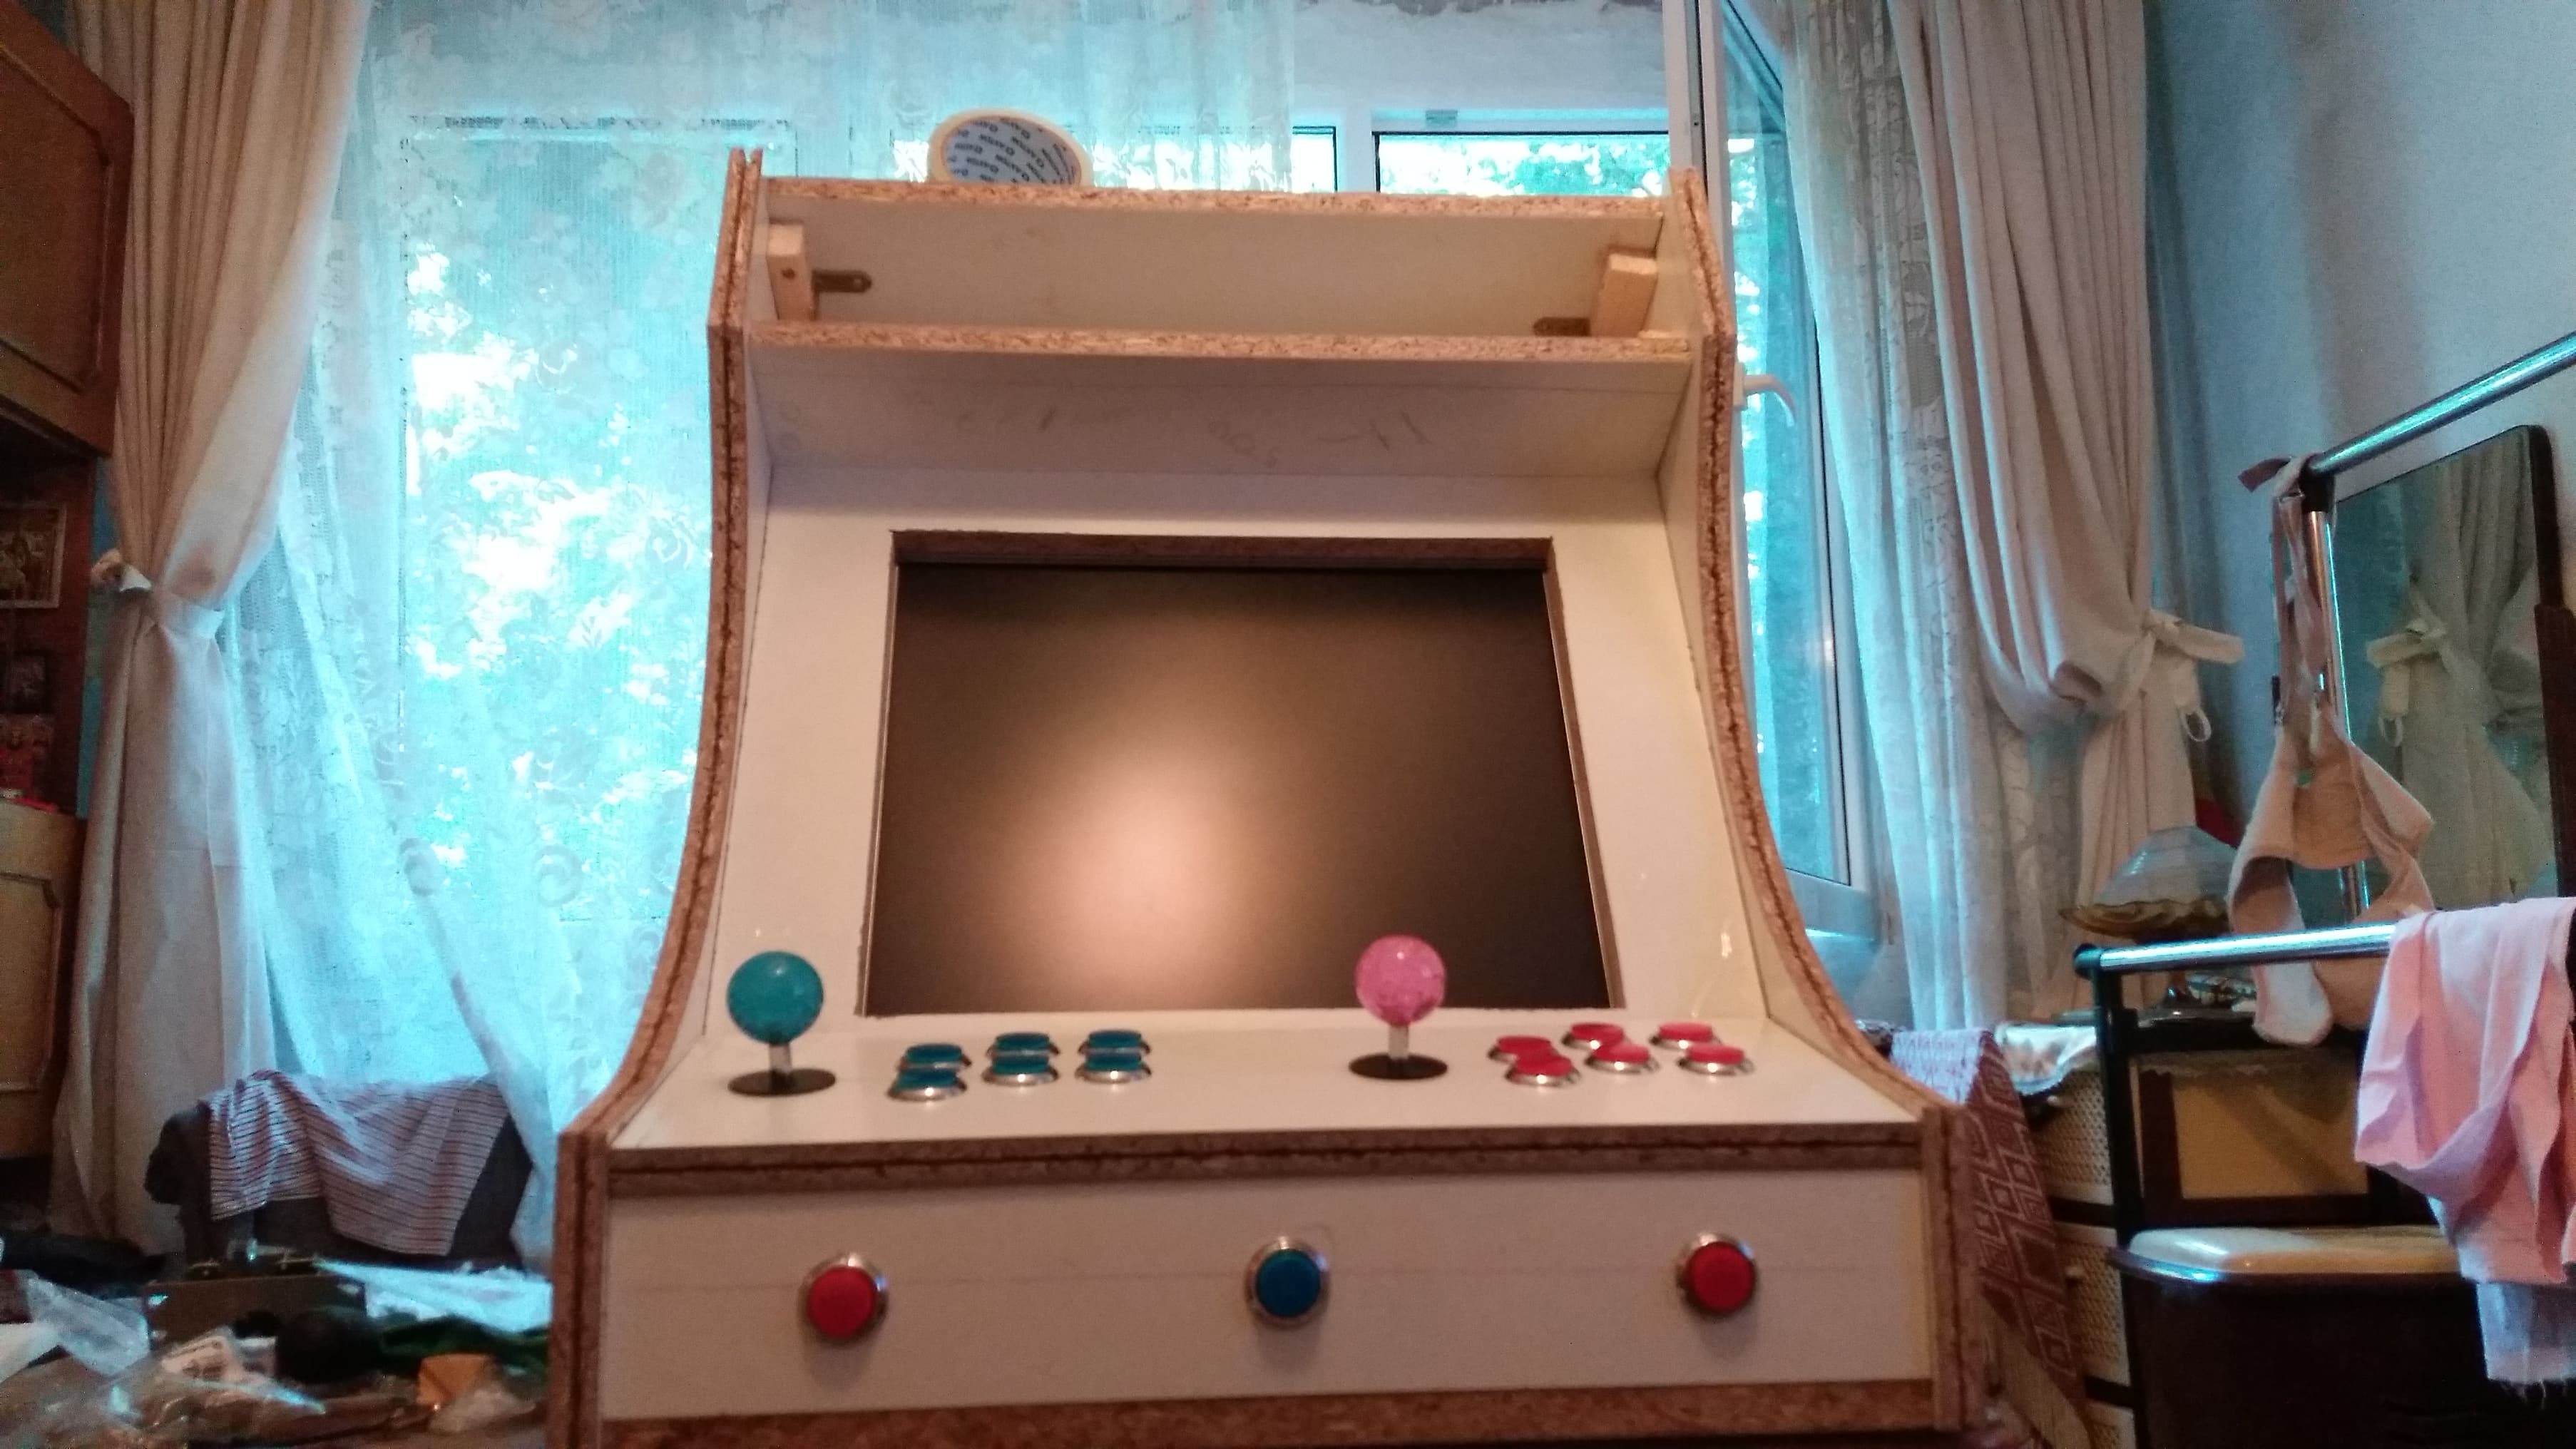
Mounting the screen without breaking it !!
This was the tricky part .
We did the first screen cutaway in the wood without checking the very screen first, all was mounted but when i plugged the screen .. . . . . . . . . . . . . . . . . it had dead pixels.
So ,back to the drawing board, get new screen ,get measurements done quick , cut it and voila :)
Step 5
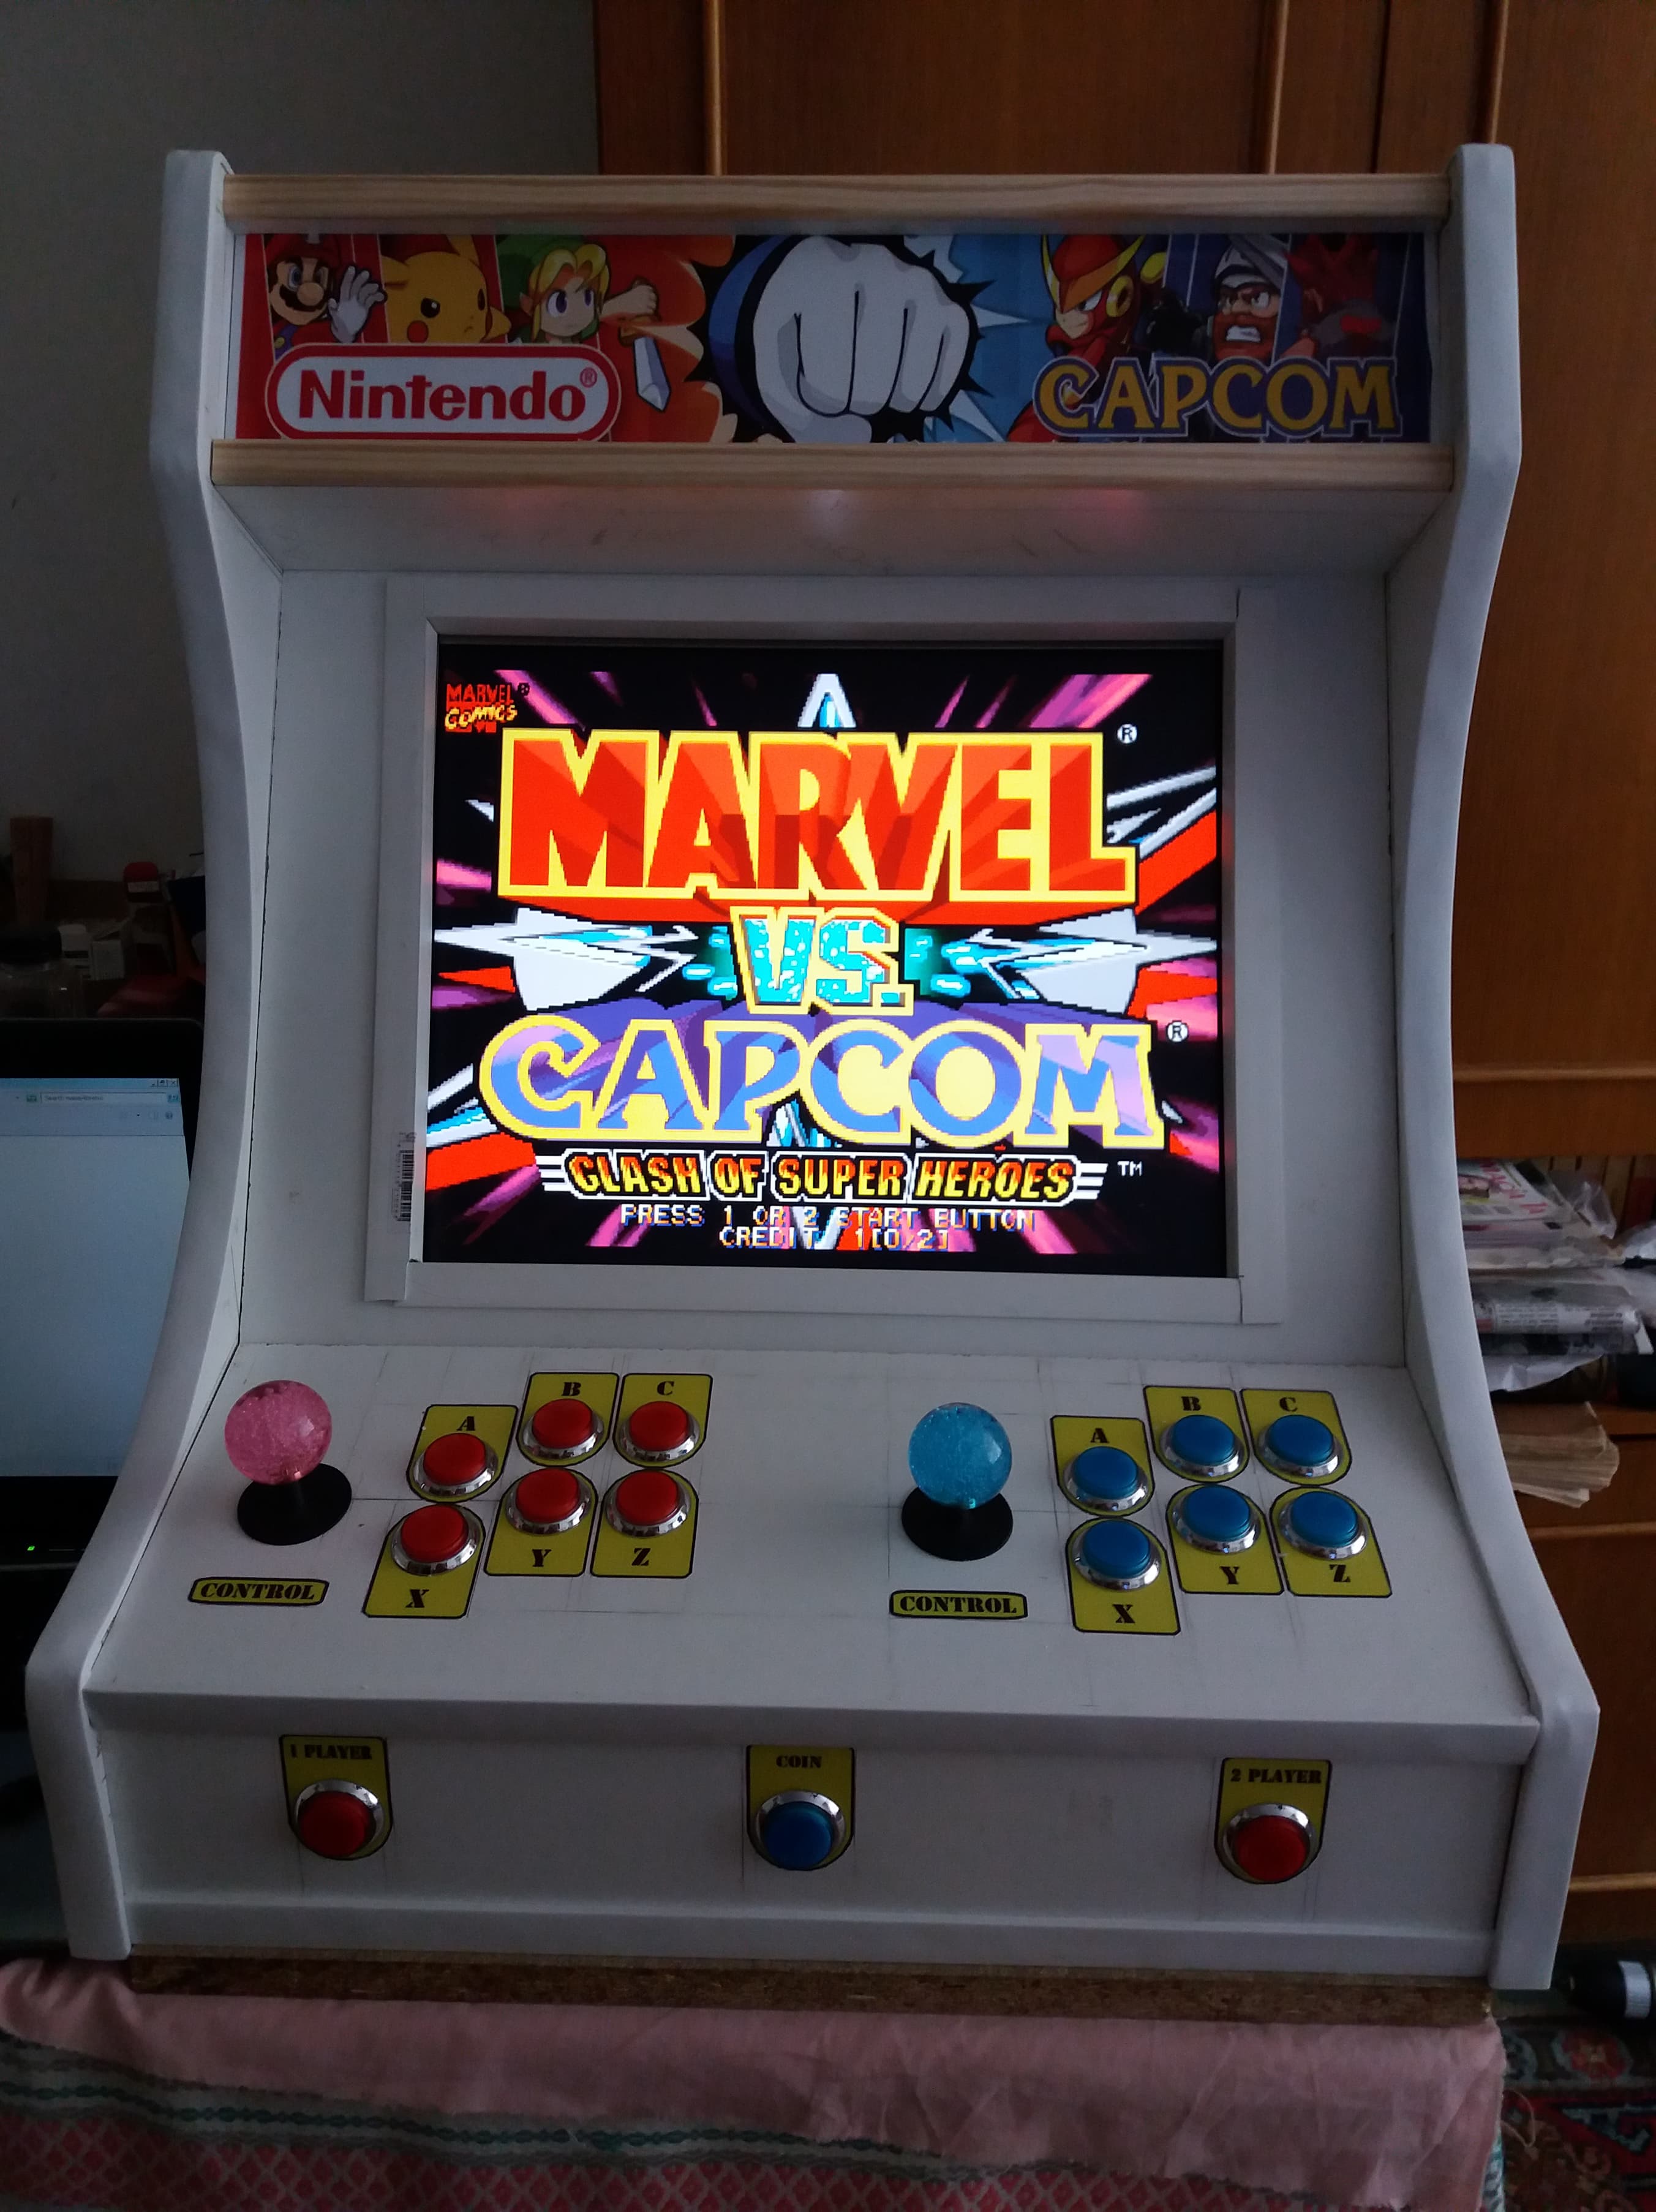
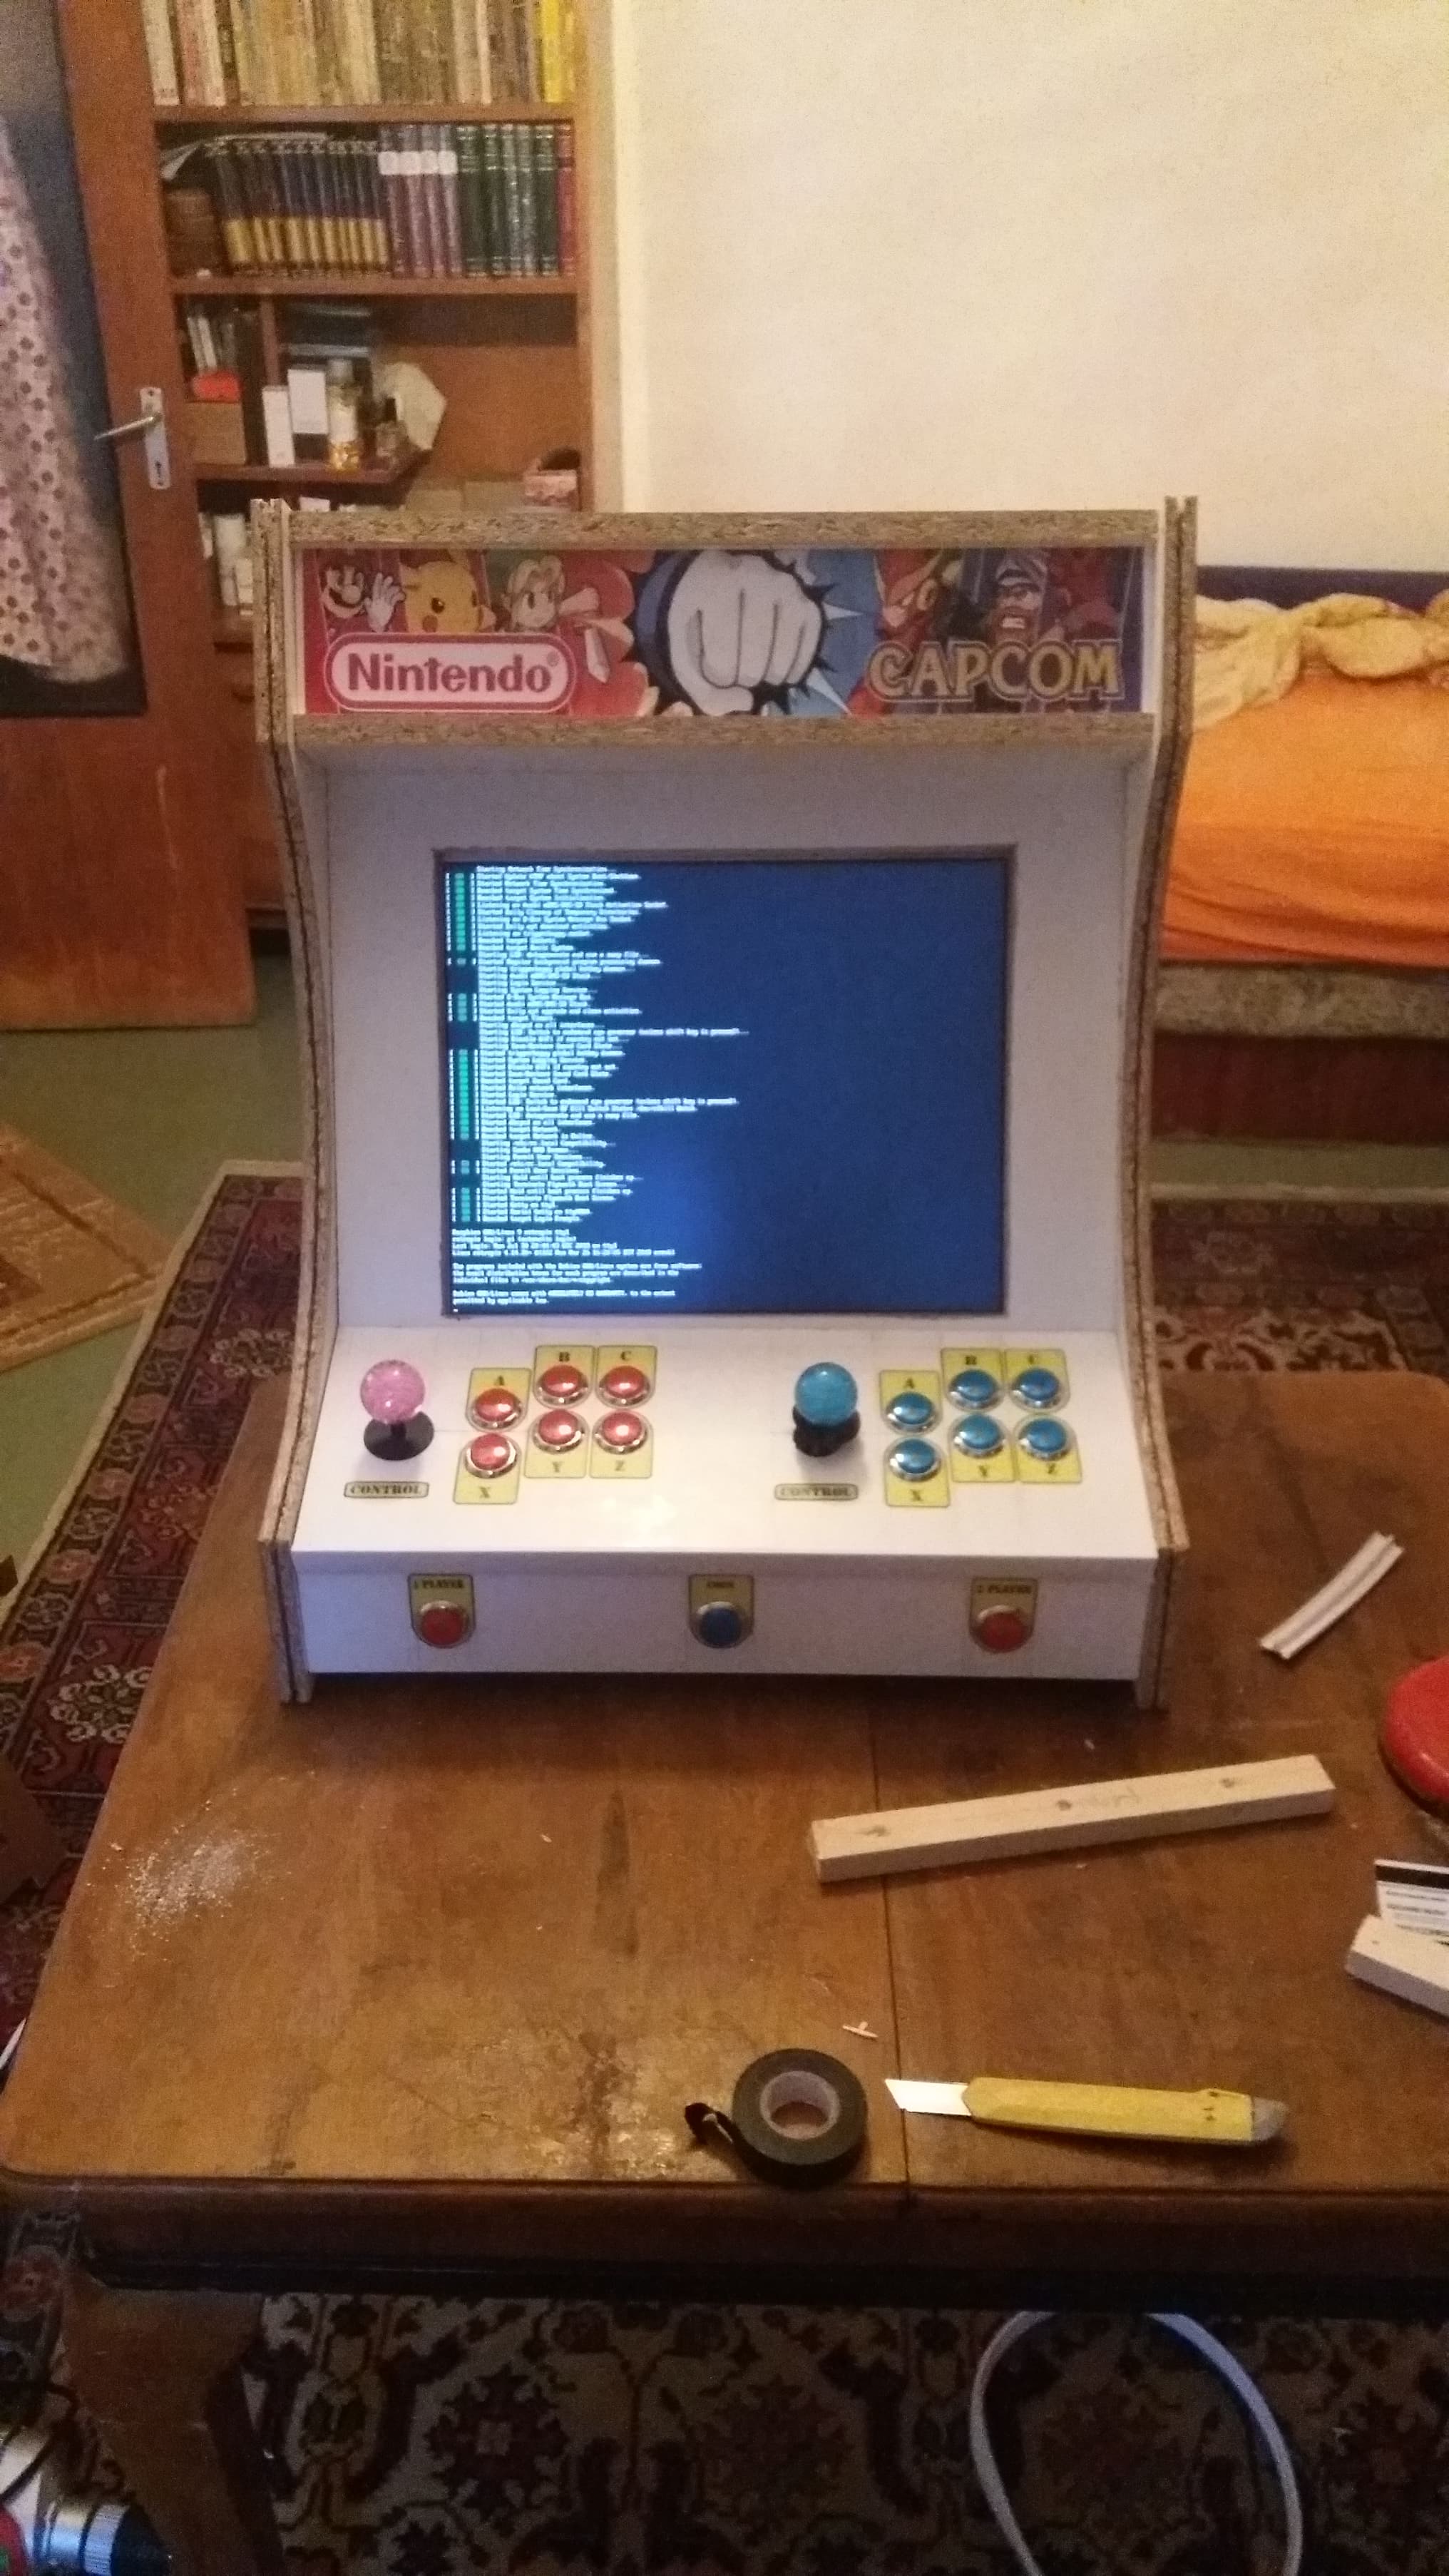
After mounting the screen, i did some atwork for the buttons and marquee and now it was the time for a test drive .
Step 6
[IMAGE: https://cdn.steemitimages.com/DQmUH1pjTBbtq9qJYhjn4ctZT16kEi4qNvPambkqQZz8xYh/39786314_1077986805708035_6005193603633119232_n.jpg]
Programing done ,software works fine, buttons all set and ready to play, it still needs some work on the monitor frame.
TO BE CONTINUED